Your company profile in Agentcis forms the foundation of your business identity across the platform. The details entered here—such as your logo, company name, contact information—are automatically reflected in key client-facing documents including Invoices, Quotations, and Receipts.
Setting up your company profile ensures that every document you send looks professional and consistent with your brand. This article guides you through the steps to add and update your company details in Agentcis.
Why Is the Company Profile Important?
Your company profile details:
Are automatically pulled into documents for consistency.
Enhance your brand's credibility with clients.
Save you time by avoiding repeated manual entry.
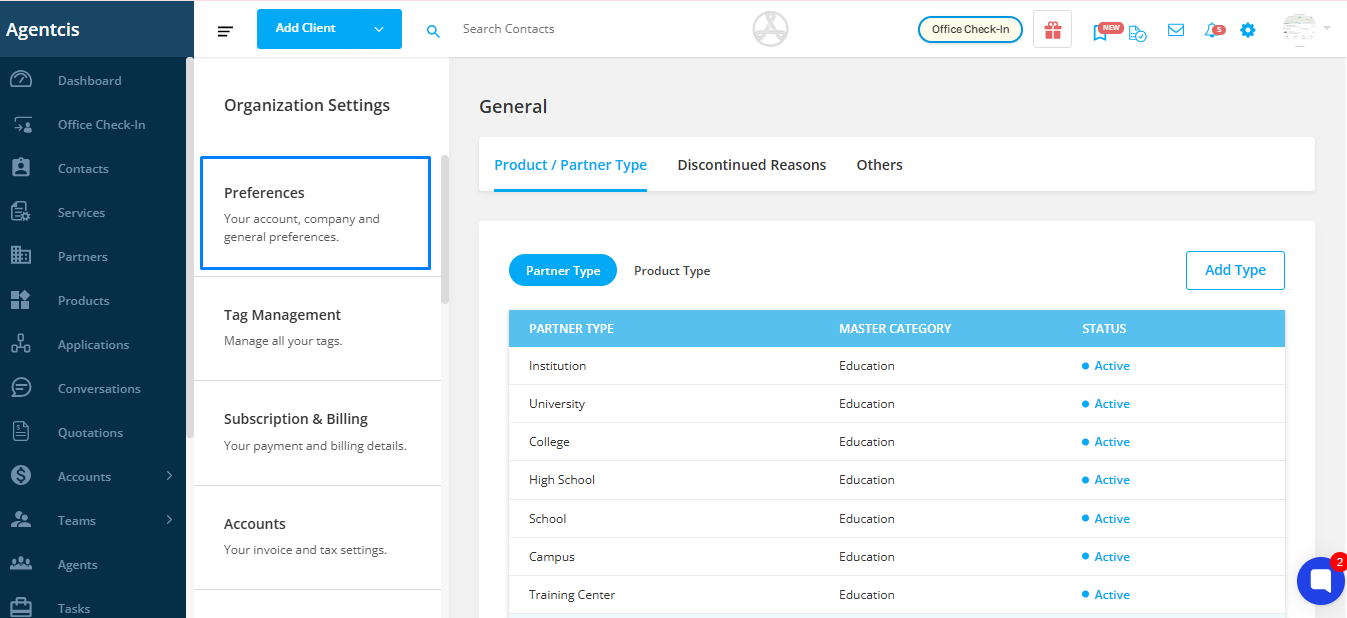
From the top information bar of your Agentcis dashboard, click on the Settings icon.
Within the Settings menu, click on Preference. This section allows you to manage general preferences, including your company information.
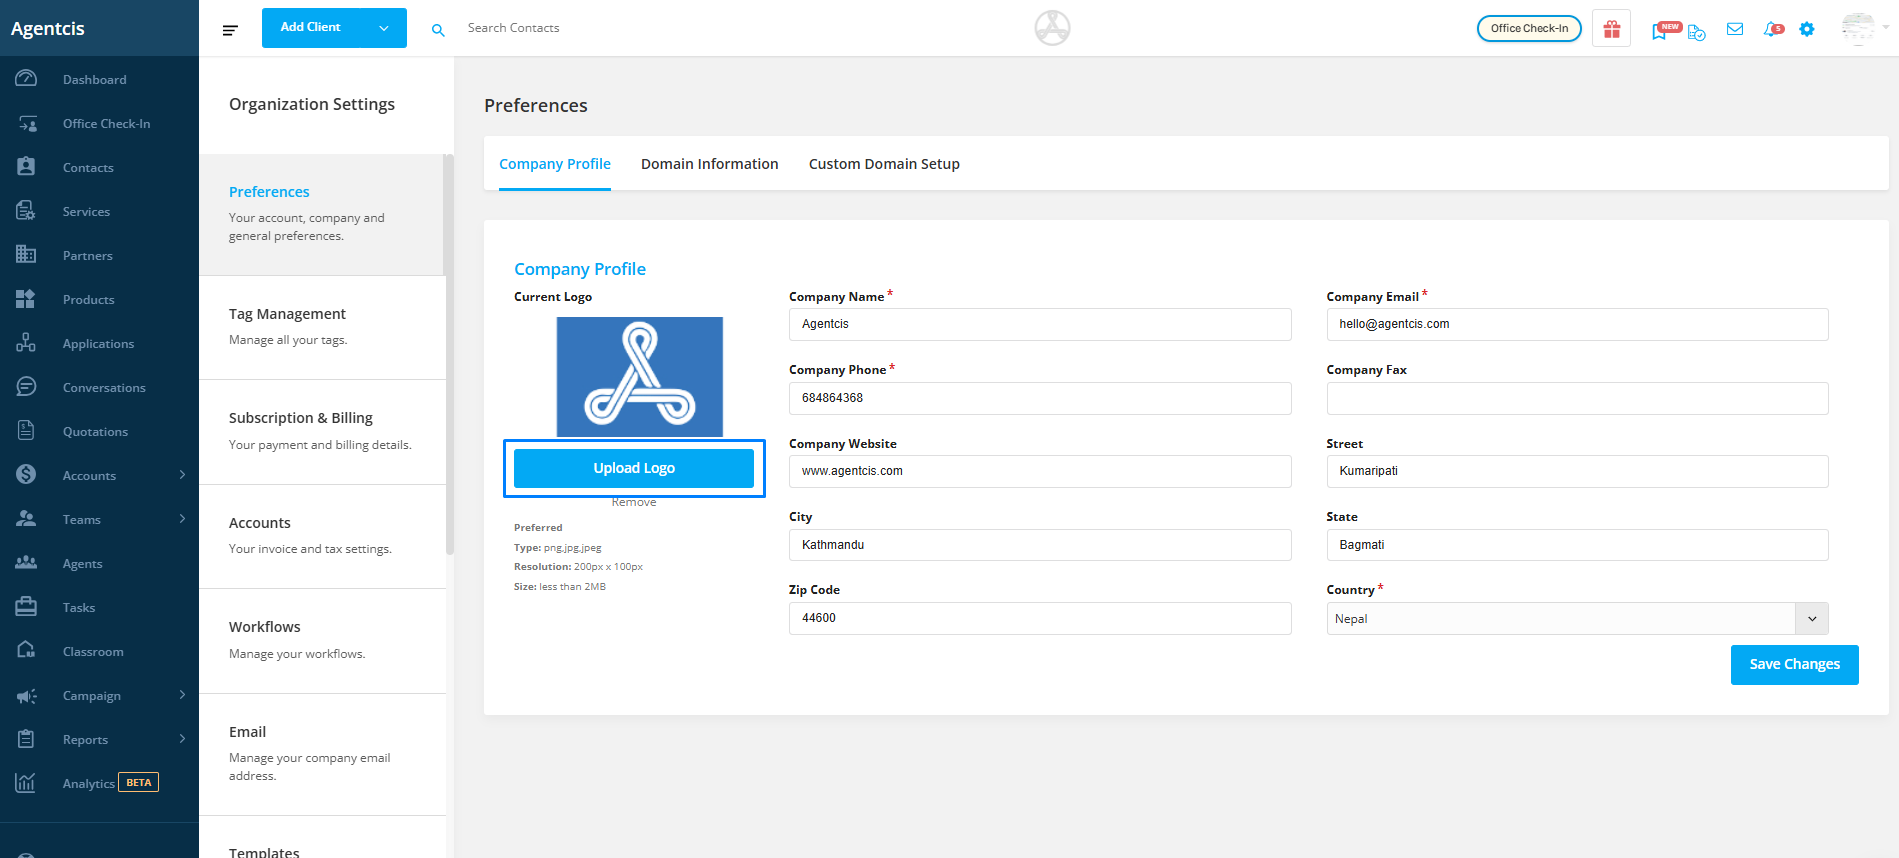
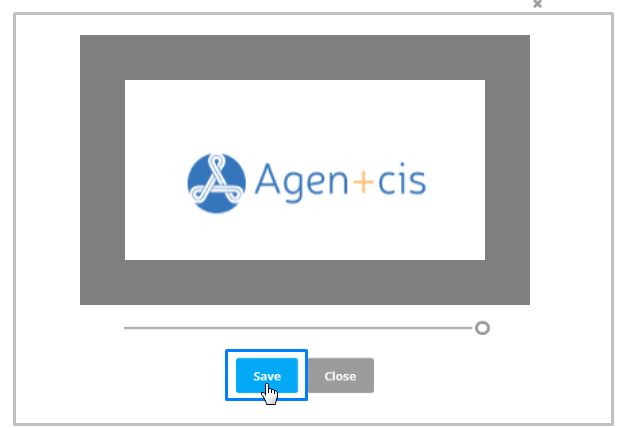
Click on the “Upload Logo” option to begin the logo upload process.
Note:
Supported file formats: .png, .jpg, .jpeg
Maximum file size: 2MB

Browse your local storage and select your company’s logo file.
You can also preview or change the logo view before saving, ensuring it appears correctly on all documents.
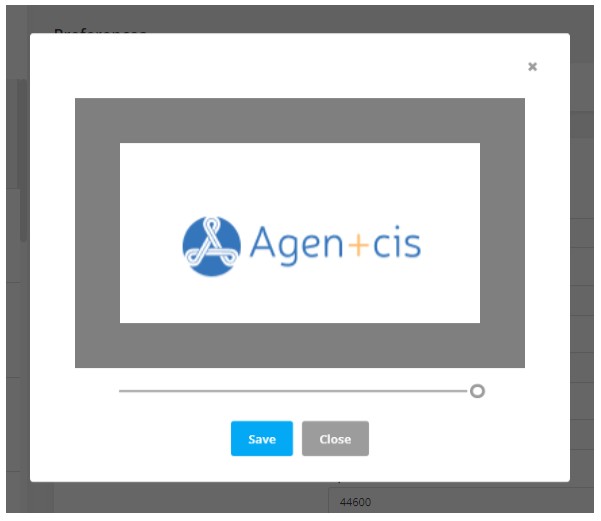
Once your logo is uploaded and you're satisfied with how it looks, click Save to confirm the changes.
Below the logo section, fill in the following fields:
Company Name
Company Email Address
Phone Number
Fax Number (optional)
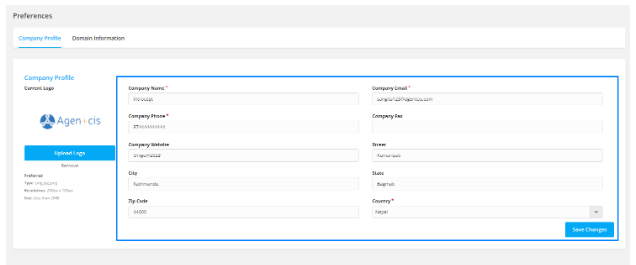
Ensure that the information is accurate, as it will be included in all formal communication sent via Agentcis.
