Keeping your partner and product data up to date is crucial for accurate processing and reporting. To simplify this task, Agentcis offers a Match & Sync feature that automatically matches manually added partner and product data with our master database and updates it for you.
This article will walk you through how to use the Match & Sync feature effectively.
By enabling Match & Sync, you can:
Automatically update partner and product details
Ensure accuracy in fees, revenue types, and branch information
Eliminate duplication of data entry
Keep your system aligned with the Agentcis master database
Before you begin, make sure your user role has the necessary permissions to use this feature. You can refer to the permission settings shown in the image below (include visual, if available).

From the side navigation bar, click on "Partner".

Select the partner from the list that you want to auto-sync with the Agentcis database.

Click on the partner name to open the full partner profile.
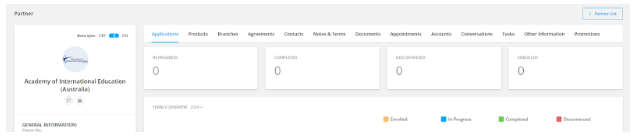
Turn on the auto-sync toggle located in the partner profile.

Note:
If the toggle is already ON but syncing hasn't occurred, try toggling it OFF and then back ON again.
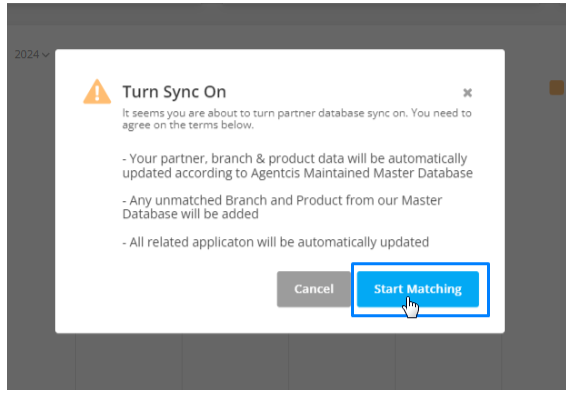
Click on the “Start Matching” button to proceed.
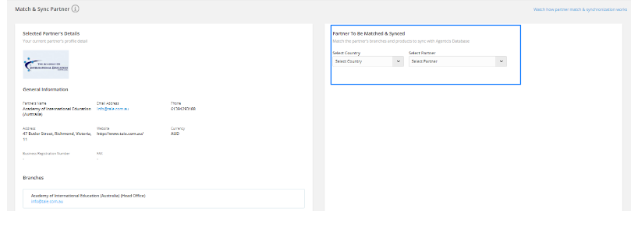
On the Match & Sync page, select the appropriate:
Country
Partner Name from the Agentcis database
Important: The email address of the partner in your system must match the one in the Agentcis database for syncing to work correctly.
Choose the specific branch of the partner (if applicable) for syncing.
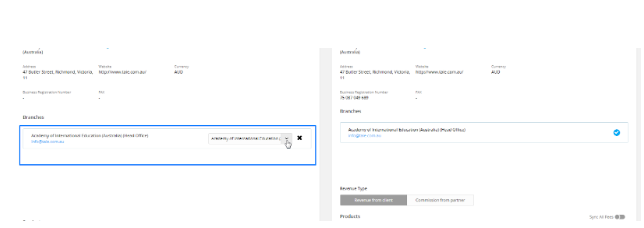
Select the product(s) you want to sync with your manually added data.
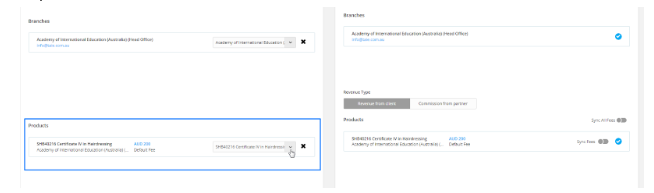
You can choose to sync the product fees by enabling the “Sync Fees” option.

Select the appropriate revenue type associated with the product.

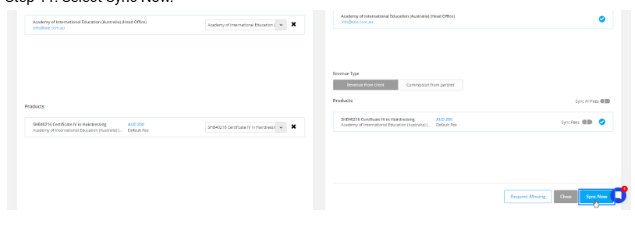
Once everything is matched and reviewed, click on “Sync Now” to complete the process.
If the partner you're trying to match is not available in the Agentcis database, you can request our data team to add it.
To do this:
Click on the “Request Missing” button on the Match & Sync page
Submit the relevant partner details

Our team will review and add the partner to the database.