In an agency, staff members often hold a variety of roles such as Admins, Officers, Directors, Counsellors, Accountants, and more. Additionally, agencies may operate across multiple branches or locations. To effectively manage user access across different roles and offices, Agentcis provides a powerful feature known as Custom Roles.
This feature allows you to define specific roles and assign permissions based on each user's responsibilities—helping you maintain data security and streamline operations.
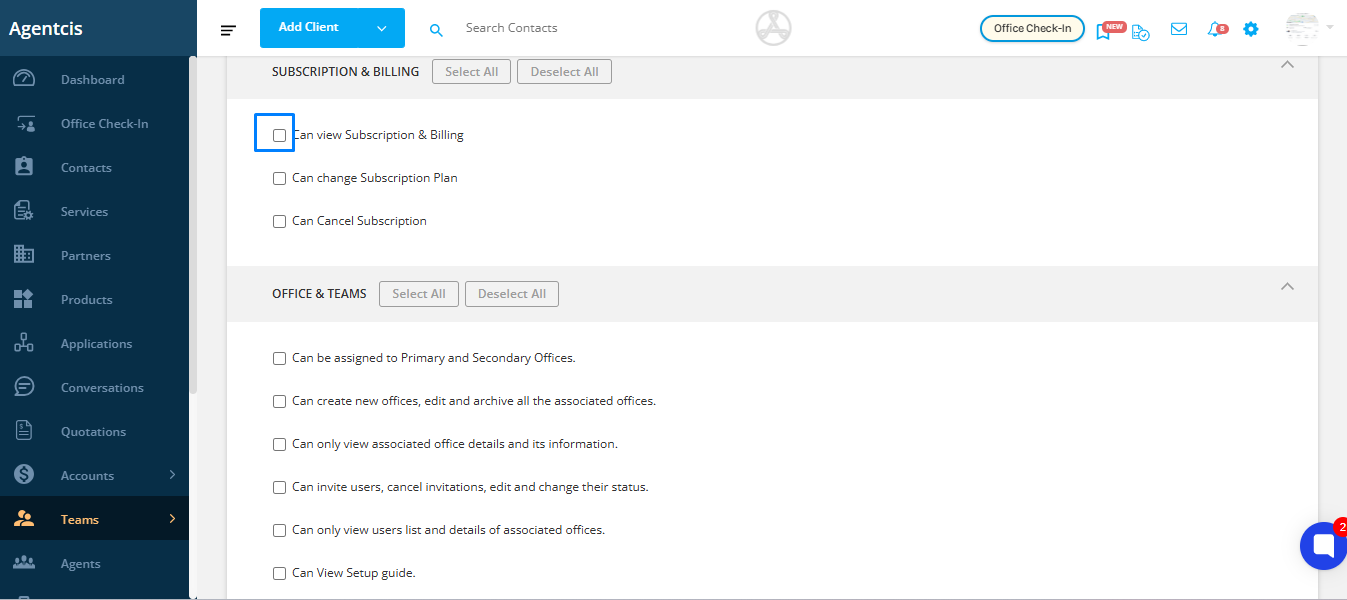
Note: To create or edit roles, you must have the appropriate permissions enabled, as shown in the reference image below.

Follow these steps to set up a new custom role and assign permissions:
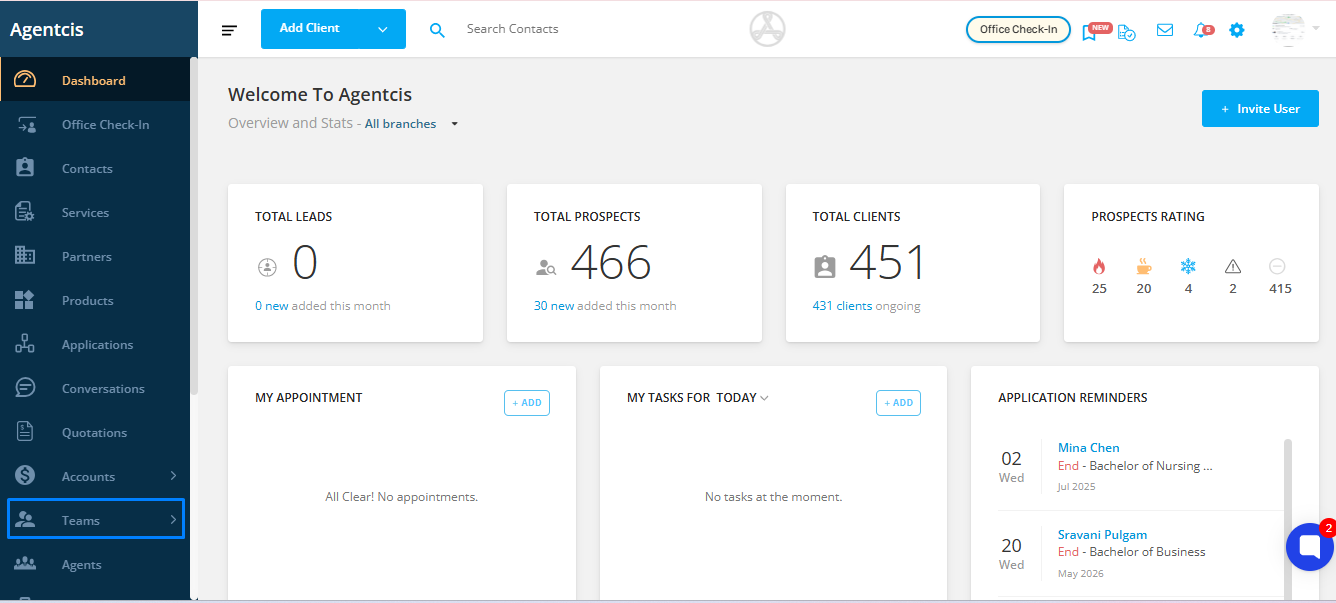
From the side navigation bar, go to Teams.
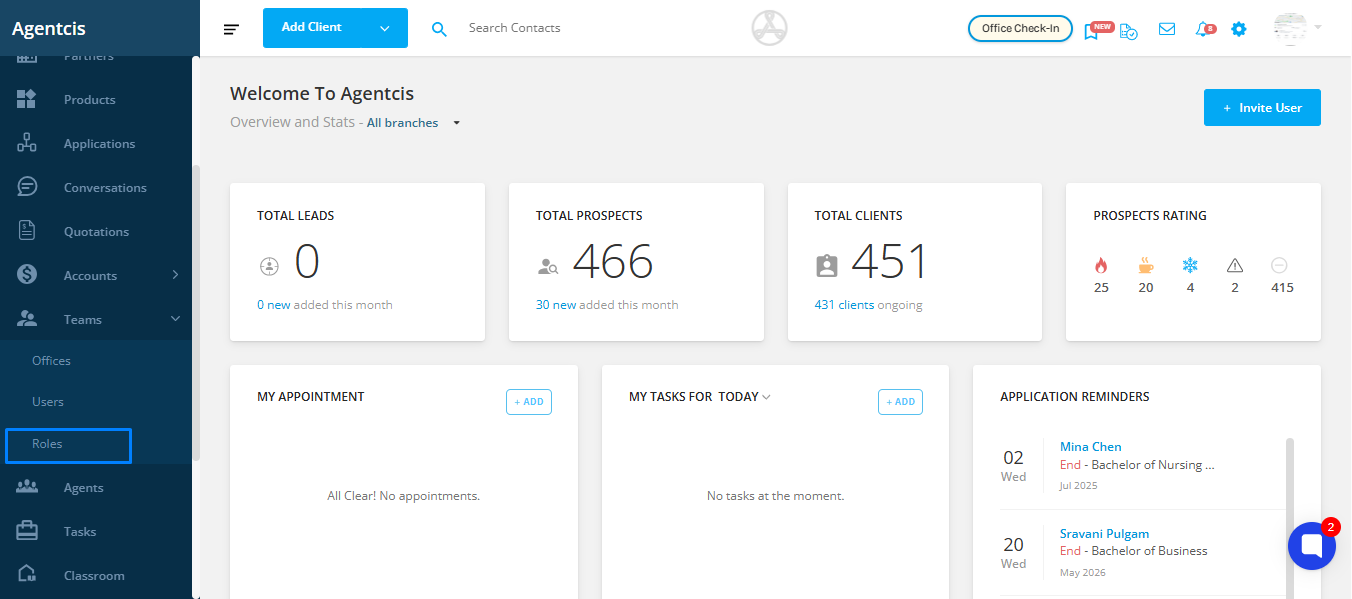
Click on the Roles tab.
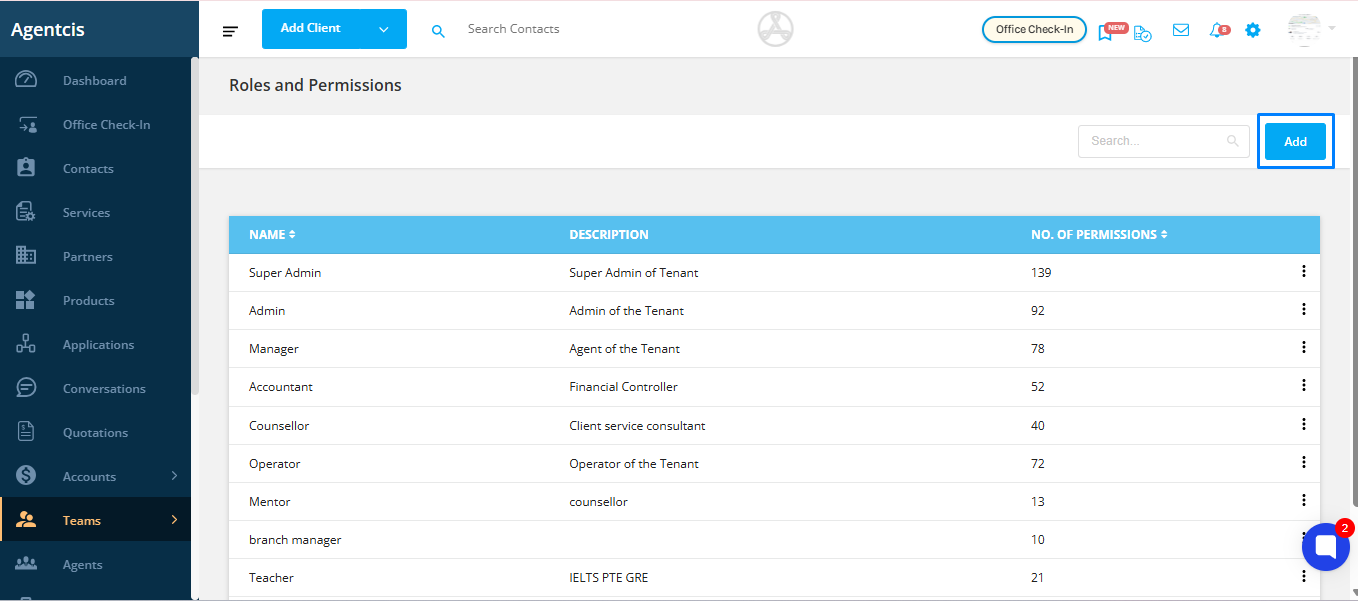
Select the Add option to begin creating a new role.
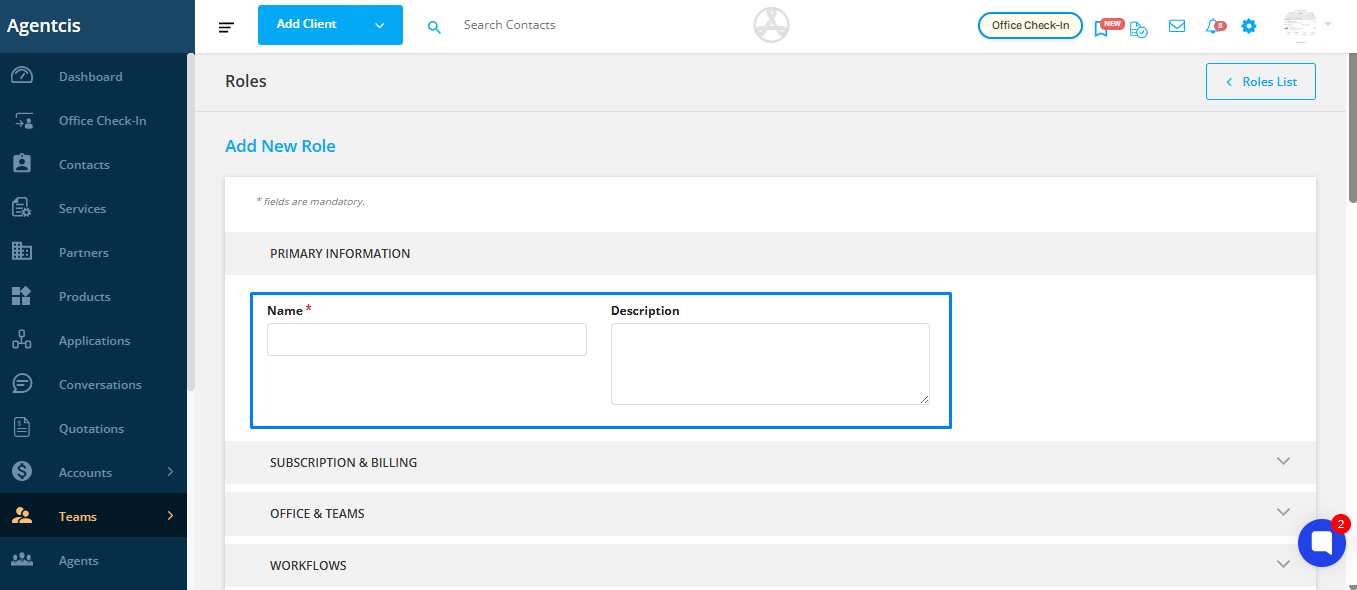
Enter a Role Name and a brief Description that defines the purpose of the role.
Example:
Role Name: Application Officer
Description: Responsible for managing student applications, including updates, communication, and document handling.
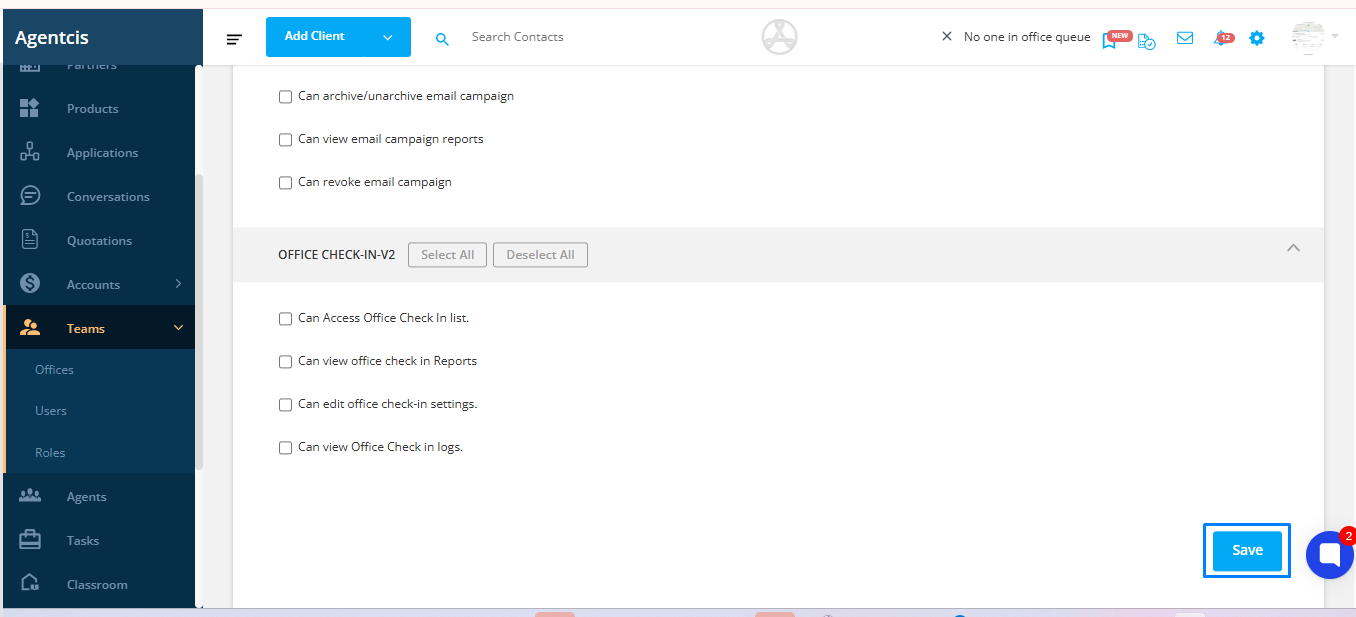
Use the checkboxes to assign the appropriate permissions:
Check the boxes for the permissions you want to grant.
Uncheck the boxes for permissions you do not want the role to have.
Once you've selected the desired permissions, click the Save button to create the role.
Permission Updates After Role Assignment:
If a role is already assigned to a user and you later modify the permissions of that role, those changes will not automatically apply to the users who were previously assigned the role.
To apply the updated permissions to existing users, you must reassign the role to them.
Any users assigned to the role after the permission changes have been made will receive the updated set of permissions by default.
By using custom roles in Agentcis, you can ensure each team member has access only to the features and information relevant to their role—making your agency’s operations more secure and well-structured.
