Accurately maintaining agreement and contract details for each partner is essential for ensuring clarity in collaboration, commission tracking, and student recruitment eligibility. Your system allows you to store and manage important contract data such as Contract Expiry Date, Representing Regions, Commission Percentage, and Default Super Agent — all in one place.
Note: Ensure that you have the necessary permissions to edit partner details before proceeding.
Let’s say you have partnerships with multiple educational institutions and service providers across different regions. Each of these partners may have different terms—some may allow you to recruit students from Asia, while others may only allow recruitment from Europe. Additionally, commission rates may vary between partners.
By entering this information in the system:
Your counsellors will know which courses to suggest based on region eligibility.
Your finance team will get automated commission calculations.
Your team will avoid compliance issues by tracking contract expiry dates.
Step 1: Navigate to the Partner Section
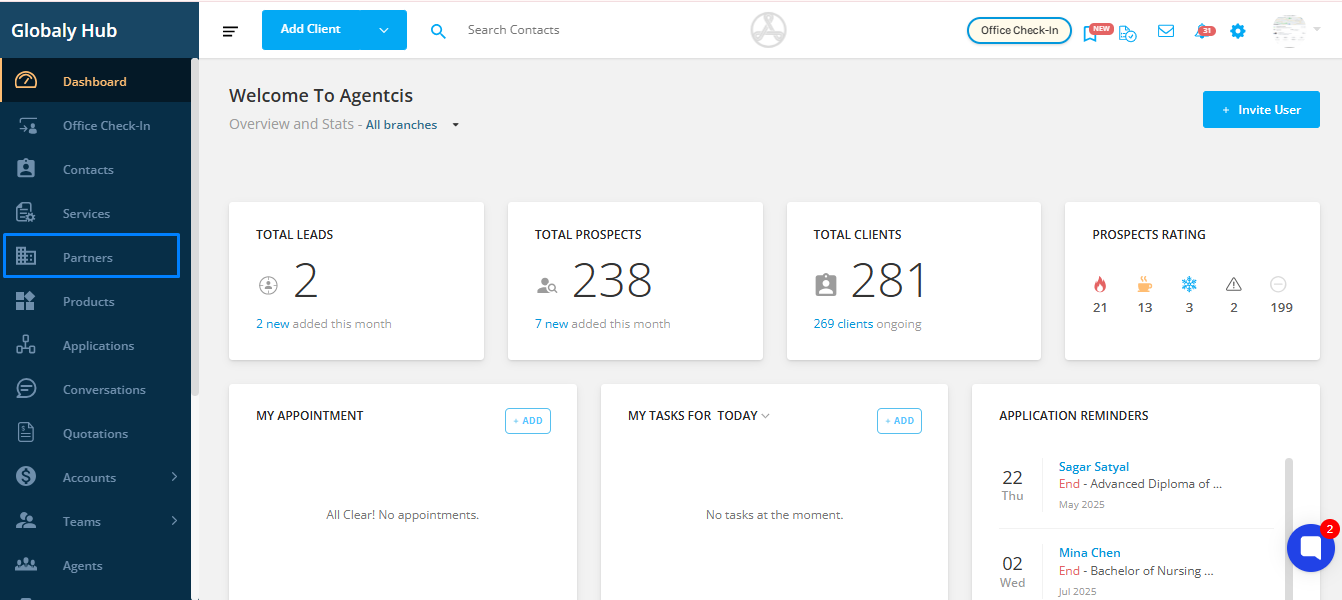
From the dashboard, click on Partner to view the list of all partner organizations.

Choose the partner whose agreement details need to be updated.

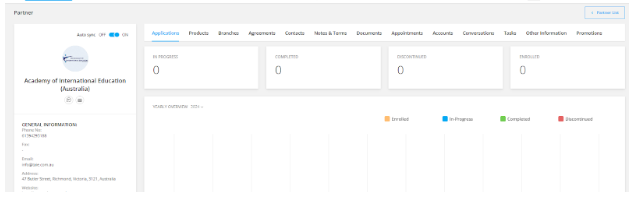
Click on the partner’s name to access their detailed profile.

Within the partner profile, navigate to the Agreements tab. This is where you’ll input and manage contract-related information.

Definition: The date when the agreement with the partner ends.
Example: If your contract with Global University Group ends on 31st December 2025, set the expiry date accordingly. The system can alert you as this date approaches so you can renew or renegotiate the agreement.
Definition: Indicates the geographic regions from which you're authorized to recruit students for the partner.
Example: You may be authorized to recruit students from South Asia and Middle East for Global University Group. Select both regions from the dropdown.
Counsellors will only recommend this partner to students from those regions, avoiding mismatches in eligibility.
Definition: The percentage of the tuition fee or product price you earn as commission from this partner.
Example: If Global University Group offers you a 15% commission on student enrollments, input 15%.
The system will automatically apply this percentage to calculate revenue, sales forecasts, and when generating commission invoices.
Definition: If you don’t have a direct agreement with the partner, you can connect through an intermediary, known as a Super Agent.
Example: If EduLink Pvt. Ltd. is your authorized Super Agent for Global University Group, you can select them here.
When you create an application for this partner, the system will automatically include EduLink Pvt. Ltd. as the Super Agent. This is also visible when searching for products or partners under the Services section.

Storing and managing contract details with your partners helps ensure:
Operational clarity across teams.
Automated revenue tracking and accurate forecasting.
Improved compliance with regional and contractual terms.
Make sure to regularly update this information to reflect any changes in partnerships or contract terms.
Let’s imagine your agency just signed a new agreement with Sunrise College Australia:
Contract Expiry Date: 30th June 2026
Representing Regions: South Asia, Southeast Asia
Commission Percentage: 12%
Default Super Agent: Not Applicable (Direct agreement)
By entering these details into the system, your counsellors will instantly know that students from the listed regions are eligible, your finance team will see commission projections, and applications will be handled in compliance with the agreement.