To acquire new phone numbers in certain countries, businesses are required to comply with local regulations. Similarly, in Agentcis, you must provide specific information and documents to validate your business legitimacy. These submissions are referred to as Regulatory Bundles.
These documents are shared with local telecom regulators to verify and approve your request to purchase phone numbers in specific countries.

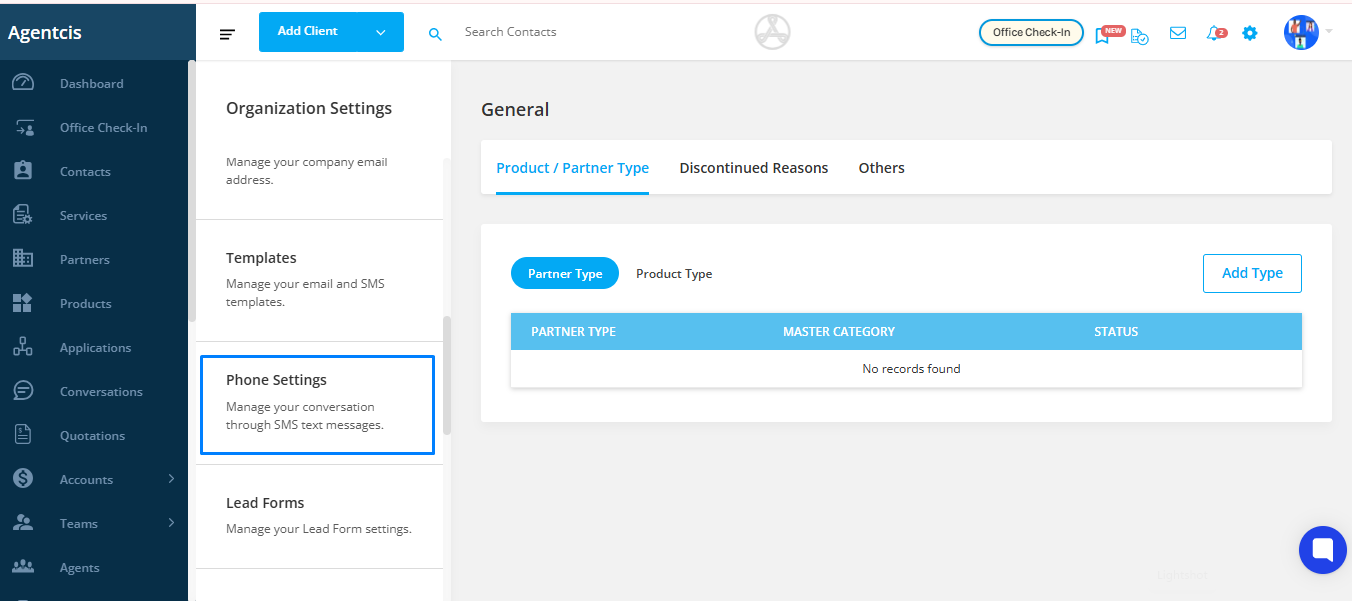
Step 1: Go to Settings.
Step 2: Select Phone Settings.
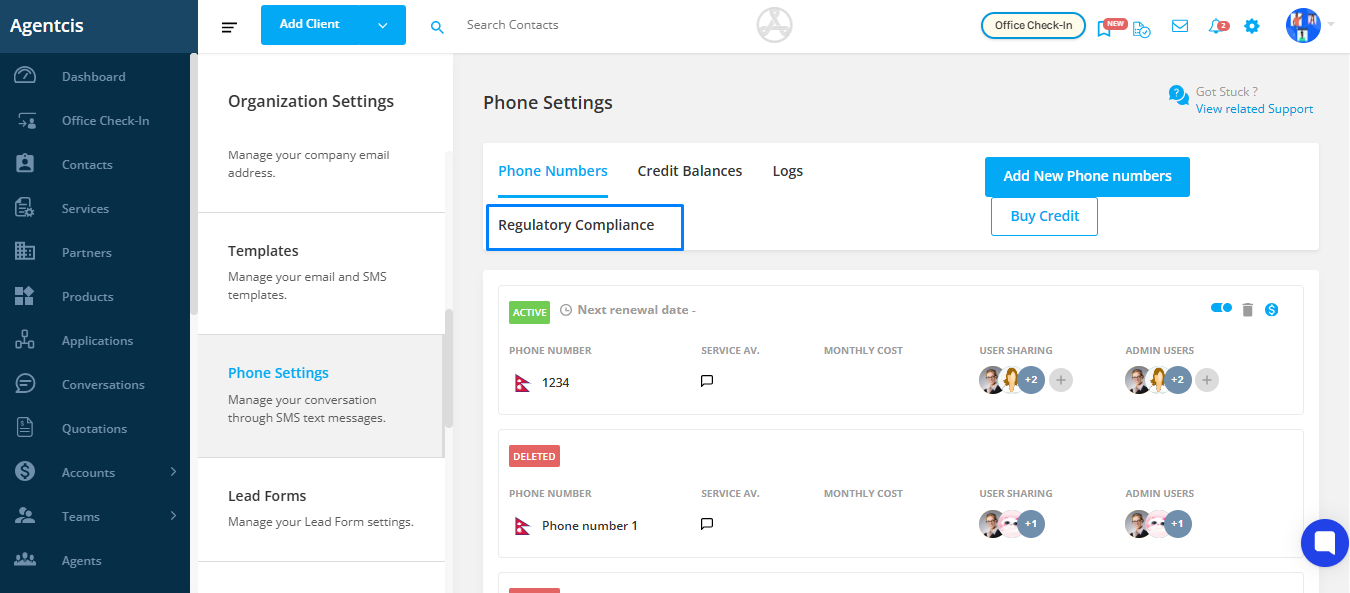
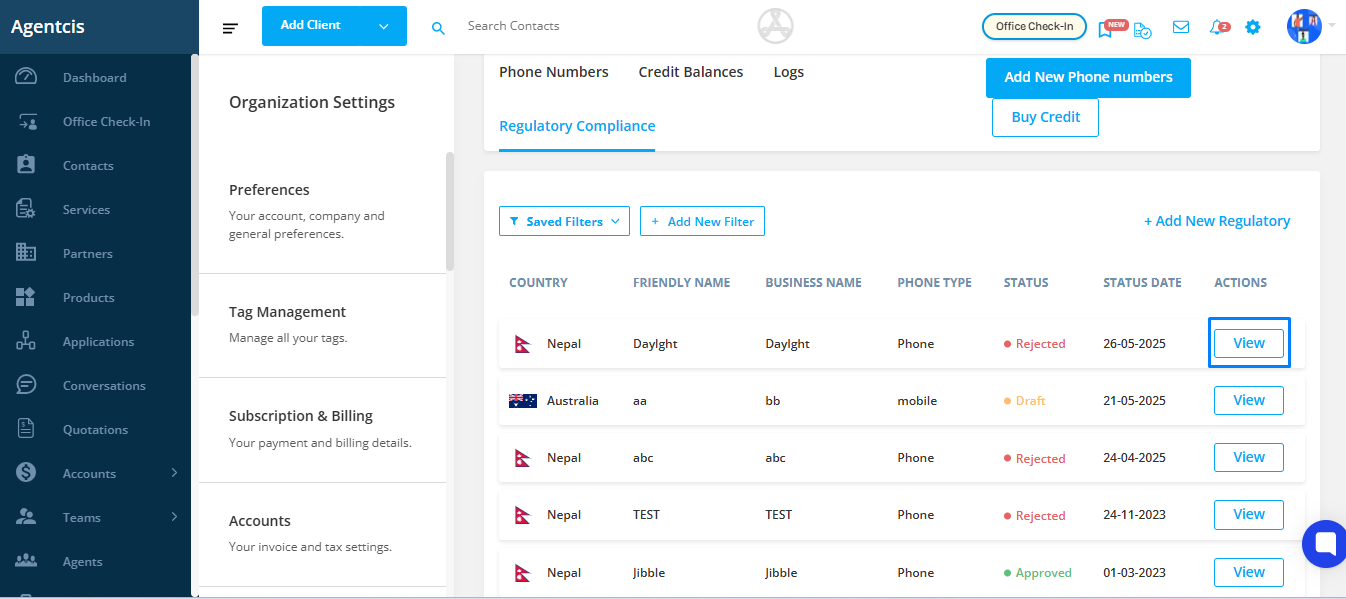
Step 3: Click on the Regulatory Bundles tab.
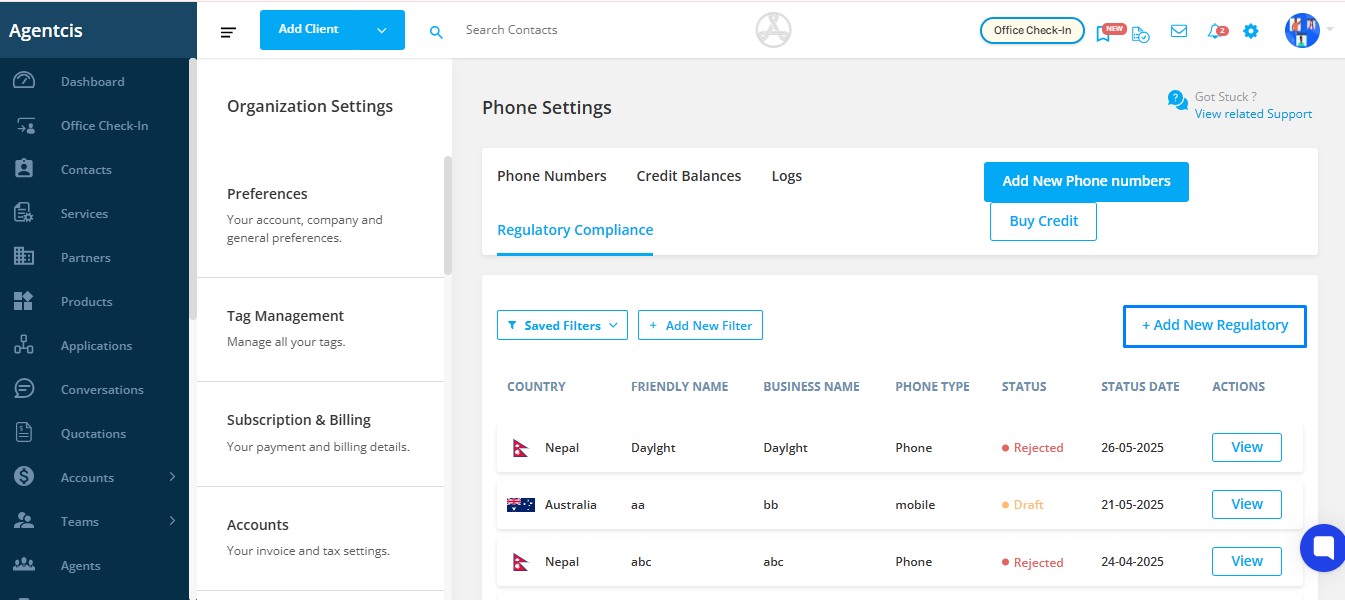
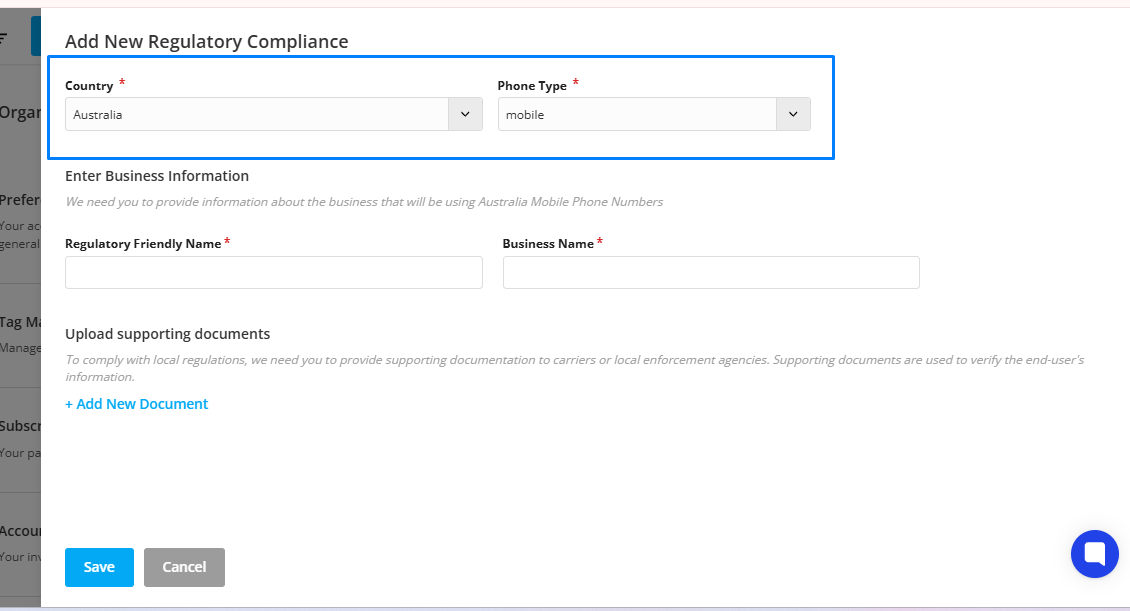
Step 4: Click on + Add New Regulatory.
Step 5: Select a country and phone type.
Phone Type refers to the kind of phone number you want to purchase for your business.
Options you might see:
Local – A landline number specific to a city or region (e.g., a Sydney landline number).
Mobile – A mobile number with no fixed location.
Toll-Free – A number that is free for the caller to dial (e.g., 1800 numbers in Australia).
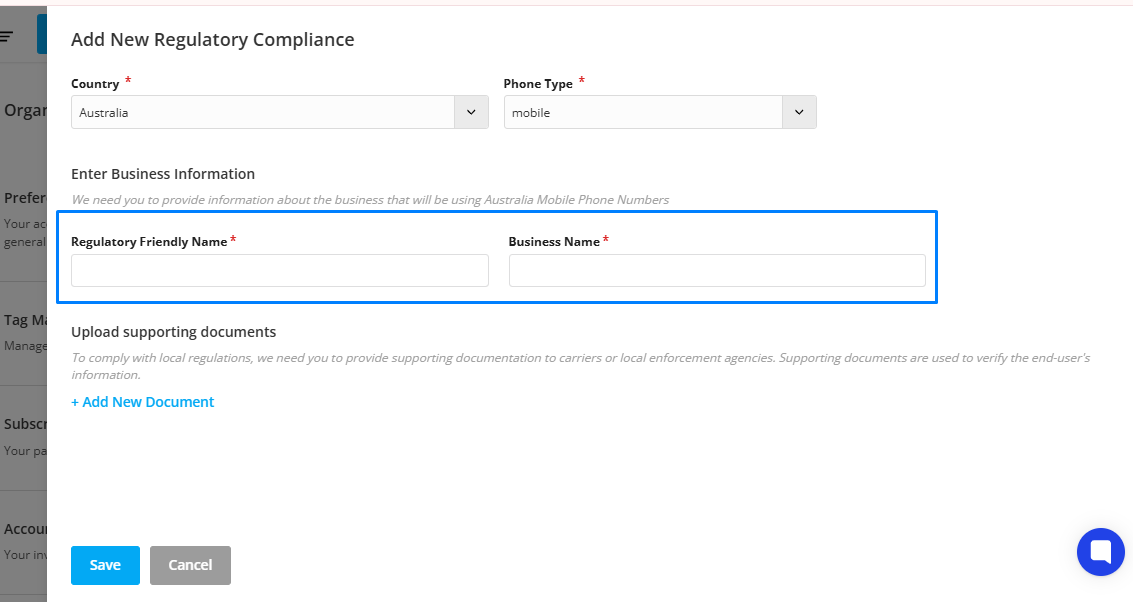
Step 6: Enter a regulatory name and your business name.
Regulatory Name is the label or title you give to your regulatory bundle for internal tracking purposes.
It helps you identify which country and phone type the bundle applies to.
Best Practice:
Use a name that reflects the Country + City + Type of phone number.
Example: Regulatory Name: Australia – Sydney Local Number
This makes it easy for you or your team to know what the bundle was created for at a glance.
Business Name is your official company name, exactly as it appears on your legal business registration documents. The regulatory authority uses this to verify your business identity. It must match the name on the documents you upload (like a business license or registration certificate).
Step 7: Upload supporting documents that complies with the local regulations. The documents uploaded should verify your business registration and business address. For this select the “Add New Document” option.
Proof of Identity Document
This should confirm your business registration.
✅ Examples:
Commercial Registration Certificate
Business License
Company Incorporation Document
Tip: Ensure the document clearly shows your Business Name and Registration Number.
This document should confirm your physical business address. It must be issued within the last 3 months.
✅ Examples:
Utility Bill (electricity, water, gas)
Tax Invoice from a government authority
Rental Agreement or Lease Receipt
Title Deed of the business premises
Tip: The address in the document should match the address you enter in the system.

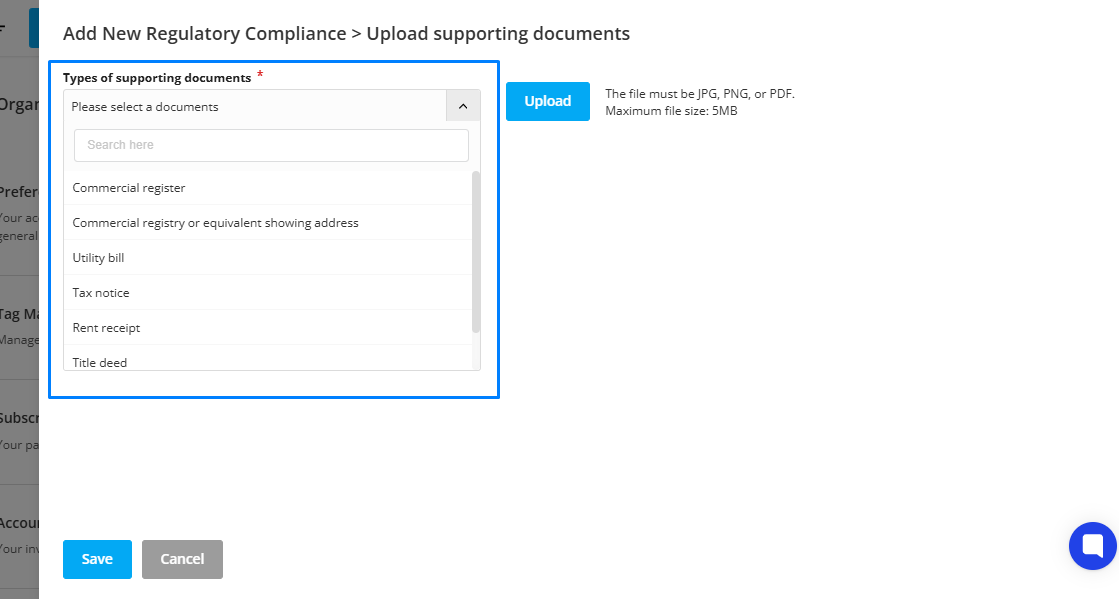
Step 8: A pop-up will appear. Select the type of the supporting document. The document should be JPG, PNG, or PDF.
Step 9: Select the Upload tab and submit the approve of identity document such as Commercial registry verifying the business registration ID.
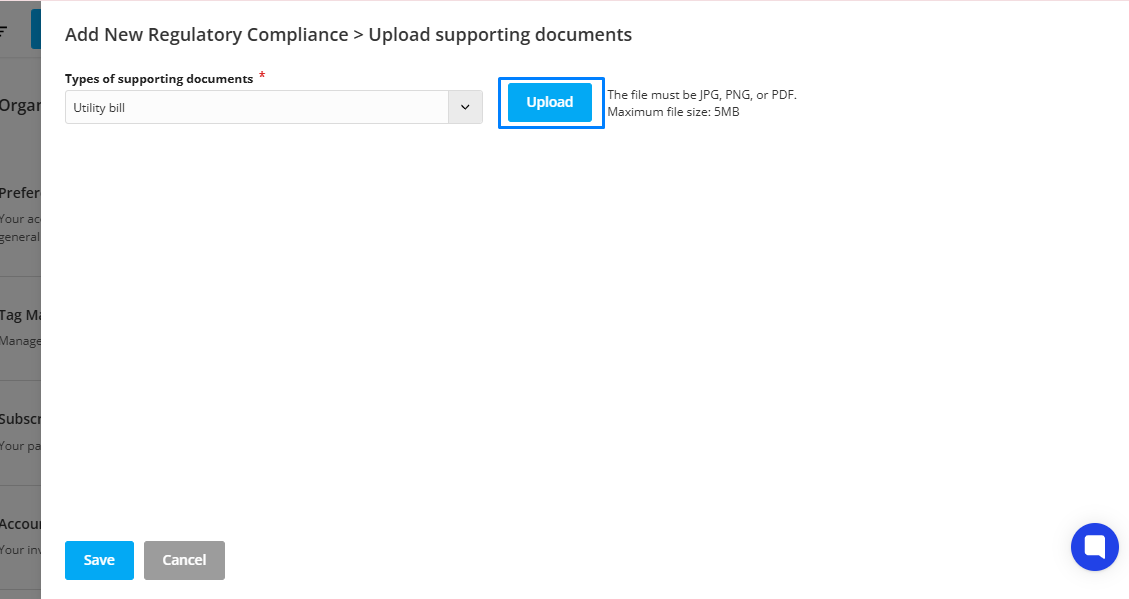
You also need to submit the document verifying the business addresses that were issued no longer than three months prior to the current date such as the Utility bill, Tax notice, rent receipt, and title deed.
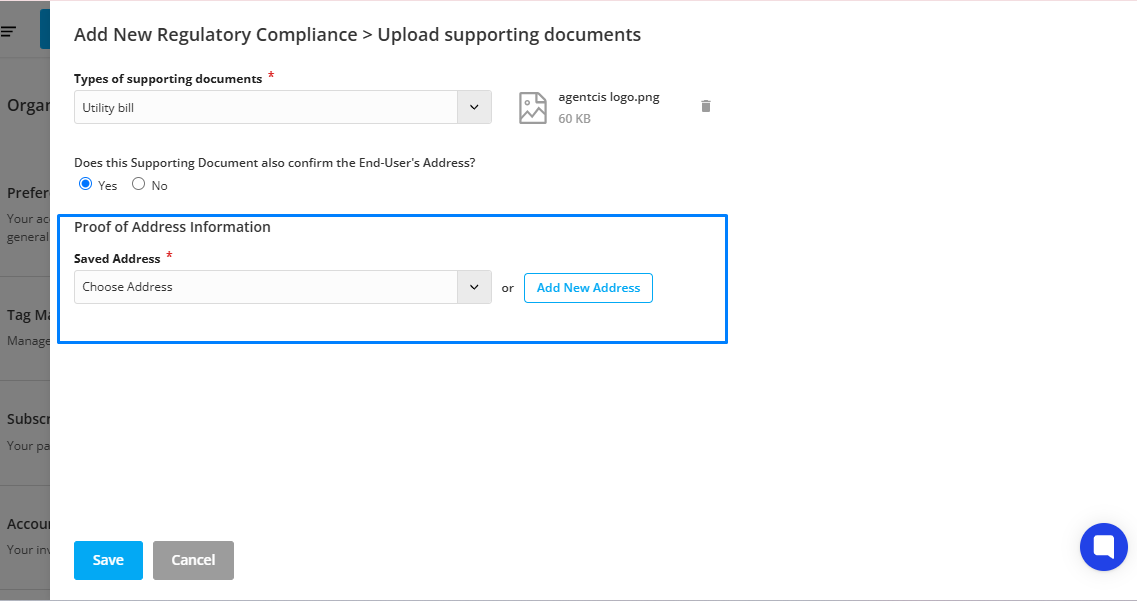
Step 10: Once you upload the document, provide the Proof of Identity Information. Enter the Document Number and Business Name. Then provide Proof of Address Information. You can use the already existing address information or add a new address.
Please Note: Verifying this document will take 24 hours
If the document uploaded does not meet the requirement then it will be declined.
You will be able to view which document was approved or declined before reapplying.
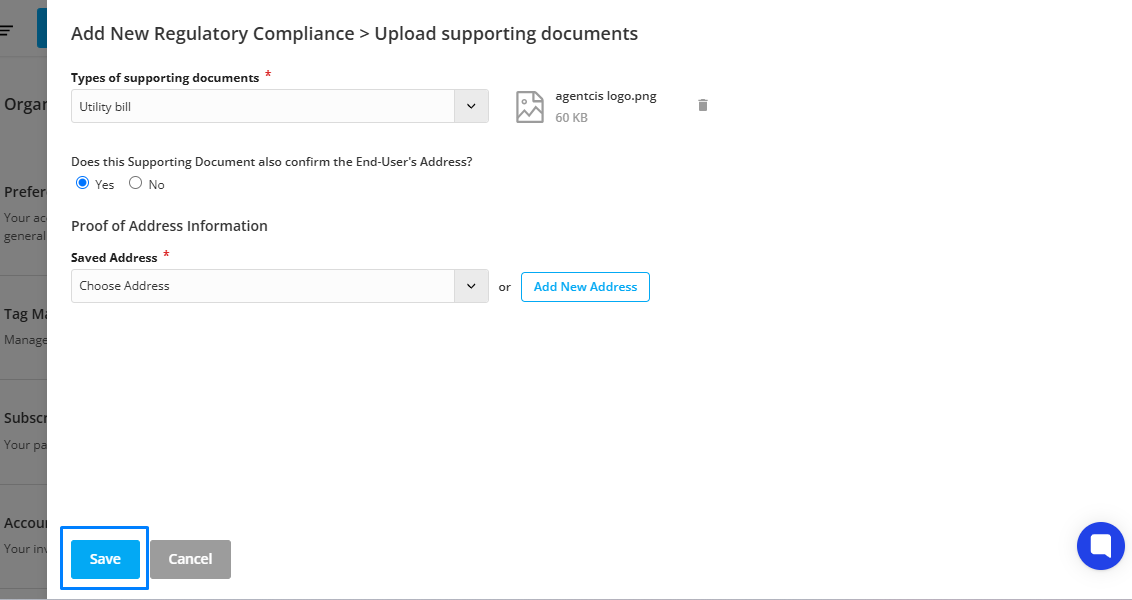
Step 11: Click on Save.
Step 12: You will be taken to a review page. Here, click on the Submit For Review button.
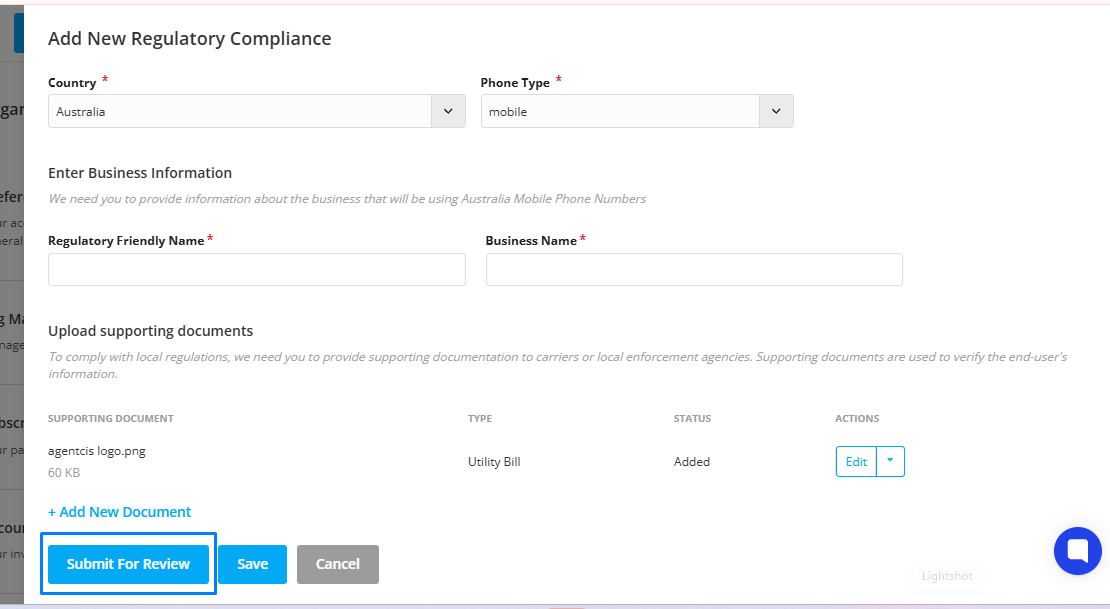
Step 13: Your regulatory documents have now been submitted to be reviewed.
Please Note: Only one regulatory bundle is required for the country for which you want to get the phone number. Only some countries require regulatory bundles to purchase phone numbers such as Australia.
