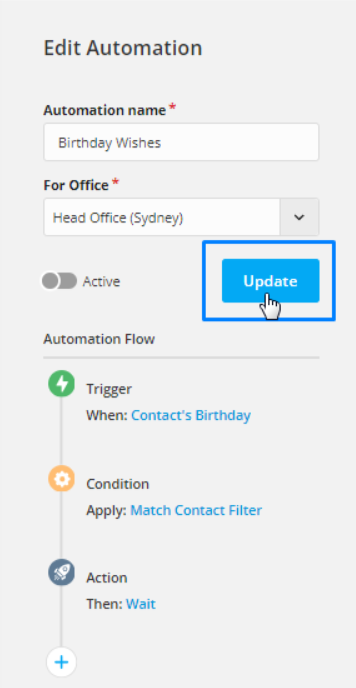
The Automation is a feature that helps to automate various activities in Agentcis. This feature helps the users to work effortlessly and reduce lots of manual tasks that they have been conducting at the moment. You can send automated emails to the clients whenever their application stage changes, notify them automatically for their visa and application dates, send birthday wishes and many more. You can also create automated tasks for the users so that they do not miss any follow up.
Basically, it is a feature that handles repetitive tasks and reduces manual work, helping you save time, avoid errors, and keep things running smoothly.
You’ll need the following permission to create an automation: (You can check with your admin if you don’t have it.)

Follow these steps to create an automation:
Step 1: Select settings icon from the top info bar.

Step 2: Select Advanced Automation Settings from the list of settings.
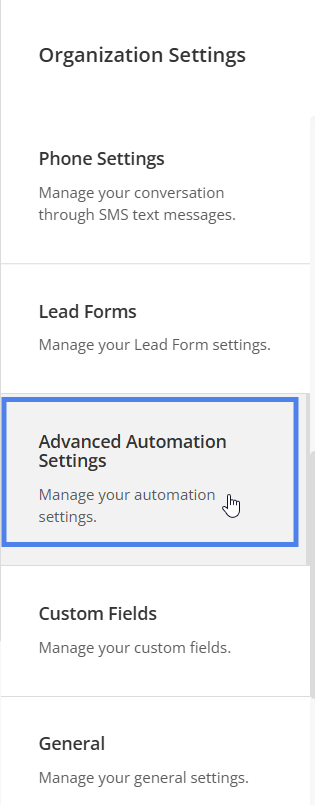
Step 3: You will land on the Automation Settings page. Select Add tab.

Step 3: Fill in the automation detail that is the automation name and then select for which branch office you are willing to run the automation.
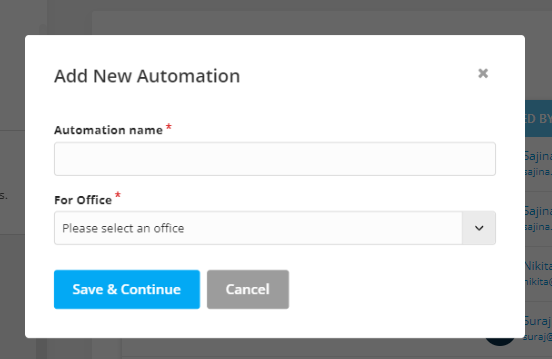
Step 4: Choose the right trigger.
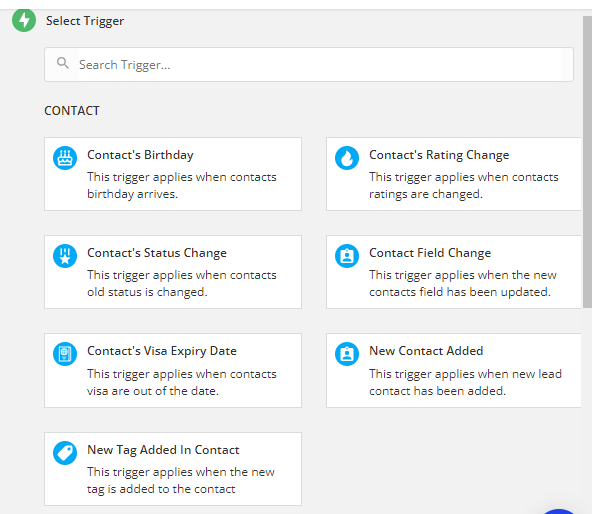
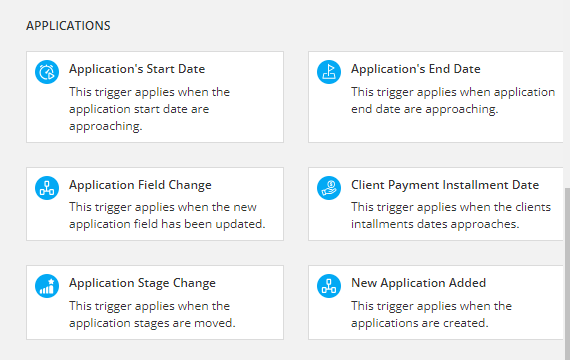
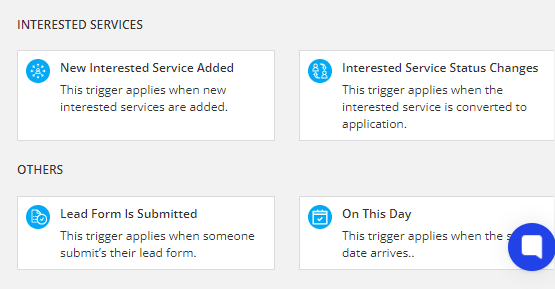
In Agentcis, we have provided various triggers related to the clients and applications. Each trigger is the start of automation and automatically runs when those triggers are activated. Simply select a trigger from the given list to get started.
For example,
When you want to send a birthday email or message to your contact, you need to select the Contact’s Birthday trigger. (This is a date-based trigger)
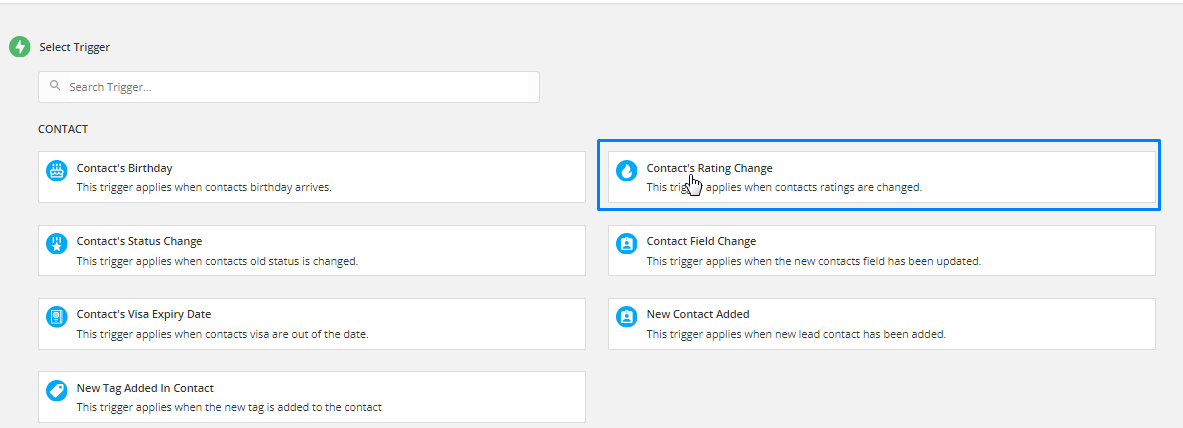
When you want to create a list of tasks on the offer letter stage of application, you need to select Application Stage change trigger. (This is action based trigger)

Step 5: Finalize your trigger and click on the selected trigger to select.
Each trigger has certain fields that need to be defined to activate the trigger. You will be able to see further details on each trigger, once it’s selected.
If the trigger is date-based, the further information would be whether to perform the action on the same day as the trigger date or on an earlier date.
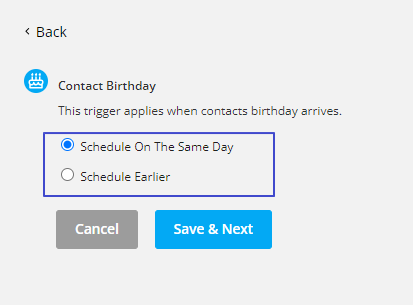
If the trigger is action-based the further information would be the event of the action.
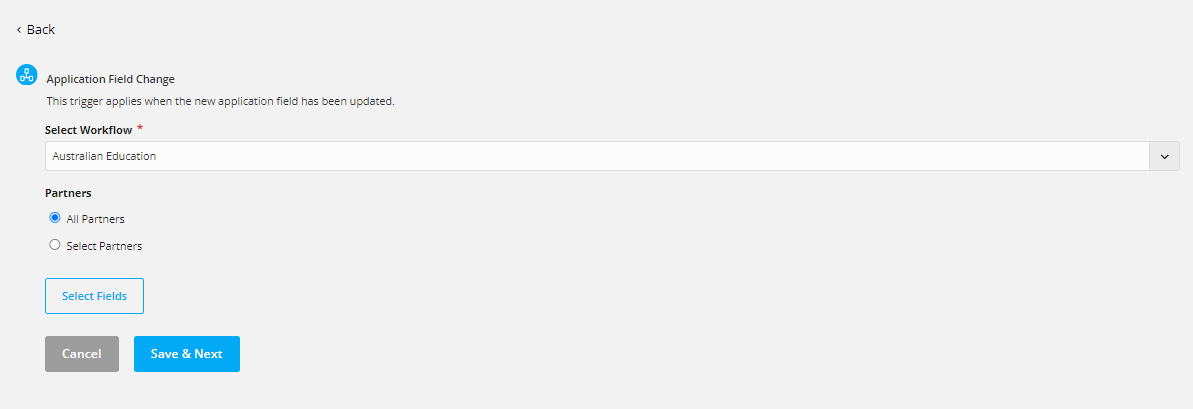
Step 6: Once the details are selected select the “Save & Next” tab.
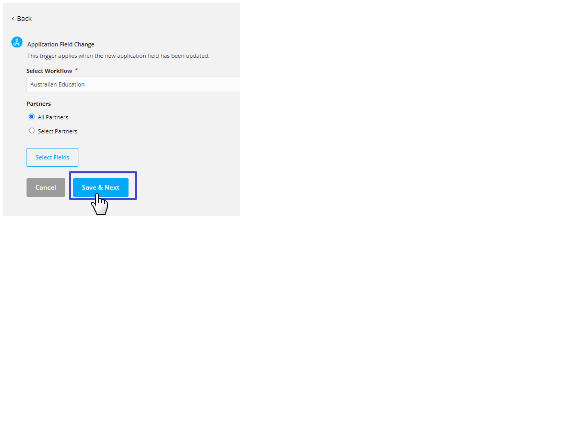
Step 7: Select a condition (if any).

The conditions are used in Automation to filter the results that come from the trigger. Conditions are not compulsory but can help you to function your automation properly.

For example,
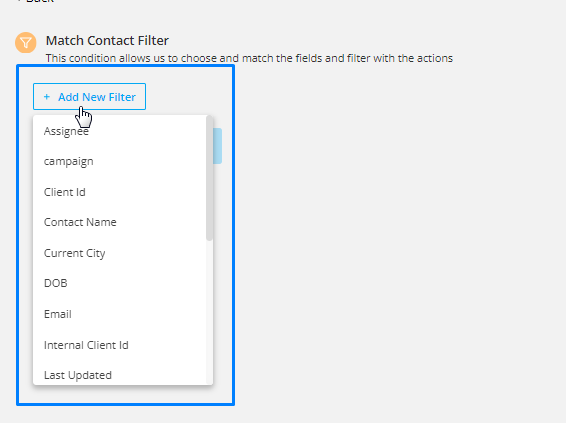
If you would like to send the birthday wishes only to the clients of a particular Assignee, you can select the Assignee from the condition filter.
Step 7: Select a delay action, if you want to wait for some time before the action is triggered.
Delay can come useful when you want to set a series of emails or sms to be sent in a certain interval of time after trigger is activated and conditions are met.
To select the delay option select the add action tab.
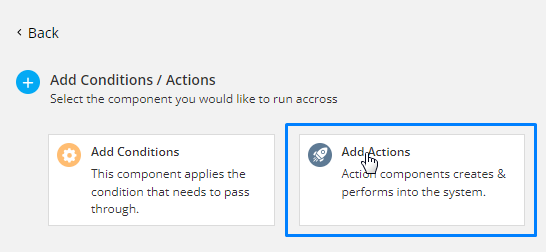
Then select Wait tab.
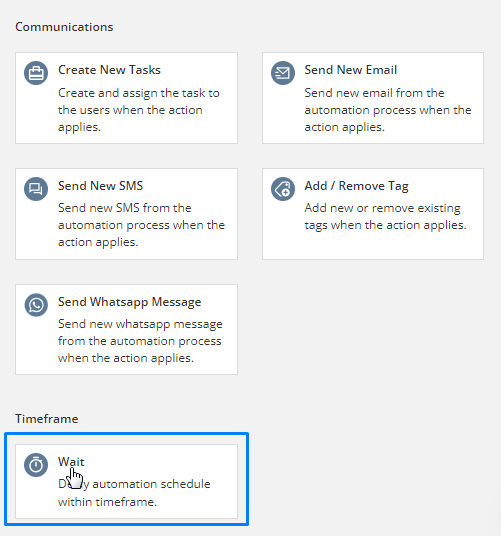
For example,
You want to send an email 5 hours after a client’s birthday. Here, you can select to send the birthday email 5 hours after they have submitted the form.
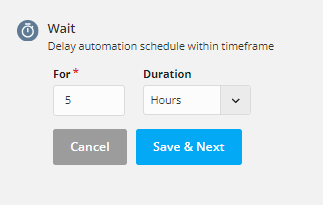
Note: To delay a certain action, the delay option has to be selected before the action.
Step 8: Select an action you would like to perform.
The automation is incomplete without Actions. Trigger will activate certain functions and provide results, conditions then filter those results and finally actions will be performed in those results. In Agentcis, we have 4 actions provided - creating a Task for your users, sending an Email, sending an SMS, Add/ Remove the Tags and setting delay for the next step by some time.

For Example,
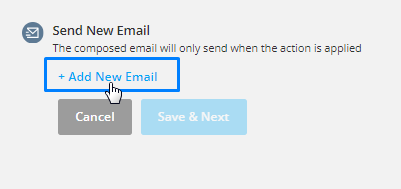
If you would like to send the birthday wishes to your clients, you can select Send New Email in action.

Then you can add the details of the email in the pop up that appears.
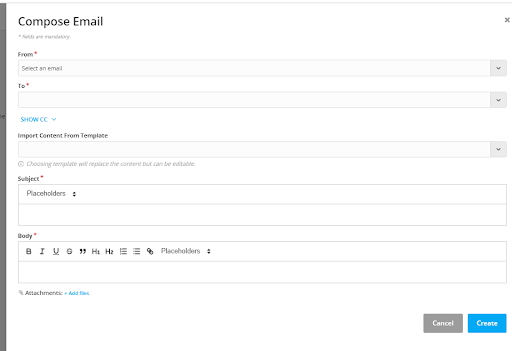
Please select the correct placeholders to make the emails more informative.
You can select the predesigned template as well from the Import Content From Template section.
Additional Steps: You can keep adding further conditions and actions for the same trigger in the same automation.
You can check the visual flow of the automation on the left side.
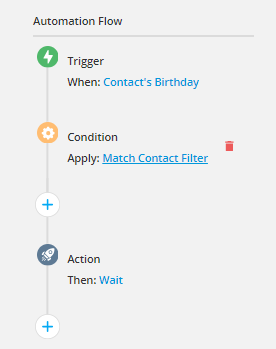
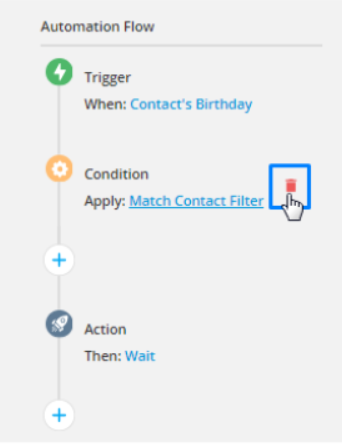
You can use this flow to delete or add an action or a condition. To delete hover on the detail you want to delete and select the delete icon.
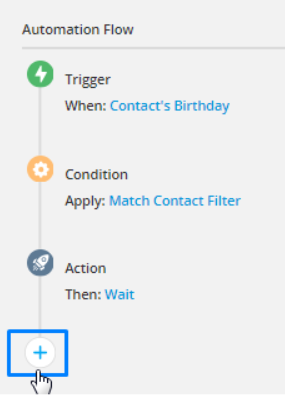
To add the actions or conditions, select the plus icon.
Final Step: Click on the Update button. Select Active to make the automation work.
