The Email Campaign feature allows you to send emails in bulk to your targeted audience. With the ability to apply filters, you can segment contacts according to your requirements and send highly relevant messages. This not only saves time but also ensures your communication reaches the right people at the right time. Well-planned campaigns help maintain consistent branding, improve client engagement, and increase the chances of conversions — whether your goal is to share updates, promote offers, or remind clients about important deadlines.
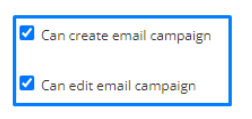
Ensure you have the necessary permission to create and send email campaigns in the system.
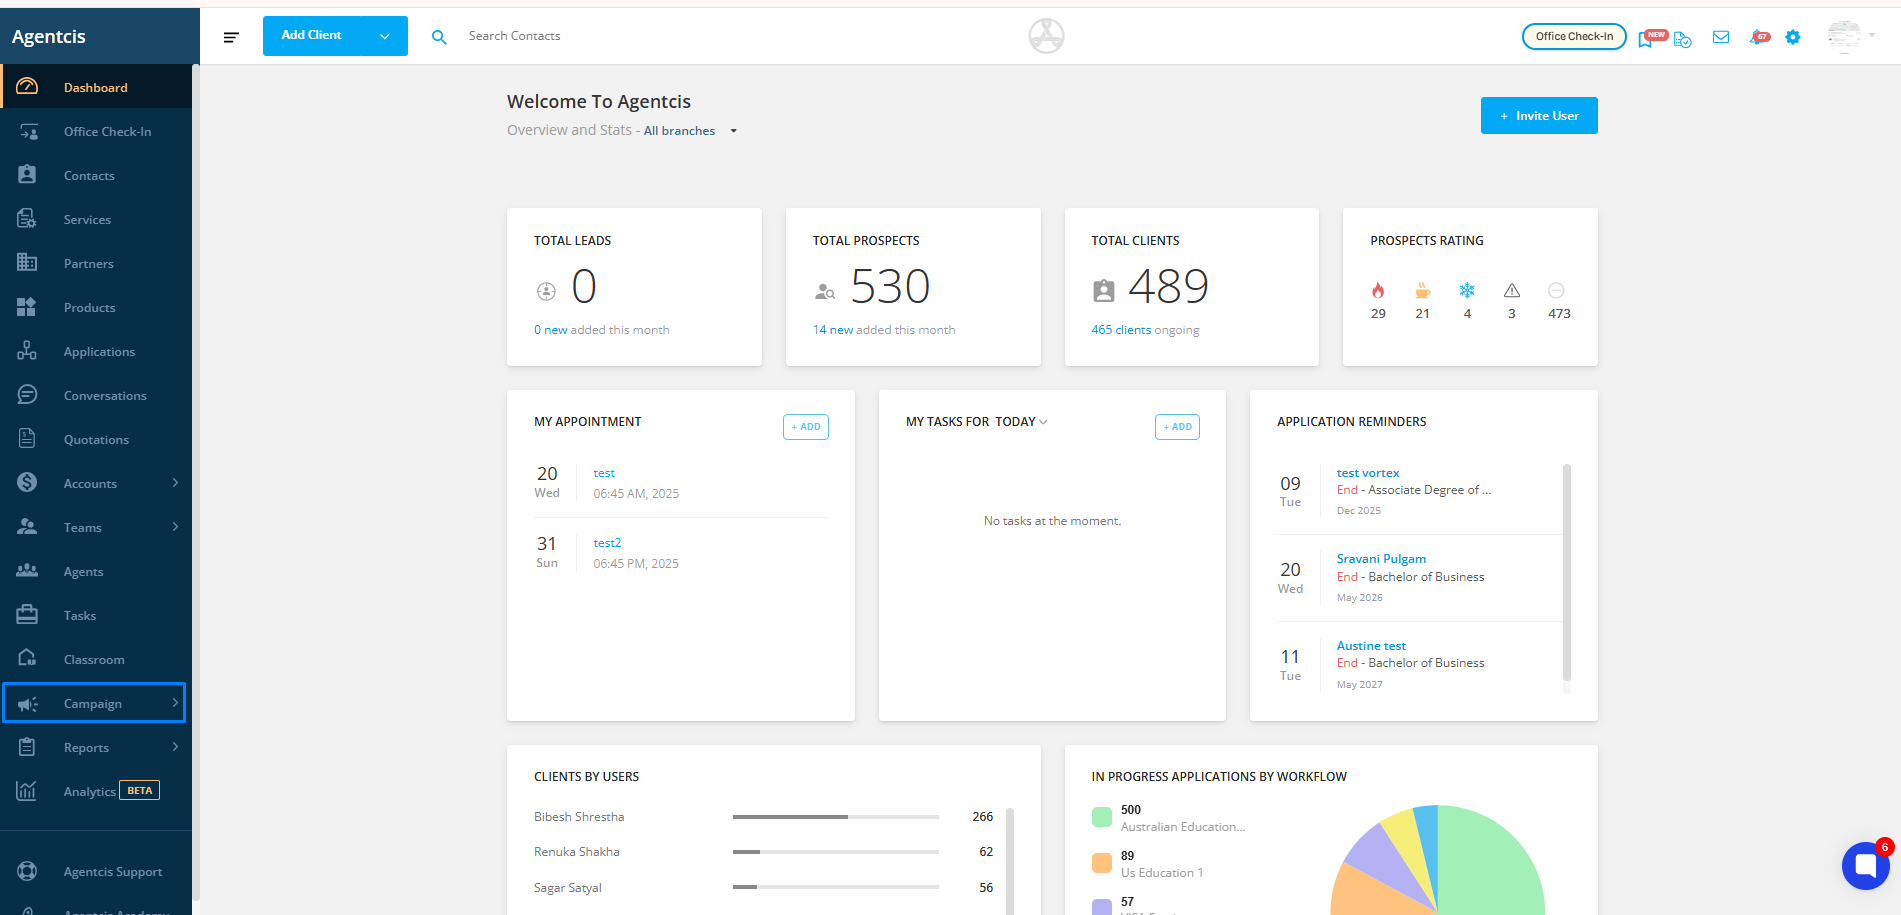
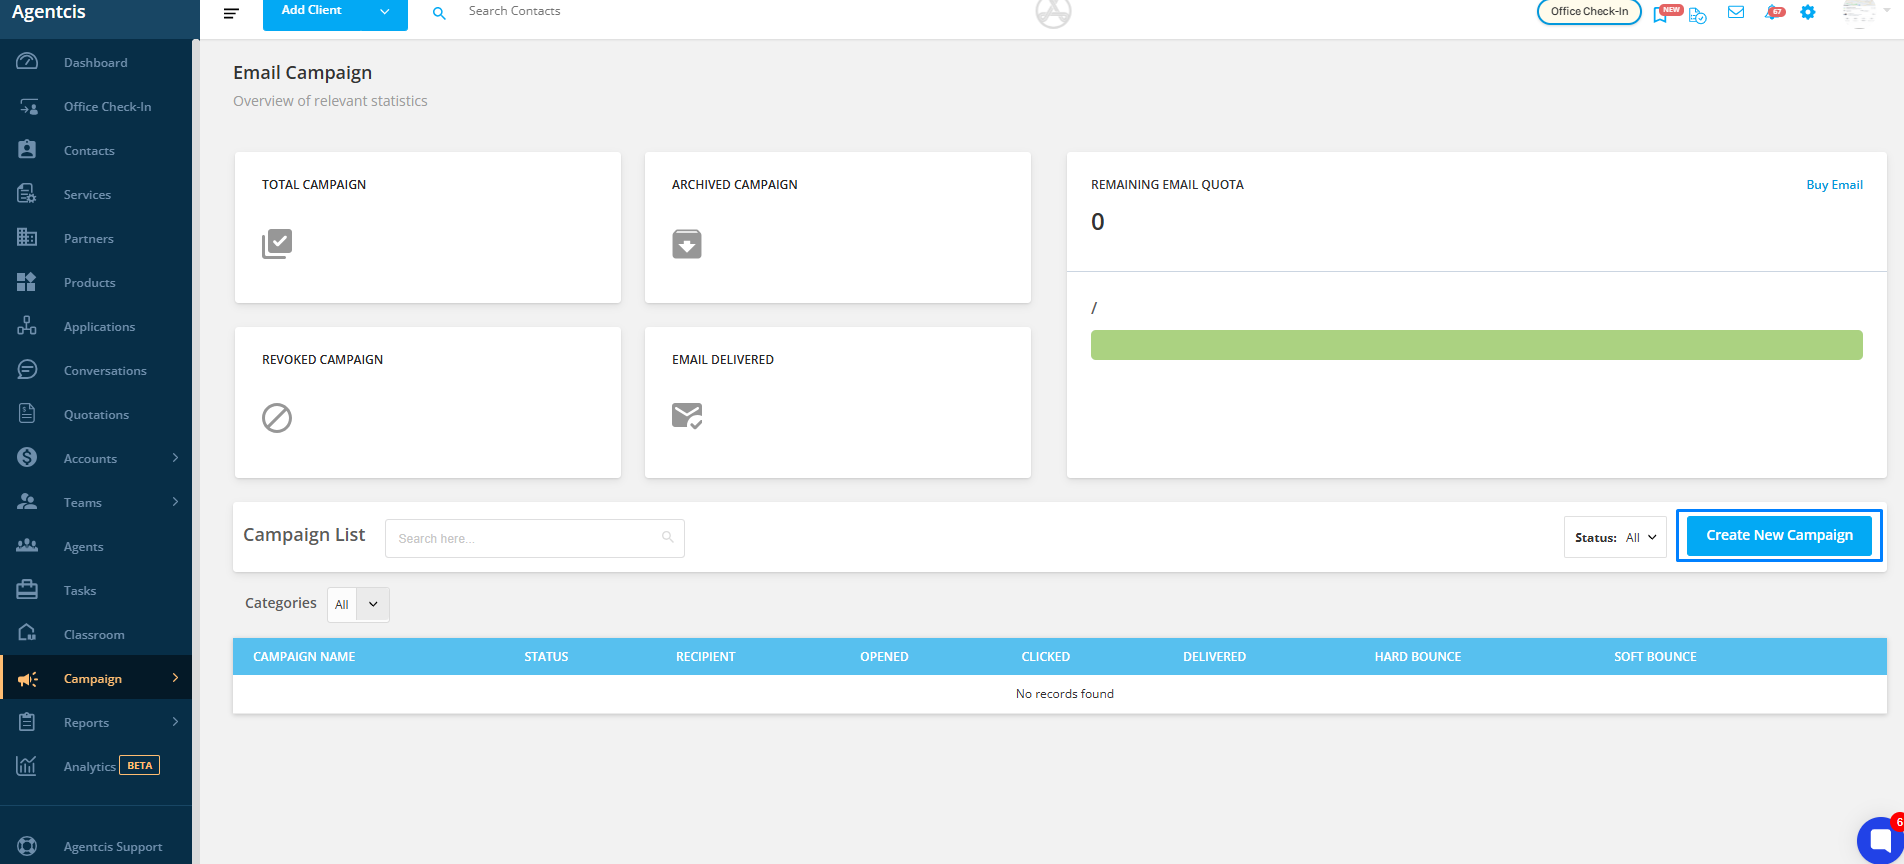
Click Campaign from the left navigation bar.
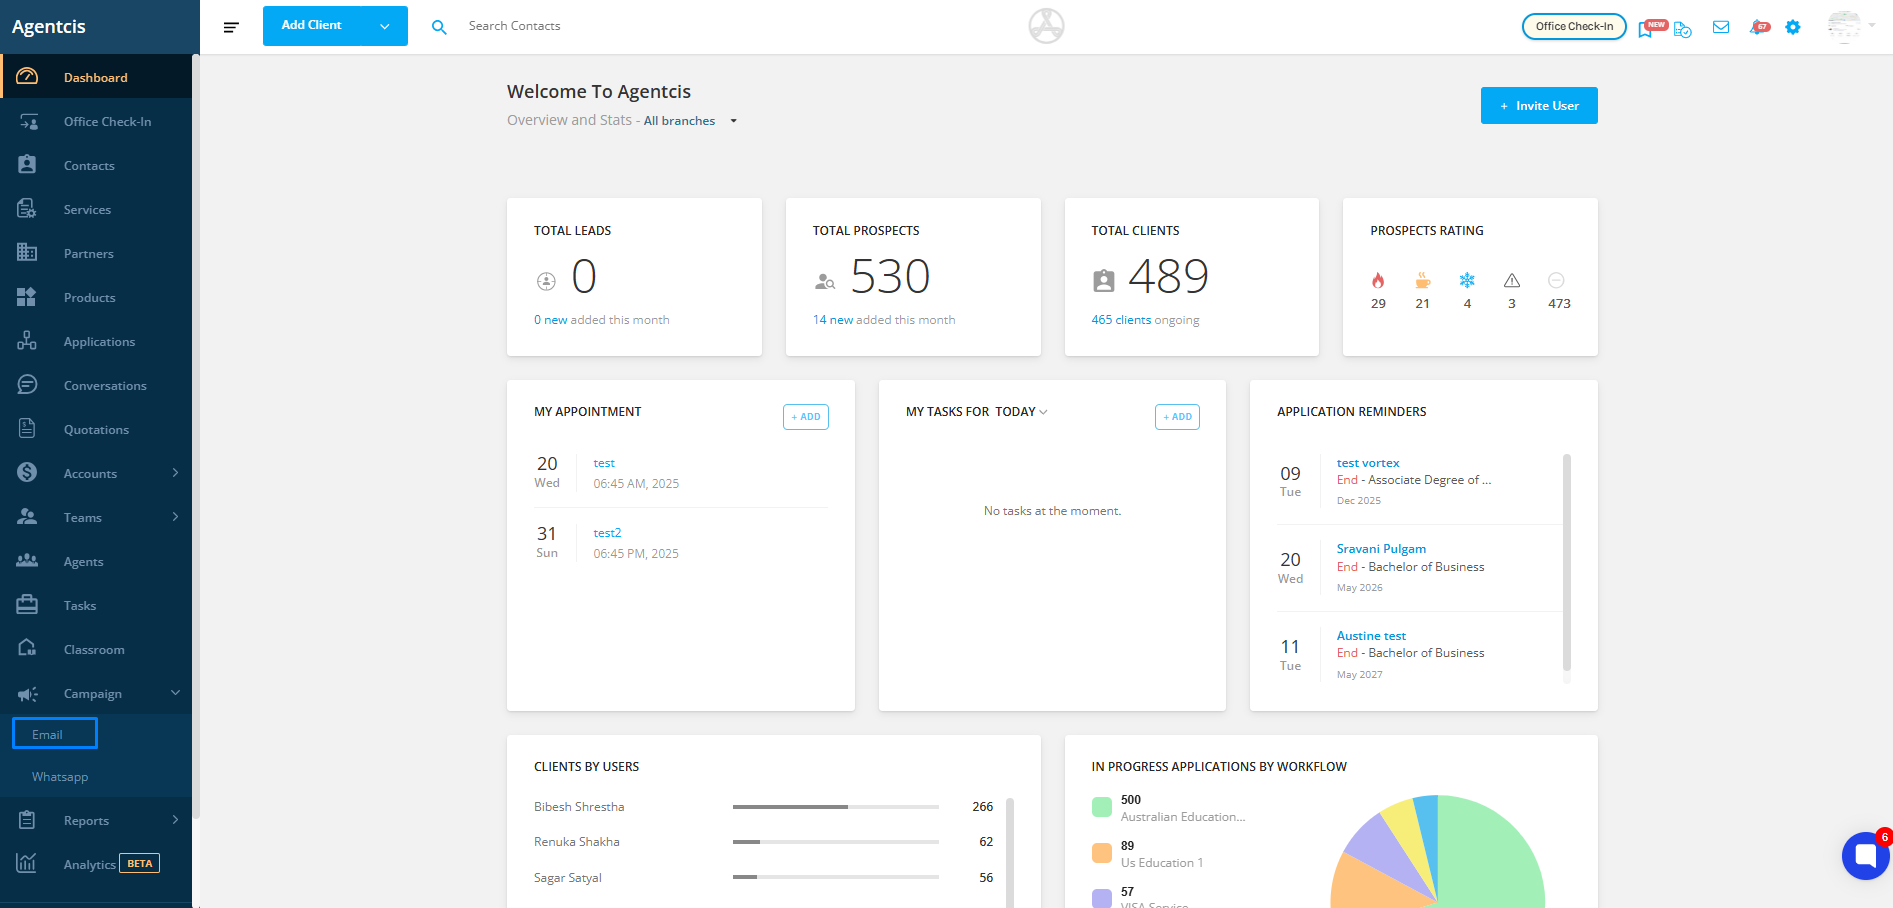
Select Email from the dropdown menu.
Click Create New Campaign on the right side.
Step 2: Set Up Campaign Information
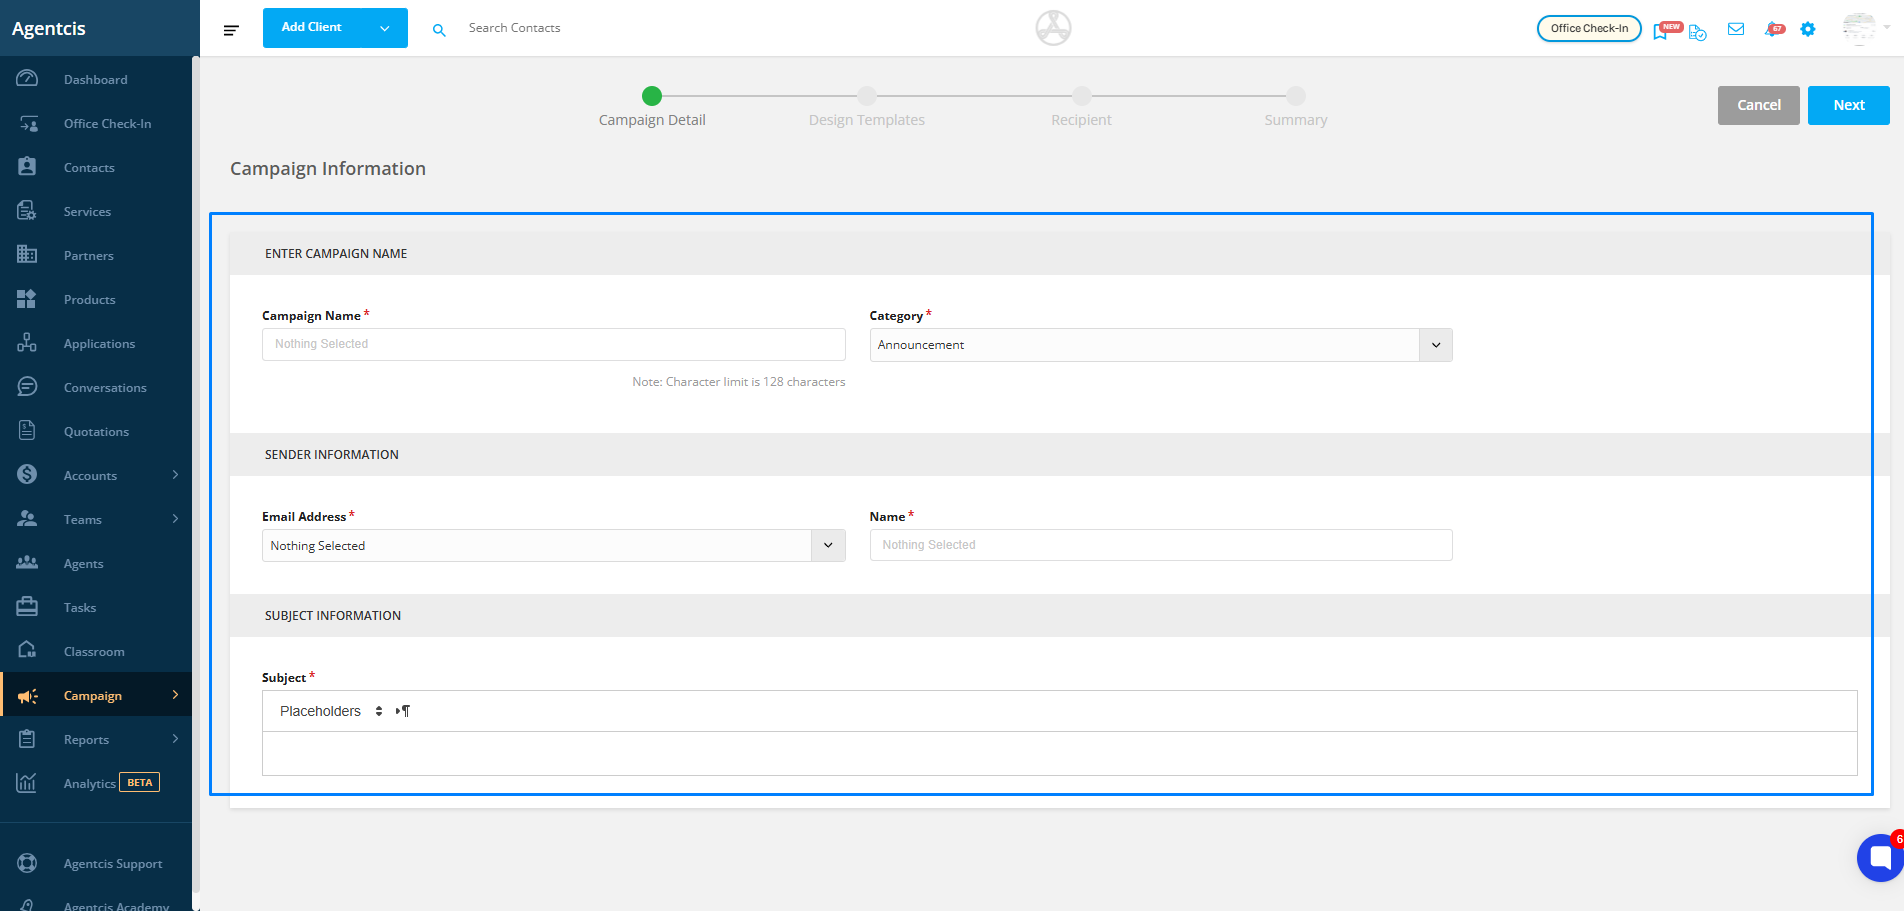
Campaign Name
A clear, descriptive name to help you identify the campaign later.
Keep it short but specific, so you and your team know what it’s about without opening it.
Examples:
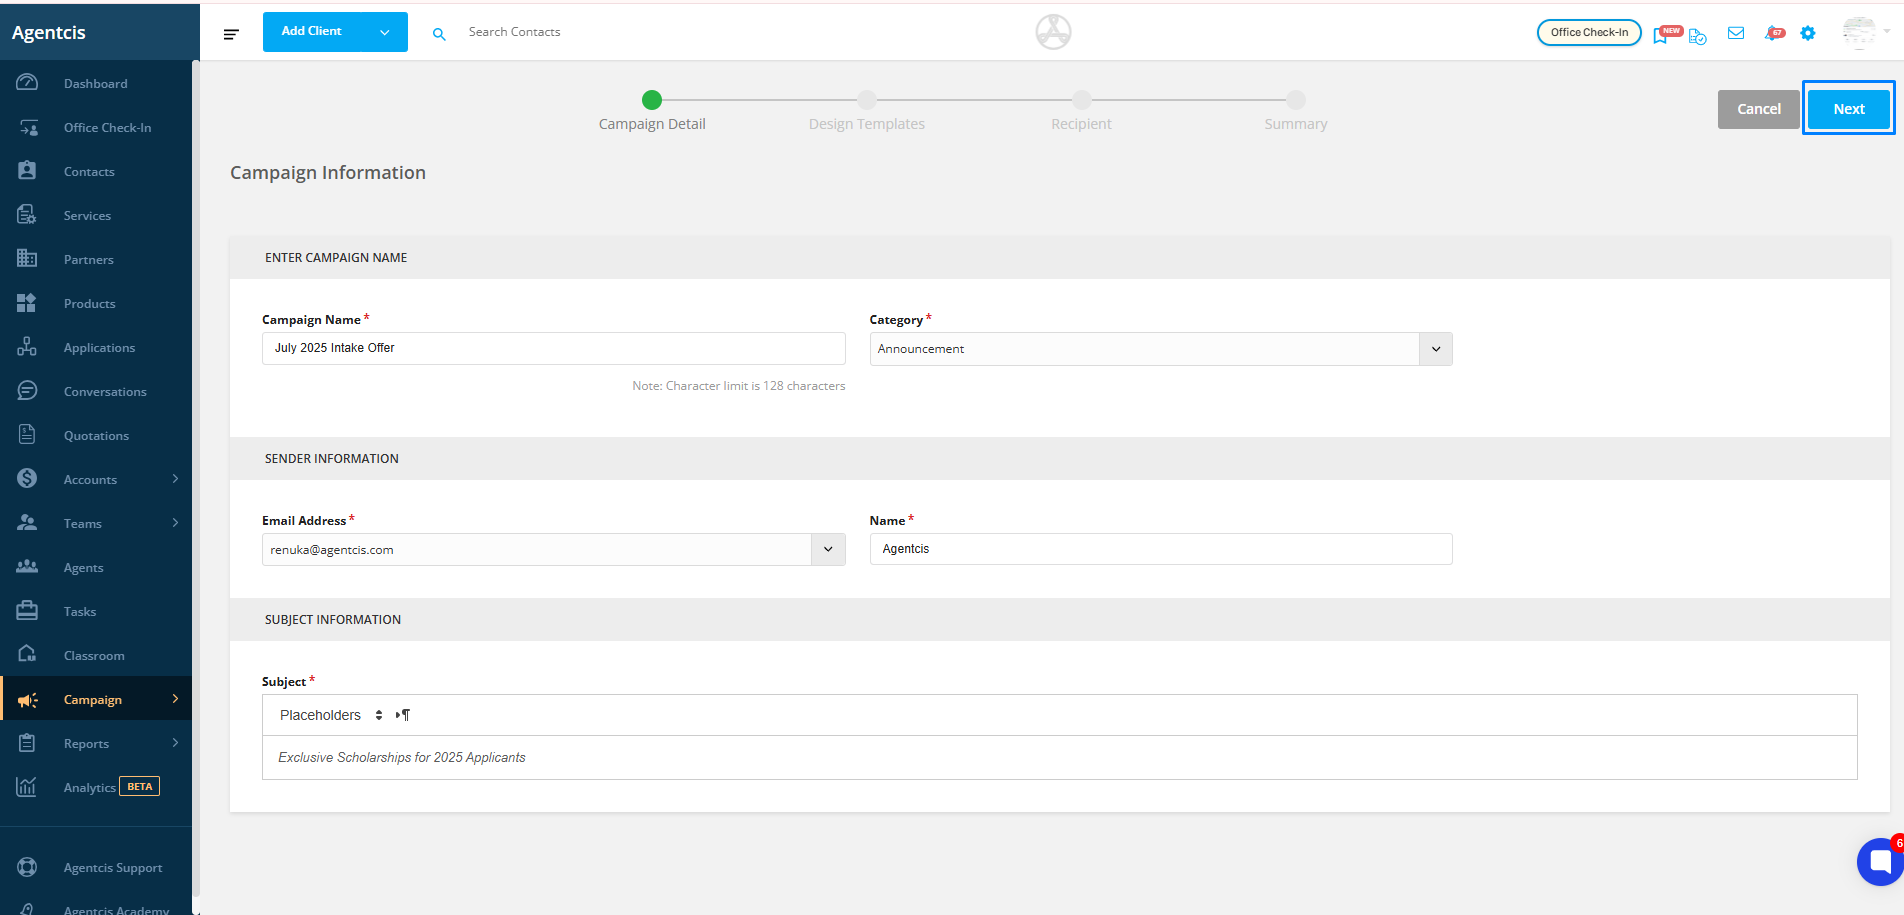
July 2025 Intake Offer
Scholarship Updates – Spring 2025
Post-Event Follow-Up – Education Fair
Category
A label to group and track campaigns with similar purposes.
Helps you filter and analyze campaign performance later.
Suggested Categories:
Promotions – for discounts, offers, or special deals
Updates – for news, announcements, or policy changes
Reminders – for application deadlines or upcoming events
Events – for webinar or seminar invitations
Newsletters – for regular updates sent to subscribers
Sender Information
The name and email address your recipients will see in their inbox.
Use a trusted, recognizable name to build credibility.
Examples:
ABC Education Team info@abcedu.com
Avoid generic names like “Admin” or “No-Reply” unless necessary.
Subject Line
The headline your audience sees in their inbox — make it relevant and engaging.
Keep it under 50 characters for better display on mobile devices.
Avoid spam-trigger words (e.g., “Free!!!”, “Win Now”) and focus on clarity + value.
Examples:
“Apply Now – August Intake Closing Soon”
“Exclusive Scholarships for 2025 Applicants”
“Your Study Abroad Checklist Inside”
Click Next to proceed.
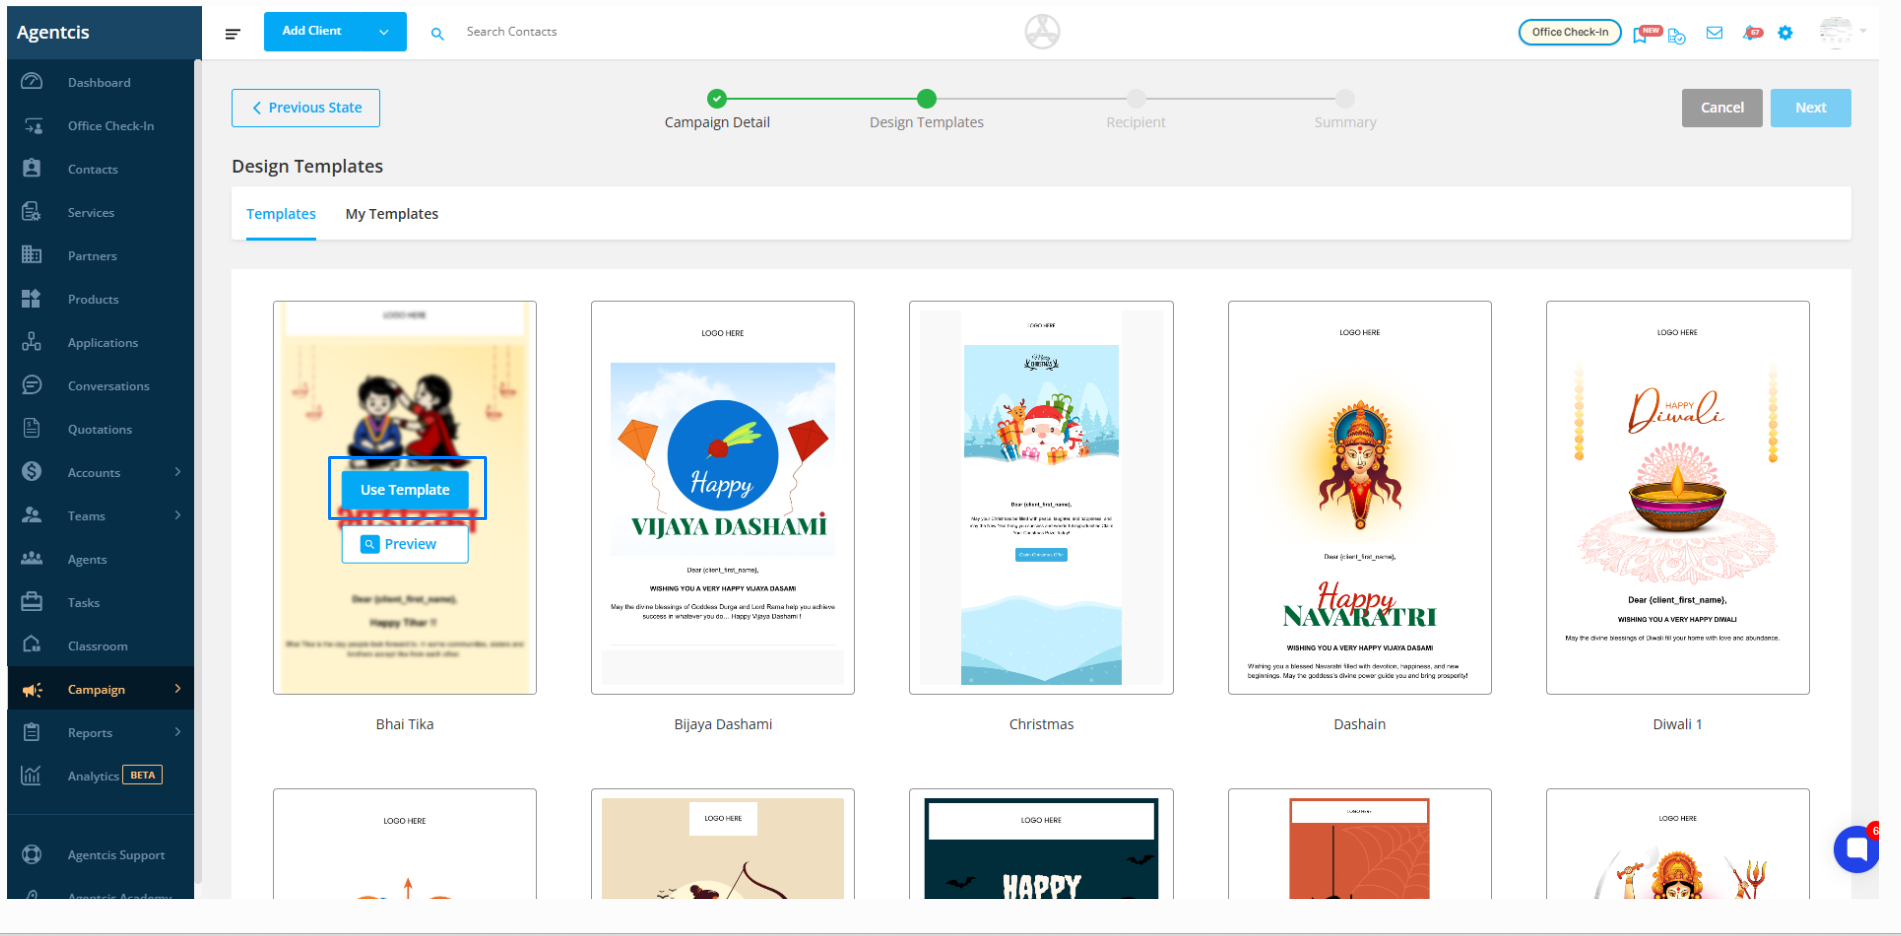
Select Template to design your campaign layout.
Choose from:
Blank Template – Create your design from scratch.
Pre-designed Templates – Use ready-to-edit designs provided by the system.
3. Customize your template by dragging and dropping elements such as text, images, buttons, and dividers.
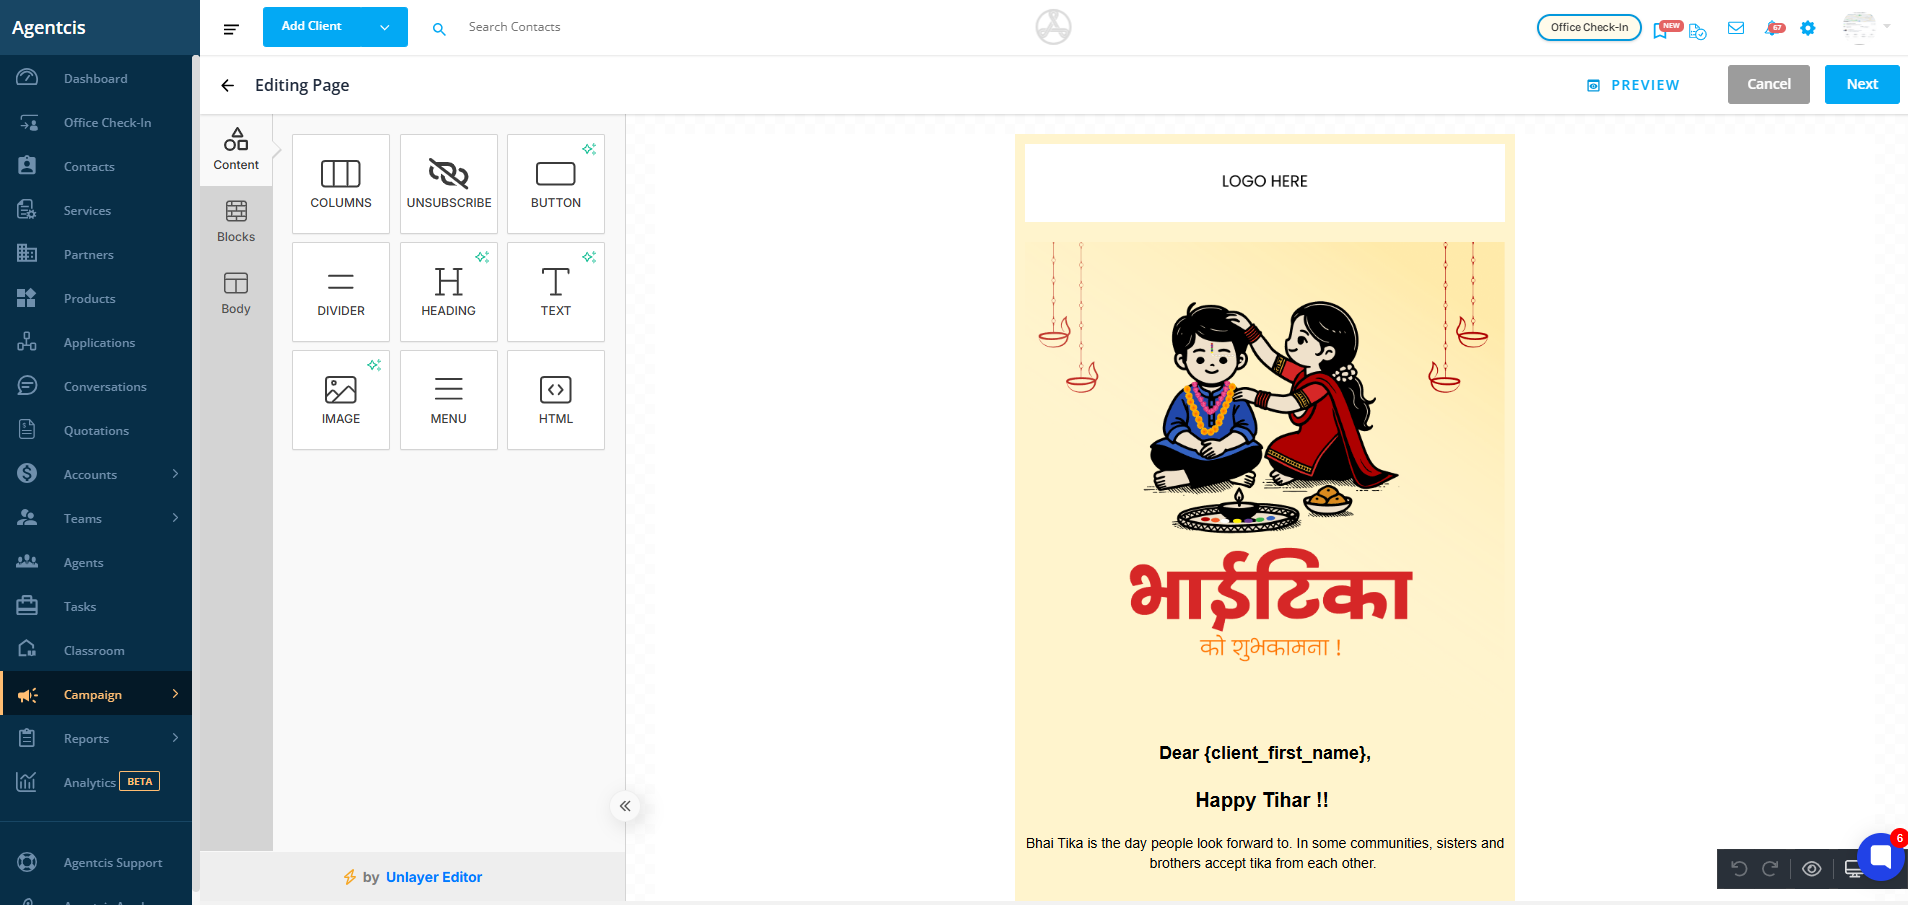
Save your completed template — it will appear under My Templates for future use.
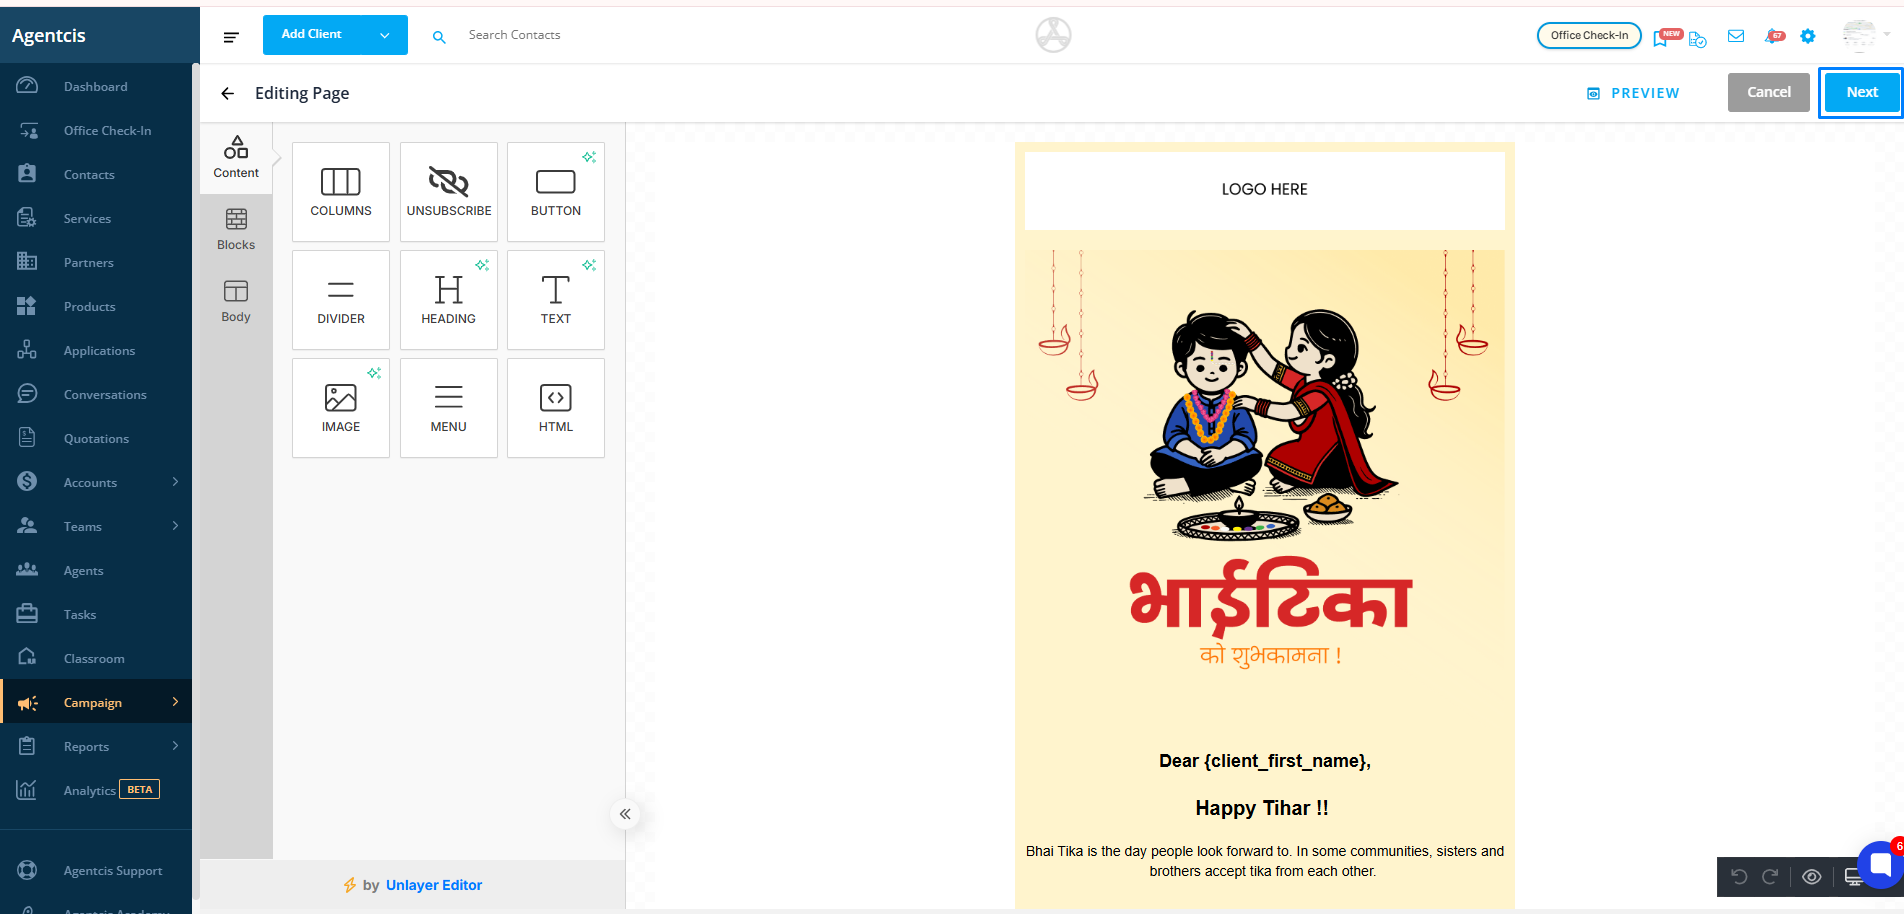
Click Next once finished.
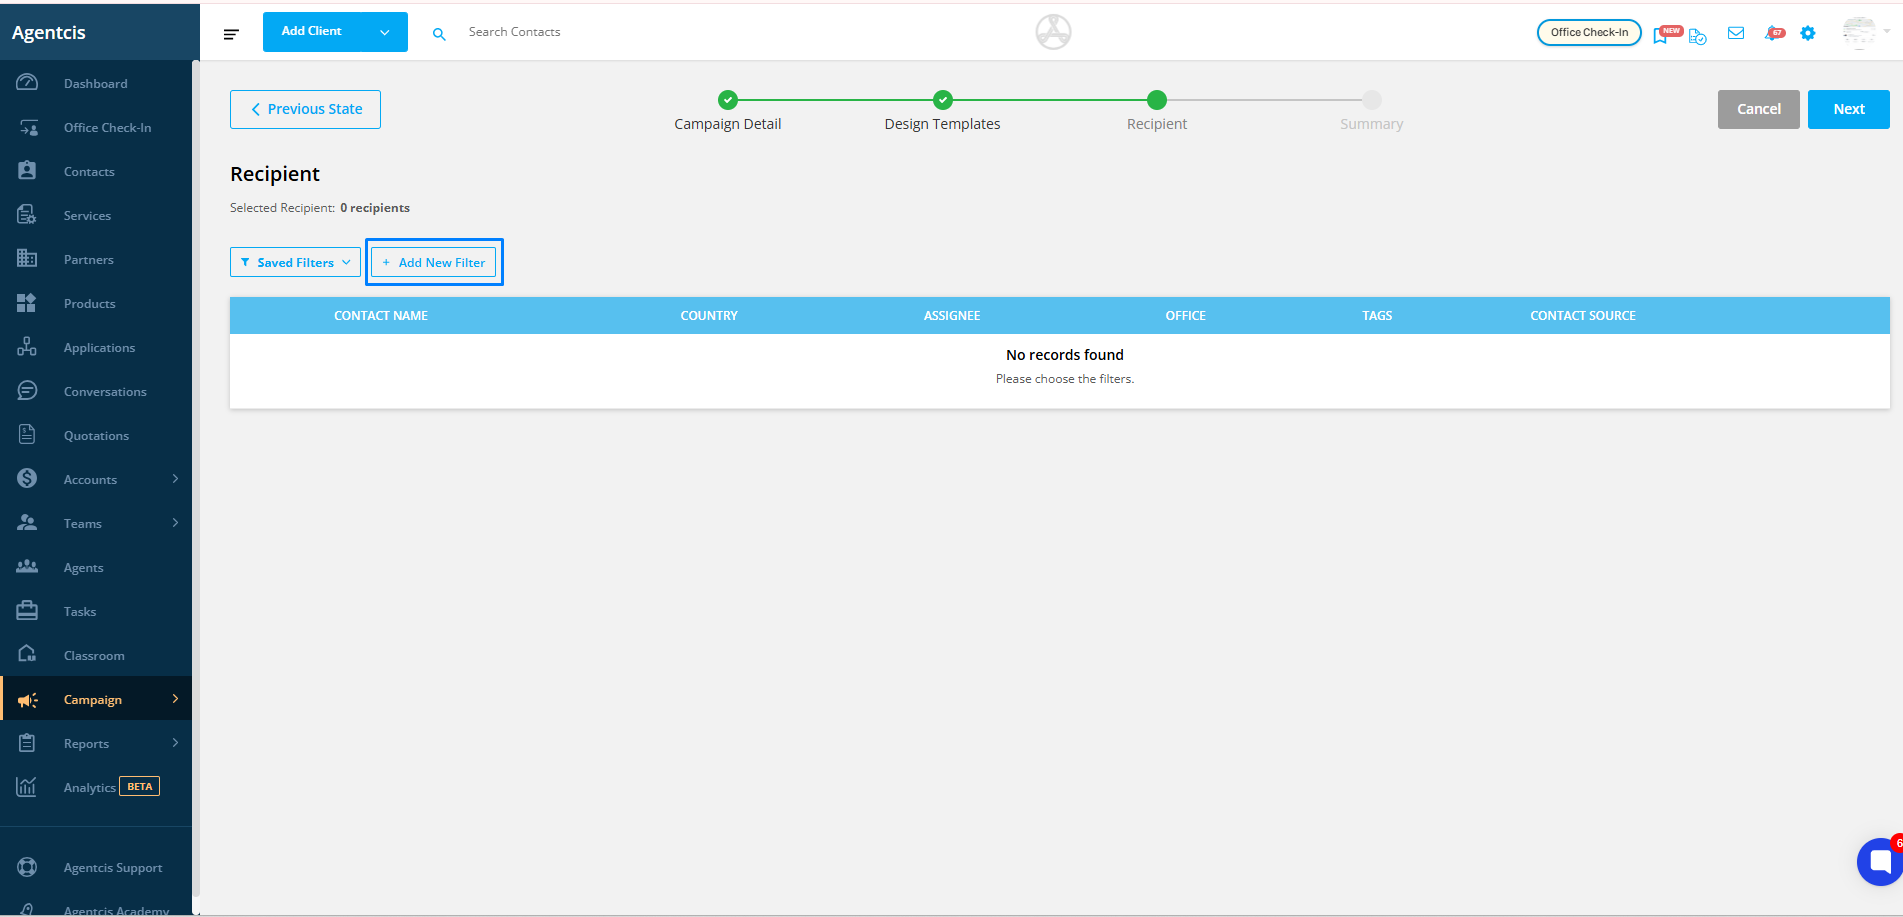
4. Set Recipients
Click Add New Filter to target your desired audience.
Select the required filters.
Apply multiple filters if needed by selecting Add New Filter again.
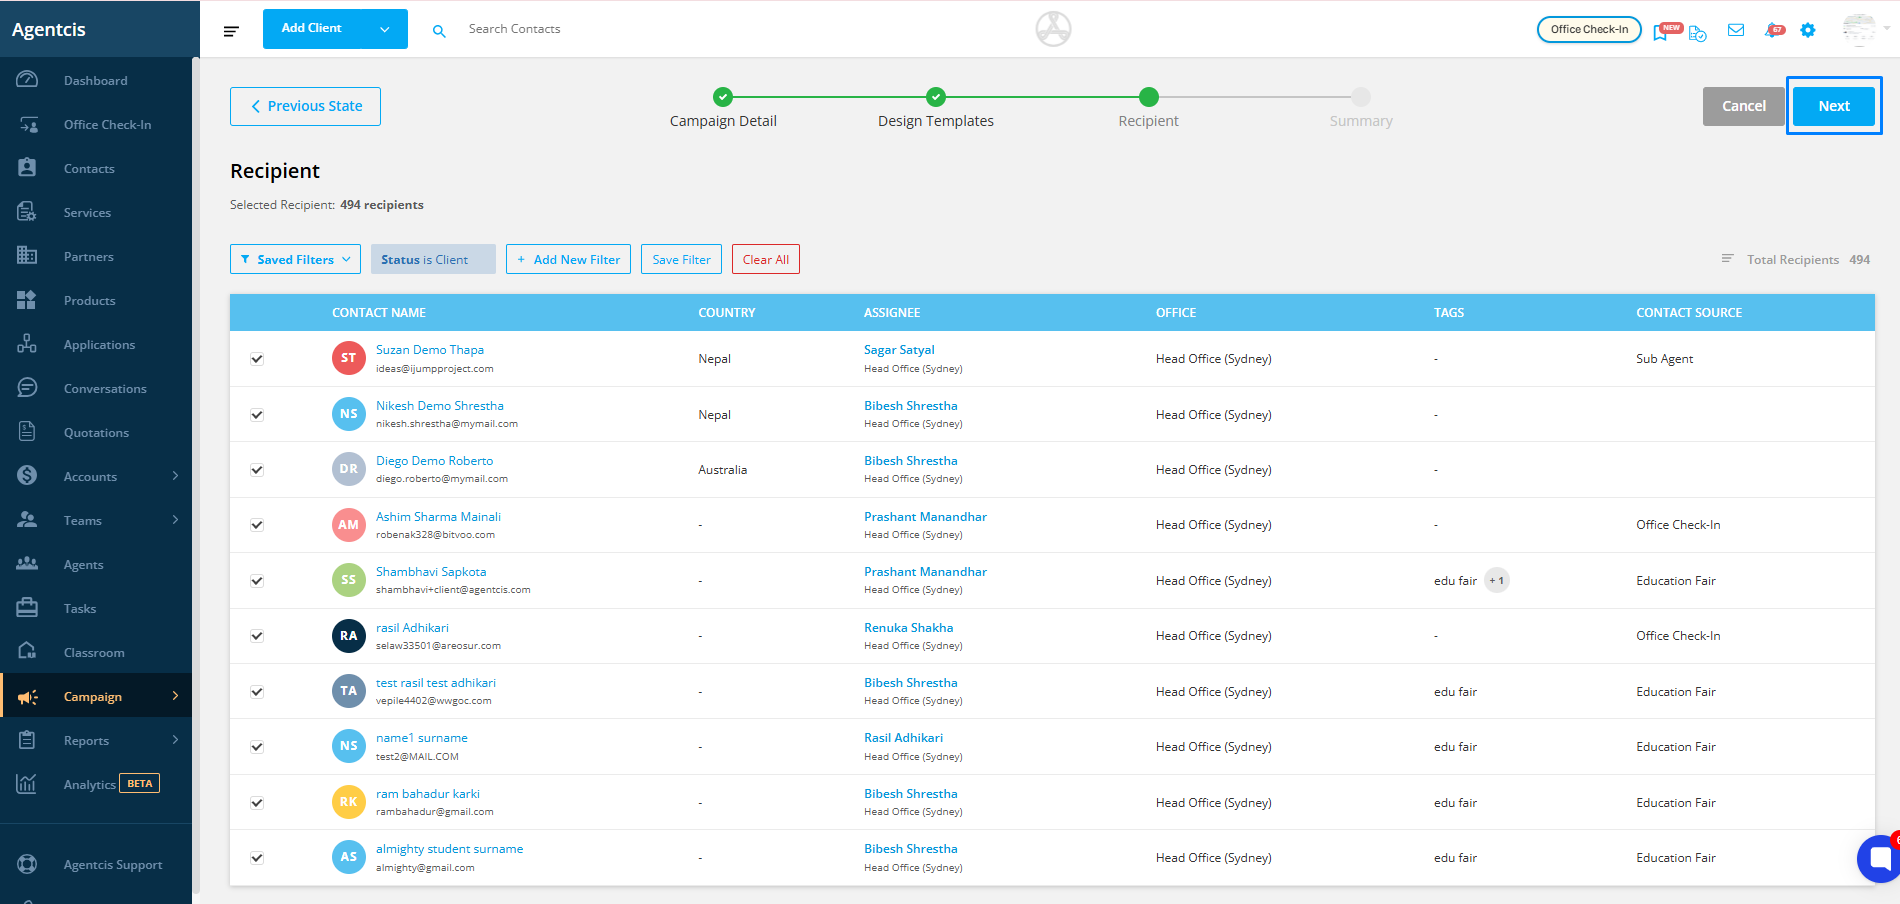
(Optional) Save frequently used filters for future campaigns.
Review the filtered contact list and select the recipients you wish to include.
Select Next once done with the selection of recipients
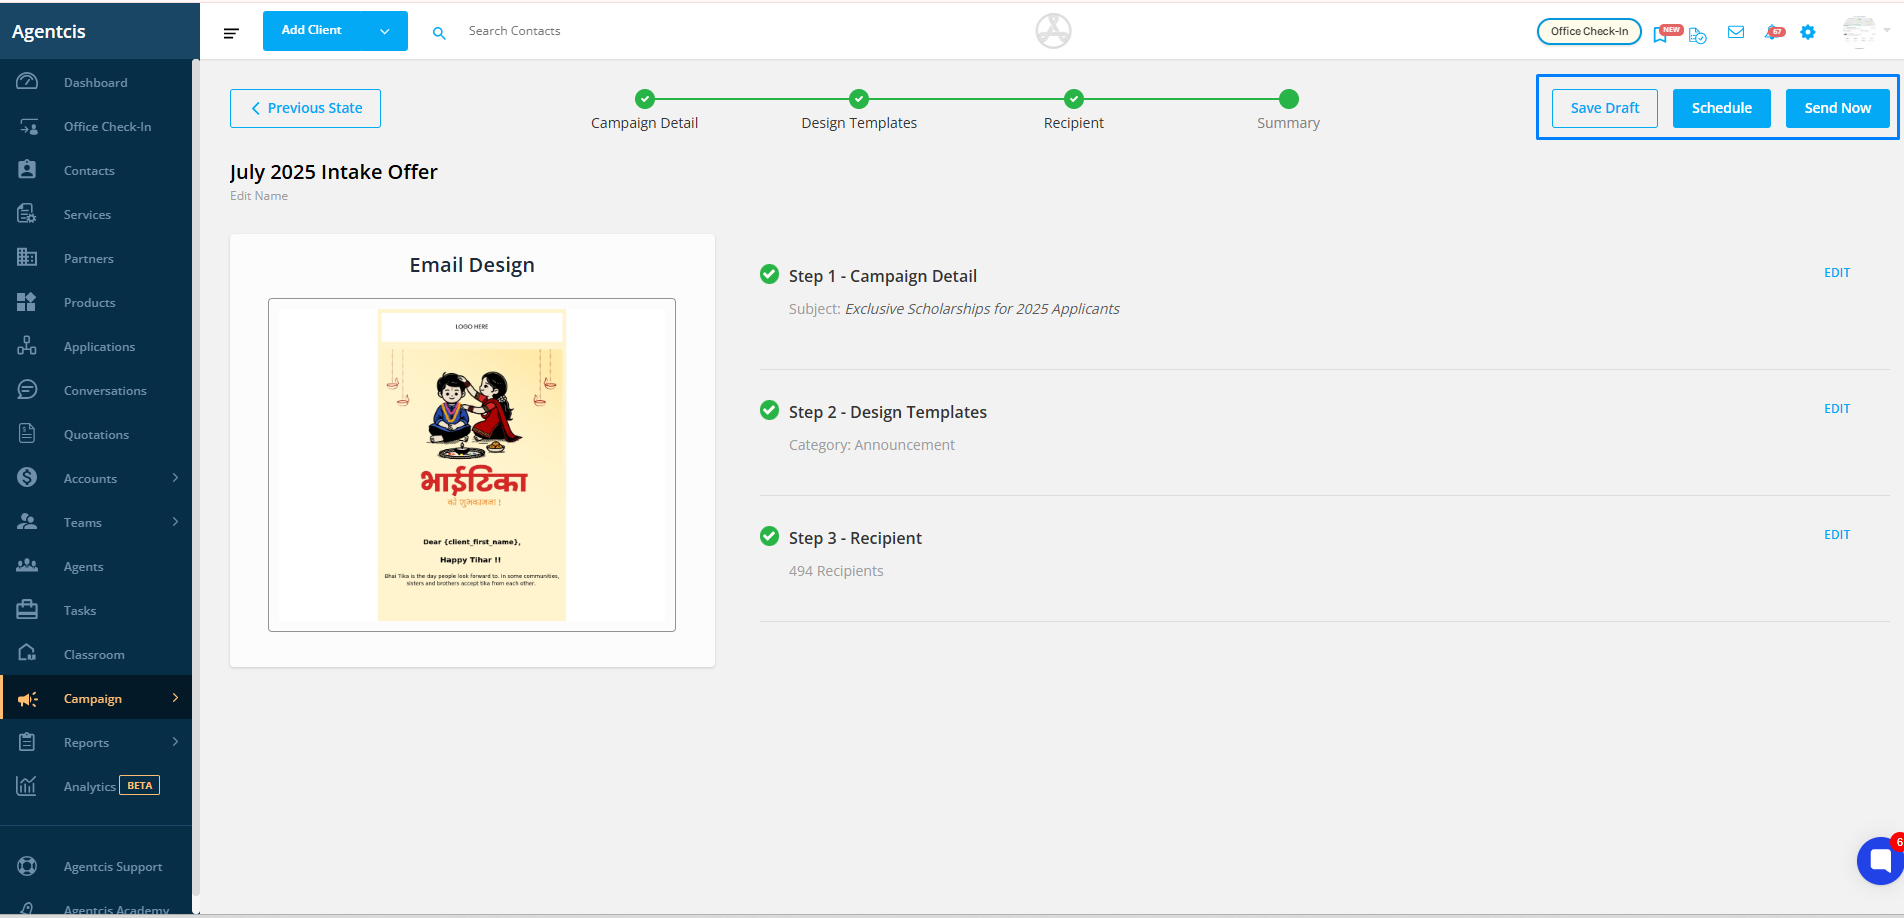
5. Review Campaign Summary
Check all details — campaign information, template, and recipients.
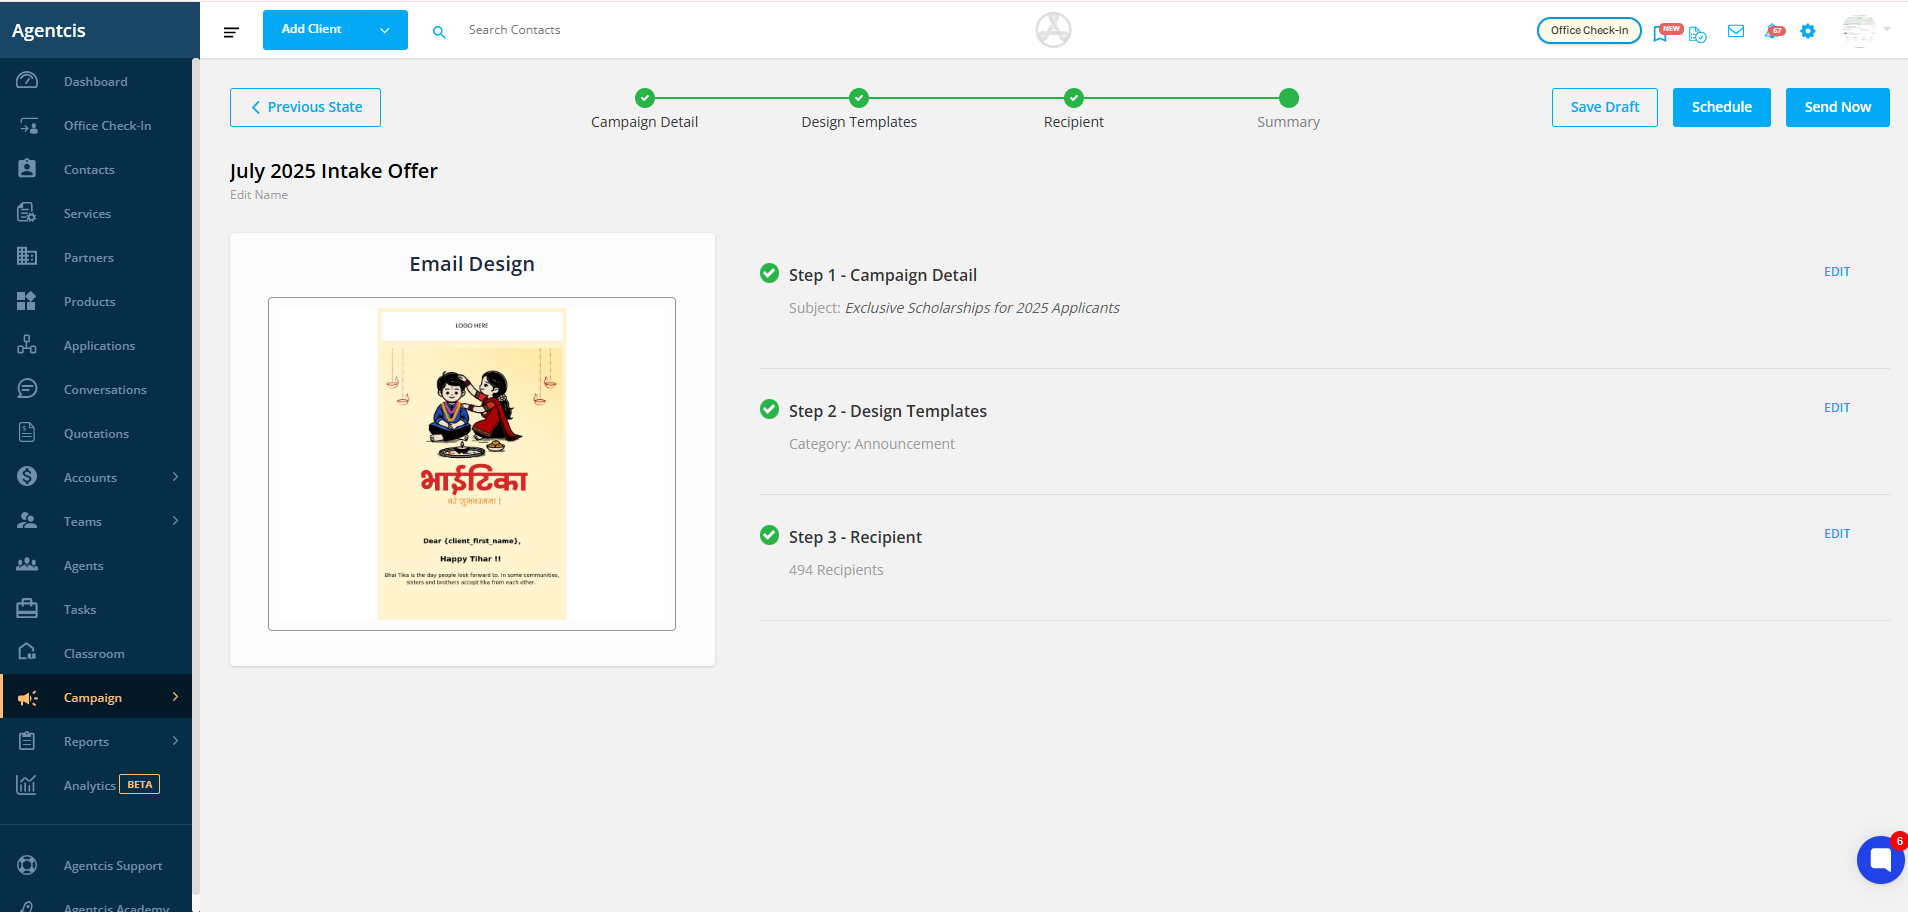
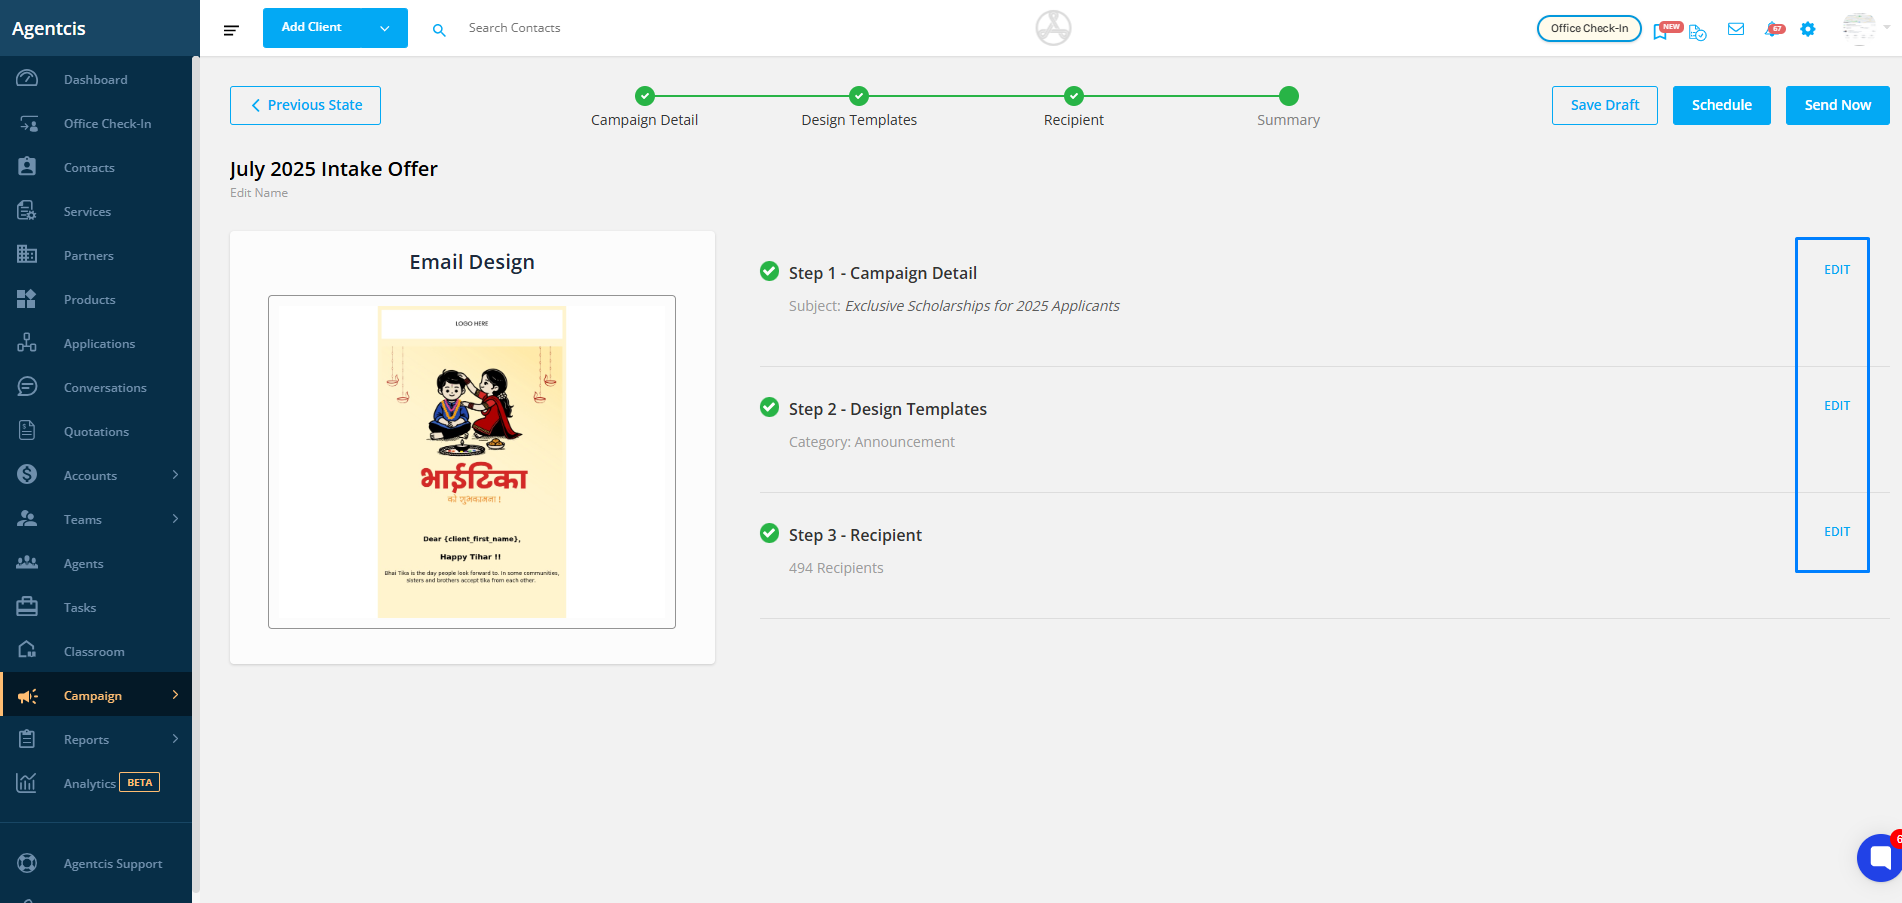
Edit any section if needed by clicking Next beside that section.
Send Now – Dispatch the campaign immediately.
Schedule – Choose a specific date and time for sending.
Save Draft – Store the campaign for further editing before sending.
