Bulk import is the process of uploading multiple records or entries into a system at once—using a structured file (like an Excel or CSV template)—instead of adding them one by one manually.
In Agentcis, bulk importing is particularly useful for uploading large volumes of applications efficiently and accurately.
In Agentcis, an Application refers to a formal request submitted on behalf of a client to a partner institution—such as a university or college—for a specific course or program.
👉 Learn more about what an application means in Agentcis here.
To help you manage multiple applications efficiently, Agentcis allows you to import applications in bulk. Follow the steps below to ensure a smooth and successful upload:

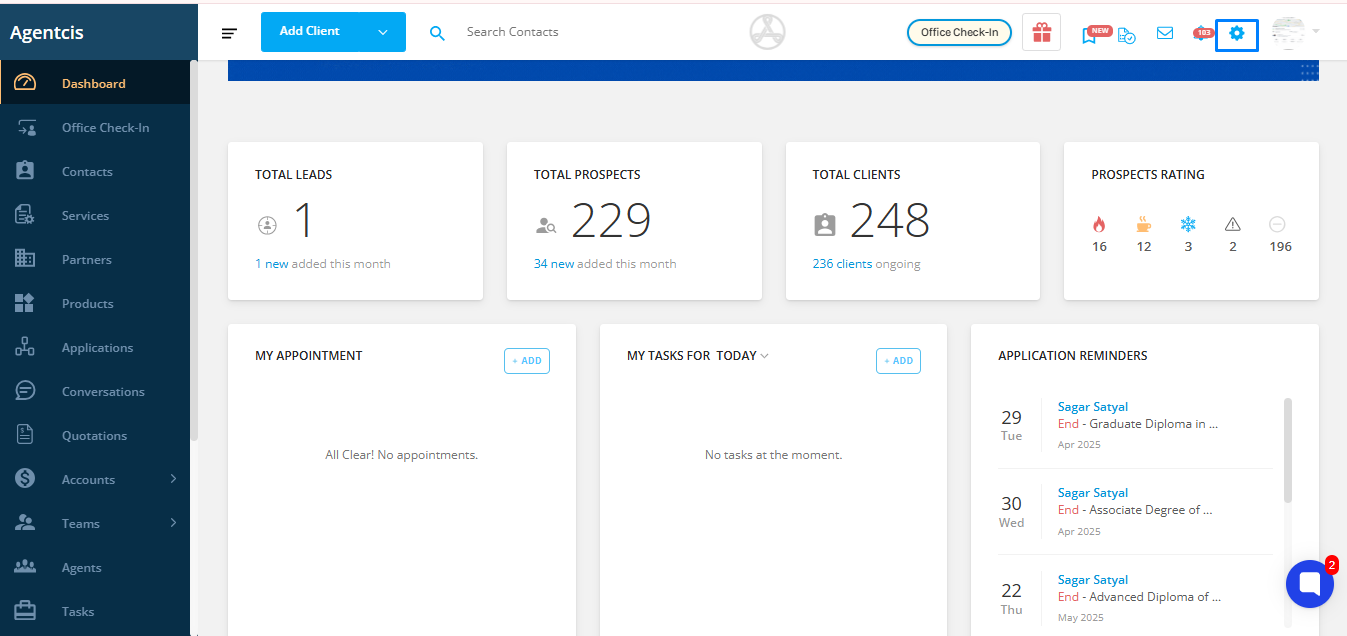
Go to the Settings option located in the top info bar.
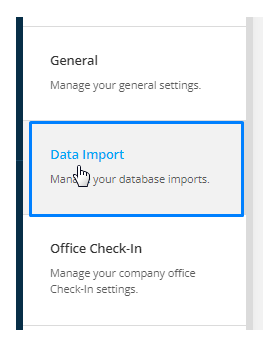
Select Data Import from the dropdown list.
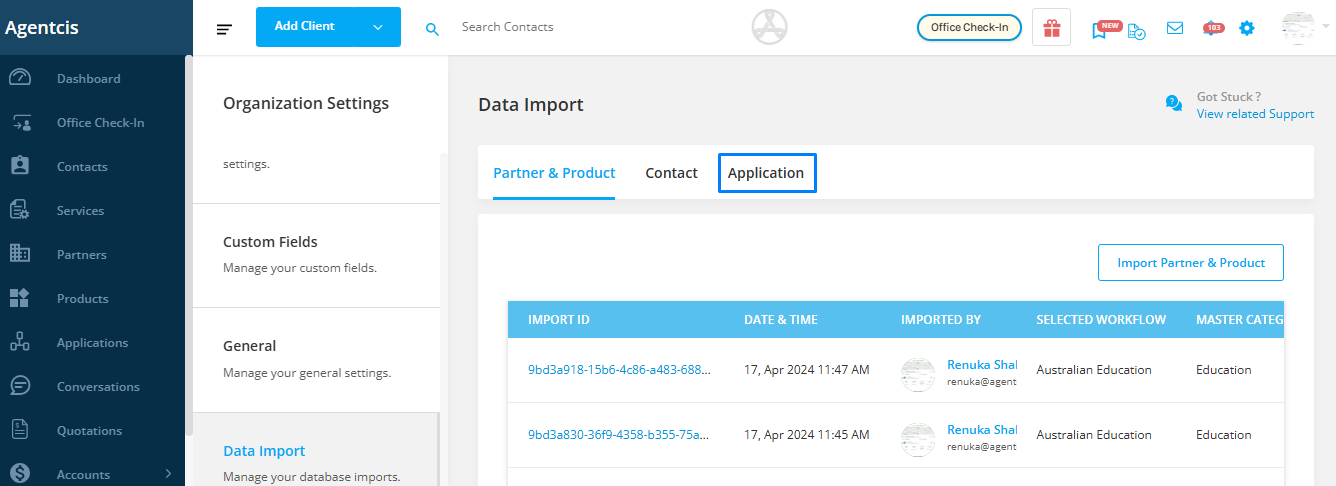
Click on the Application tab.
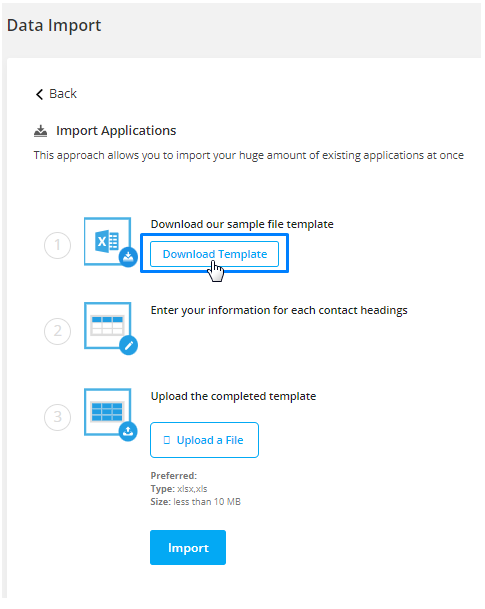
Select Import Applications.

Download the template file provided by Agentcis for importing applications.
Step 6:
Fill in the required details in the downloaded template.

Important: Ensure all mandatory fields are filled in to avoid upload errors.
The mandatory fields include:
Client’s Email
Workflow
Partner Email
Partner Branch Name
Product Name
Stage (Current stage in the workflow)
Added By (Email ID of the user adding the application)
Assignee’s Email
Status (e.g., In Progress, Completed, Discontinued)
Also, make sure any custom fields marked as mandatory in your system are filled out as well.
Re-upload the completed file into the system.
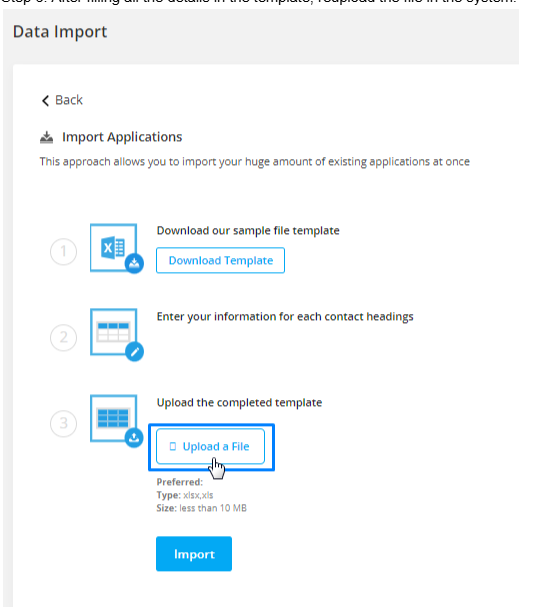
Note: Ensure the file size is less than 10 MB for a successful upload.
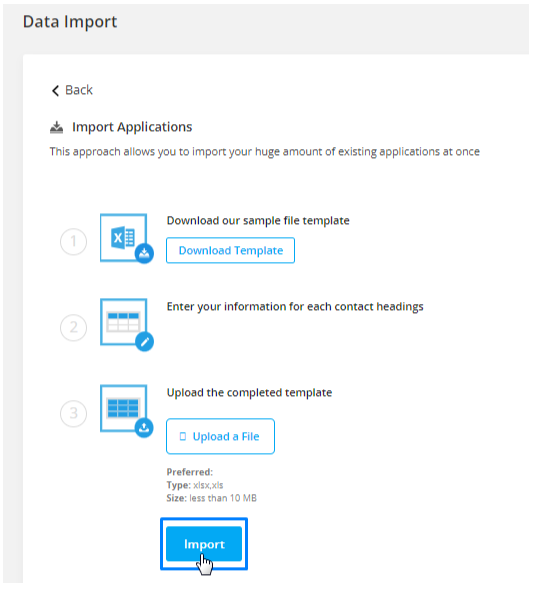
After uploading, click on the Import tab to complete the process.
To prevent import errors, follow these field format requirements exactly:
| FieldFormat |
Client Email | Valid Email Address |
Partner’s Client ID | Number |
Workflow | Text |
Partner Email | Valid Email Address |
Partner Branch Name | Text |
Product Name | Text |
Stage | Text |
Added By | Text |
Assignee’s Email | Valid Email Address |
Status | Dropdown (In Progress, Completed, Discontinued) |
Application Start Date | dd/mm/yyyy |
Application End Date | dd/mm/yyyy |
Applied Intake Date | dd/mm/yyyy |
Super Agent Email | Valid Email Address |
Sub Agent Email | Valid Email Address |
By following these steps and maintaining the correct formats, you can easily import multiple applications into Agentcis and keep your workflow running smoothly.