Client General Invoice is created for the services that you have provided to your clients, such as English classes or Visa applications.
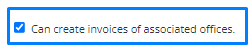
To create a client general invoice, please make sure you have the permission to do so:
Step 1: Select Accounts from the side navigation bar and then select Invoices.
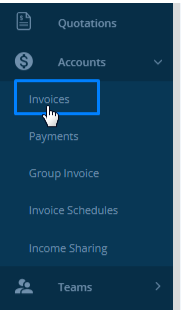
Step 2: Select Create Invoice.

Step 3: Select General Invoice from the dropdown.

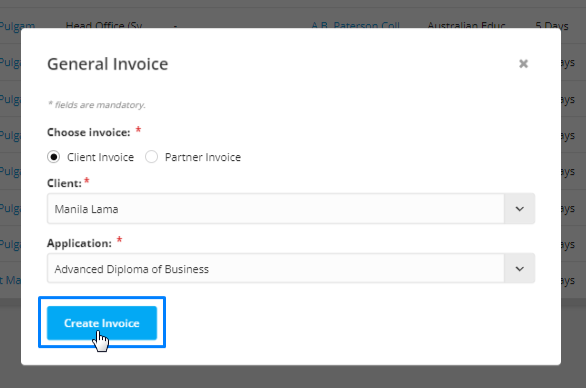
Step 4: Select the client invoice in the pop up form.
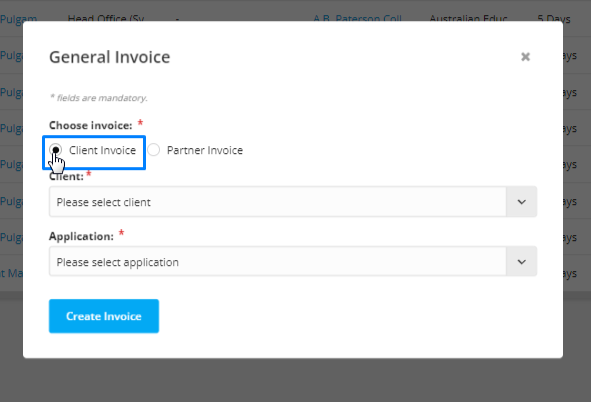
Step 5: Select the client and the service workflow.
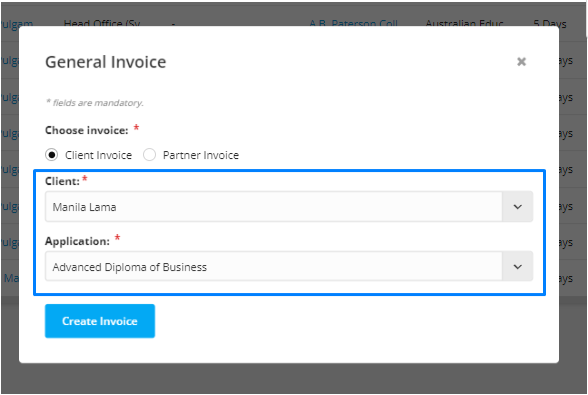
Step 6: and then select create invoice.
Step 7: You will land on the form to fill the information regarding your general invoice.
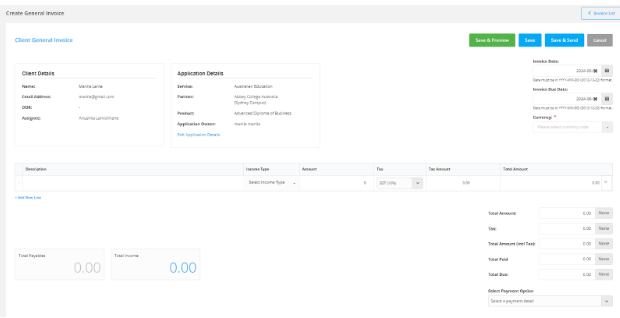
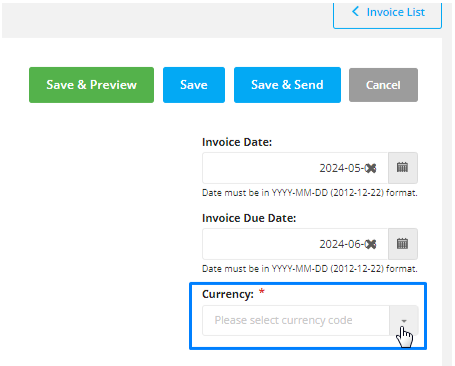
Step 8: Choose the invoice date which is the date of creation of the invoice.
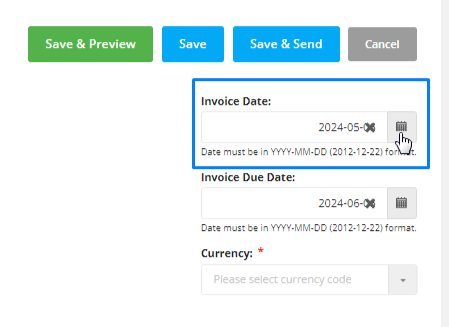
Step 9: Then choose the invoice due date which is the date for the invoice to be paid.
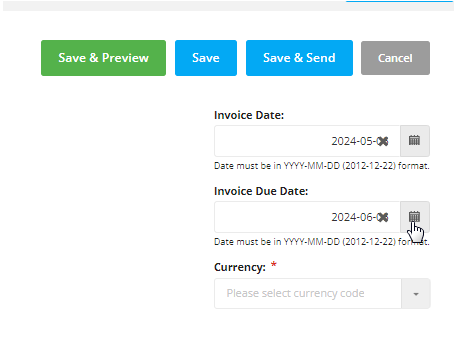
Step 10: Select the currency of the Invoice.
Step 11: Fill the details such as Visa Application Fee in the table of the description.

Step 12: Select the Income Type that is income or payable.

Step 13: Similarly add the amount and select the tax code. Then the tax amount and the total amount is calculated automatically.

On the right side you can view the summary of the invoice.
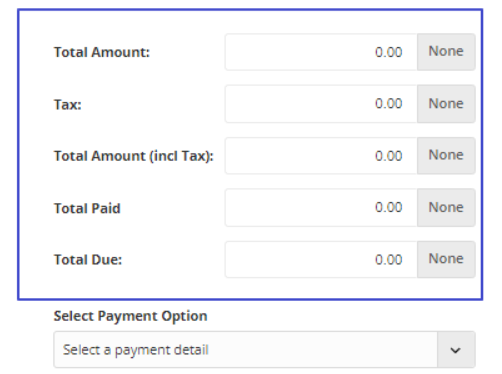
Step 14: You can select the payment option that will be included in the invoice.

Please Note: The payments details is added from the account settings. To learn to add the payment details follow the following link:
Step 15: On Payment detail, you can click on the checkbox of the “Mark this invoice as paid” if the invoice is a paid invoice.

Please Note: Once you marked the invoice as paid the total amount of the invoice is auto filled in the payment receive section. If the payment is made partially you can add the partial amount as well to denote that a partial amount of this invoice has been paid by the client.

You can add notes and attachments as well under the payment received section.

Step 16: The income sharing part allows you to share the income amount to a receiver, which is either another branch or a subagent.

Step 17: After filling out all the details, click on save or save and send.

