In the context of Agentcis, an agent refers to an individual or a business entity that works with your organization to recruit, refer, or manage clients—often for services such as study abroad, immigration, or other consultancy purposes.
Types of Agents
In any agency business, we have two different types of agents that is:
1. Subagents
2. Superagents
1. Subagents are the one who refers and sends applications to you for partners which are not associated with them directly.
2. Superagents are the one to whom you send an application to if you don’t hold a direct representation agreement with the partner.
Superagent could be any other education or migration agent in the market who is directly tied up to the institutions or universities to which you are not directly tied up with currently. So, any students coming to you for such universities can be referred to such agents. In such case you are a sub agent.
Adding Agents Individually
There are two ways to add agents in the system — individually or in bulk. This guide explains how to add agents individually.
Note: Ensure you have the necessary permissions to add agents.

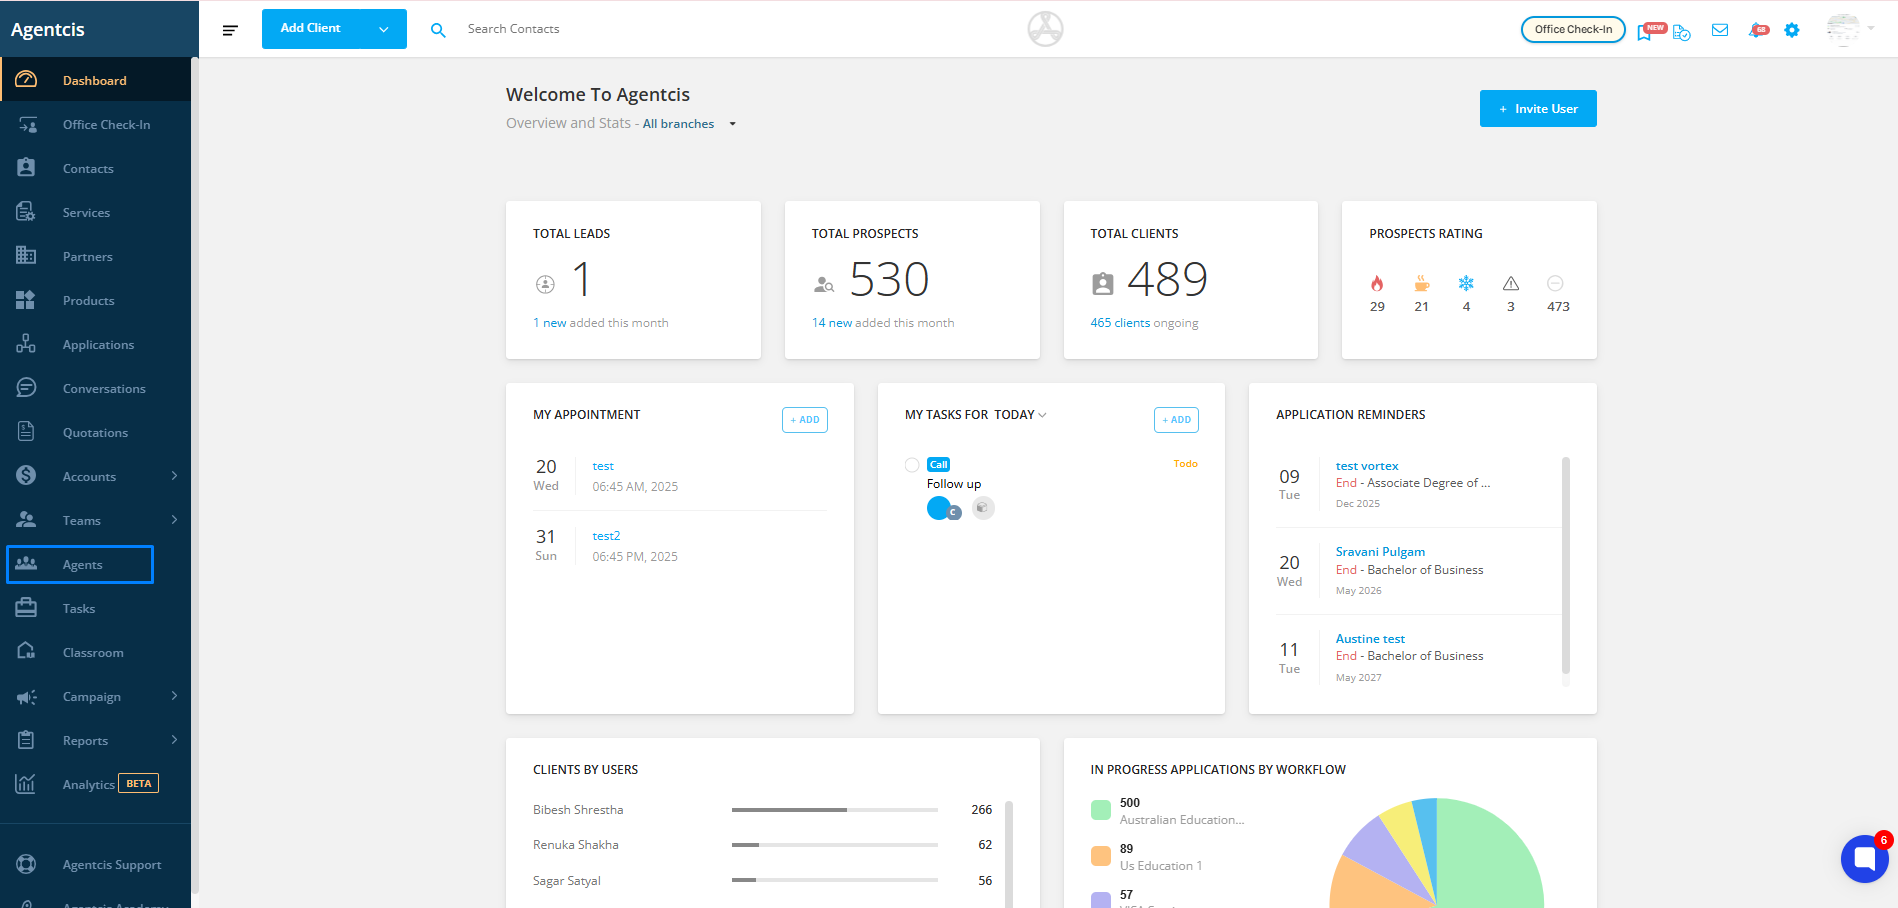
Step 1: From the side navigation bar, select Agents.
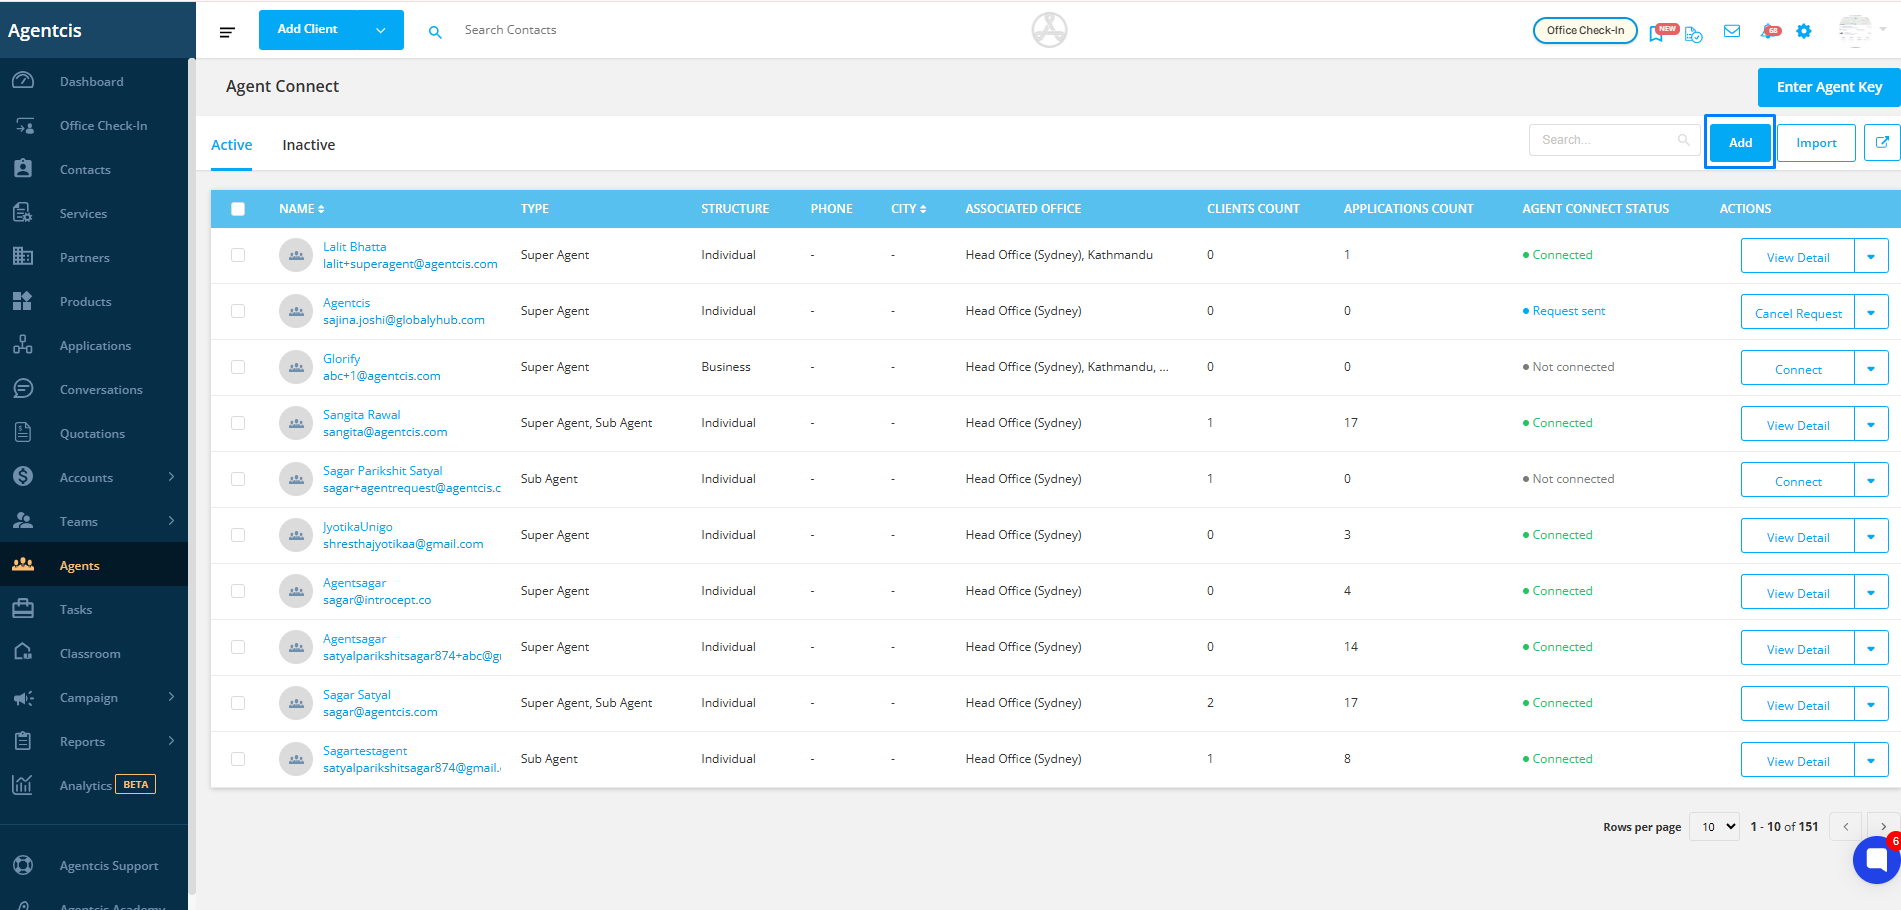
Step 2: Click the Add button located at the top right corner.
Step 3: Choose the agent type — Sub Agent, Super Agent, or both.
Note: An agent can be classified as a Sub Agent, a Super Agent, or both.
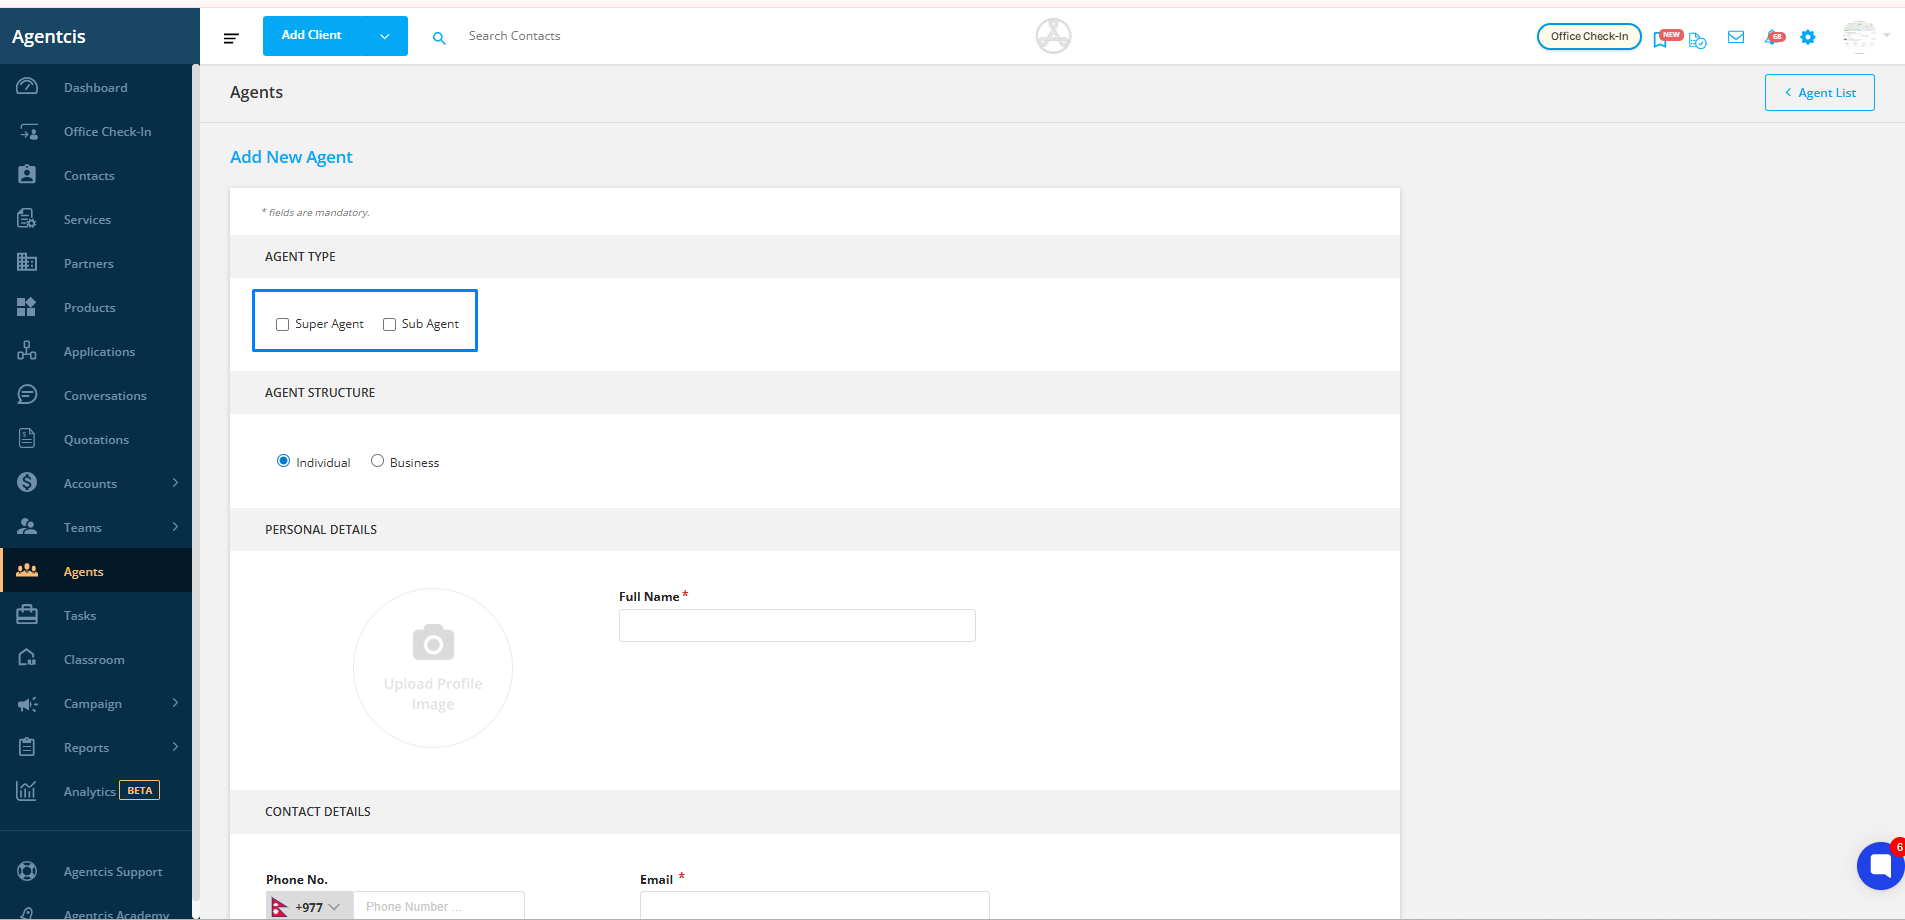
Step 4: Select the agent’s structure — Individual or Business.
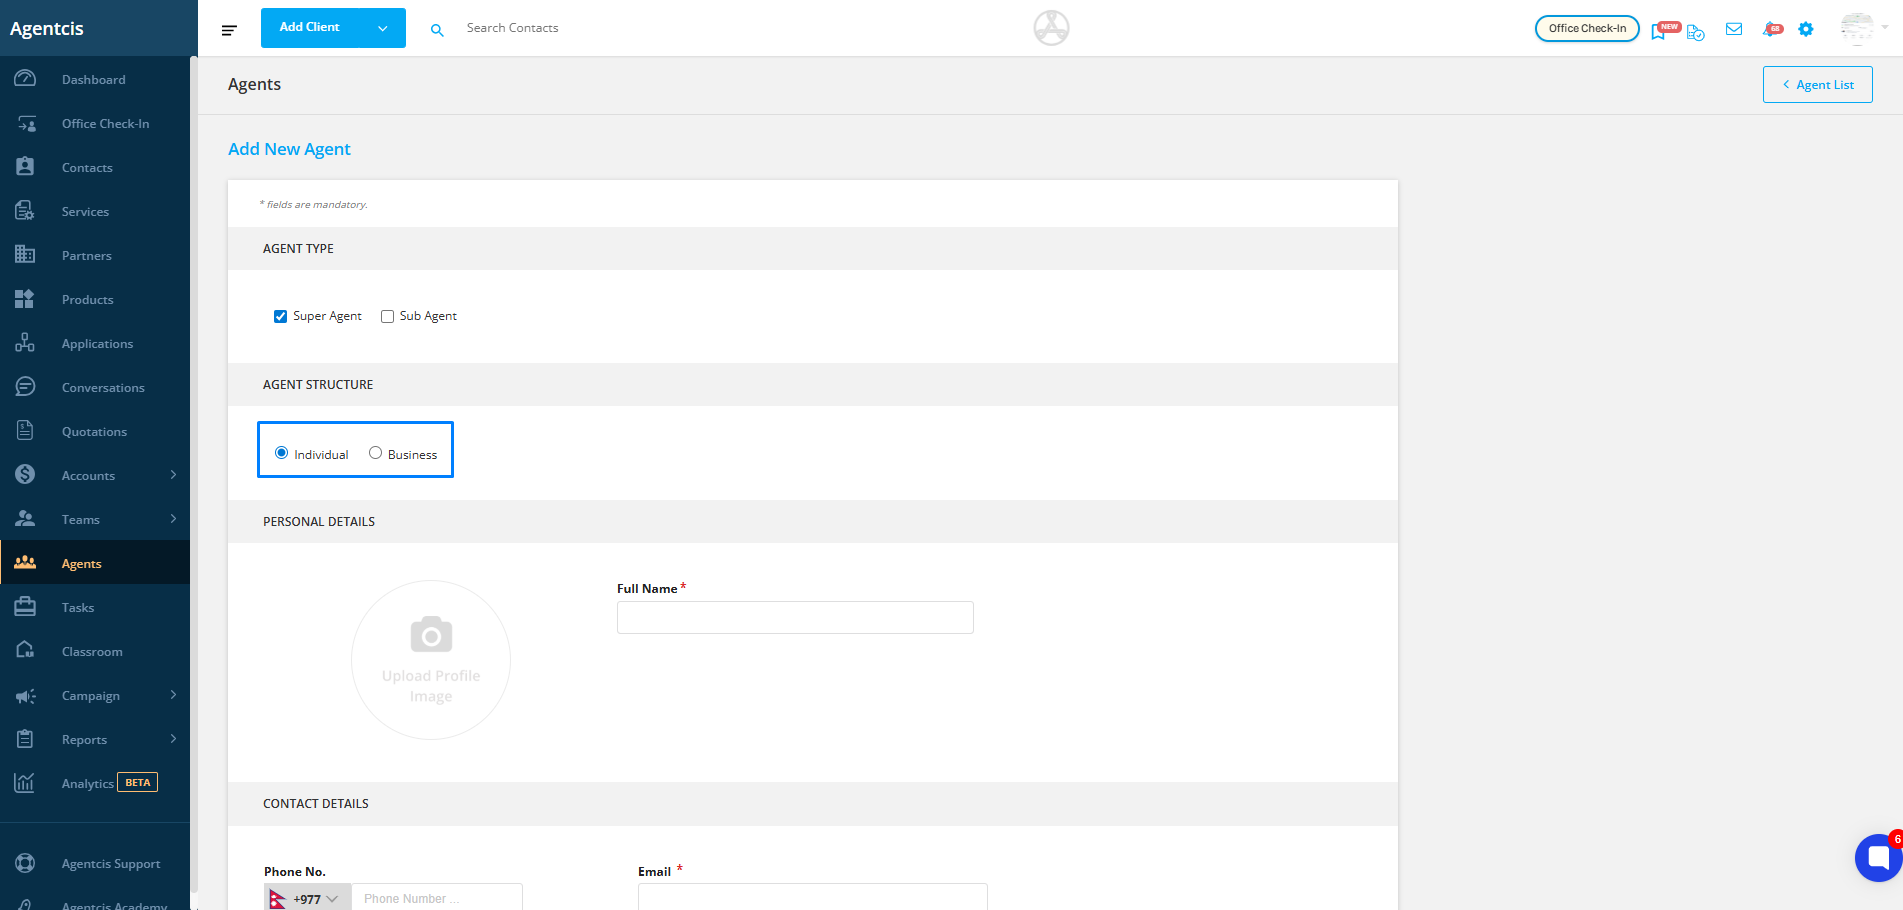
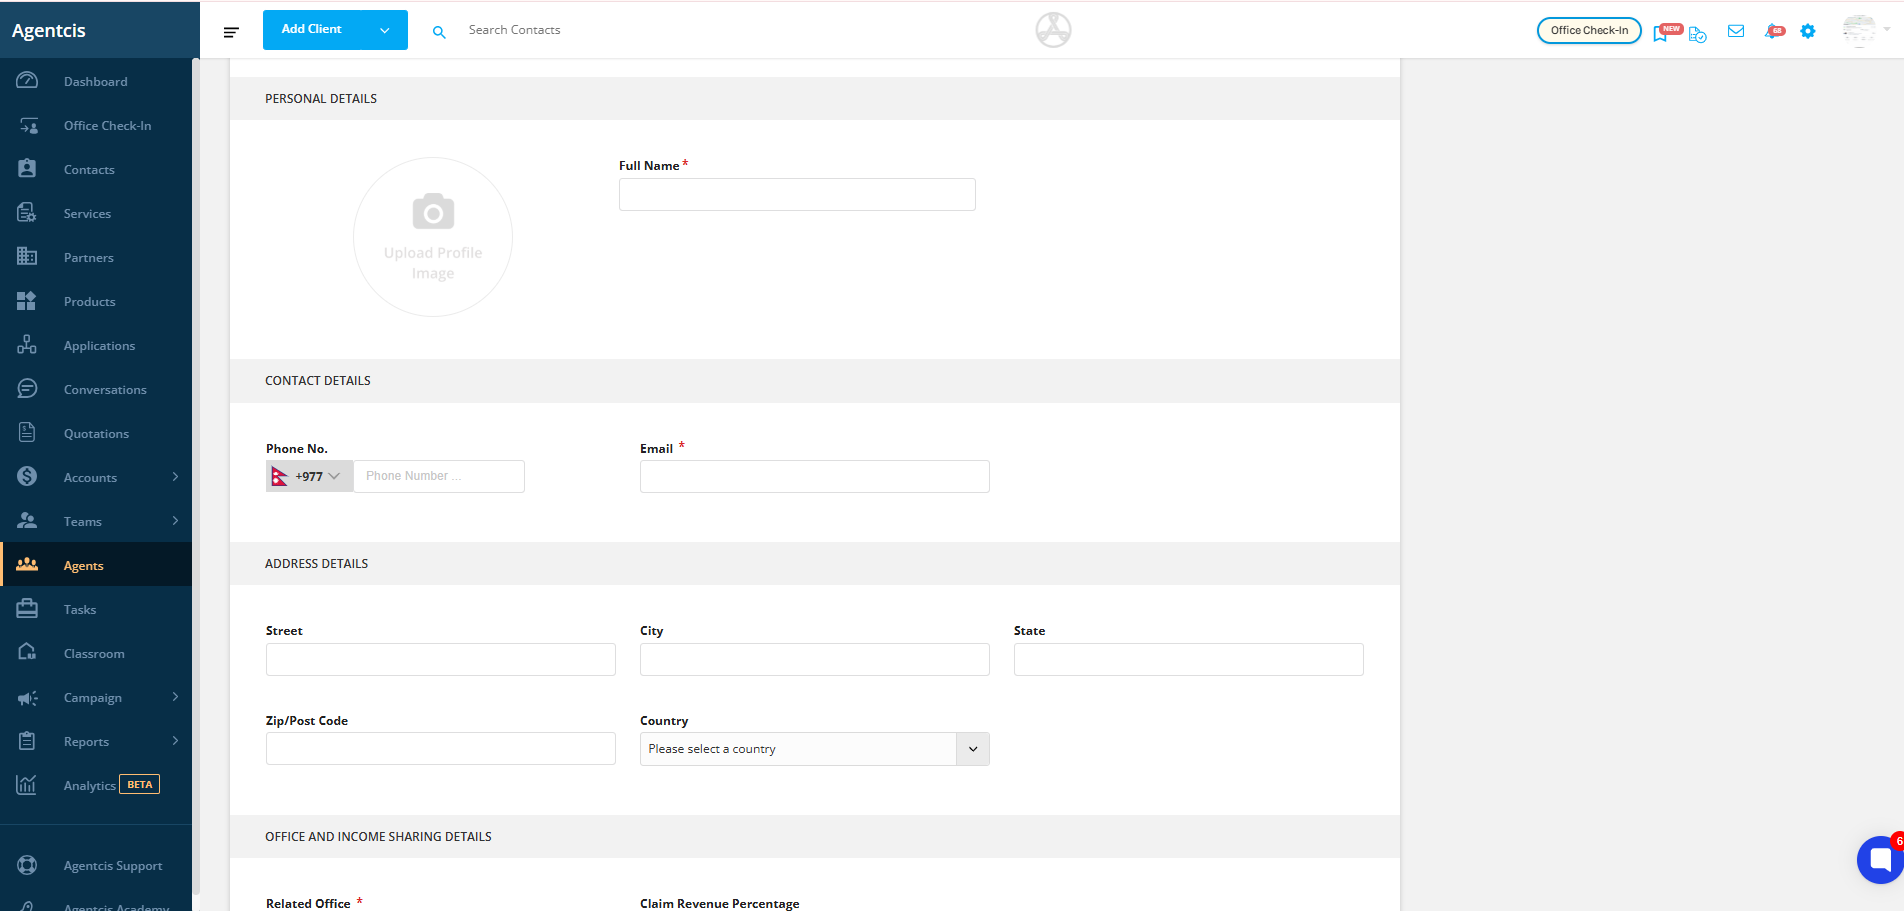
Step 5: Fill in the required details for the agent.
Fields marked with an asterisk (*) are mandatory.
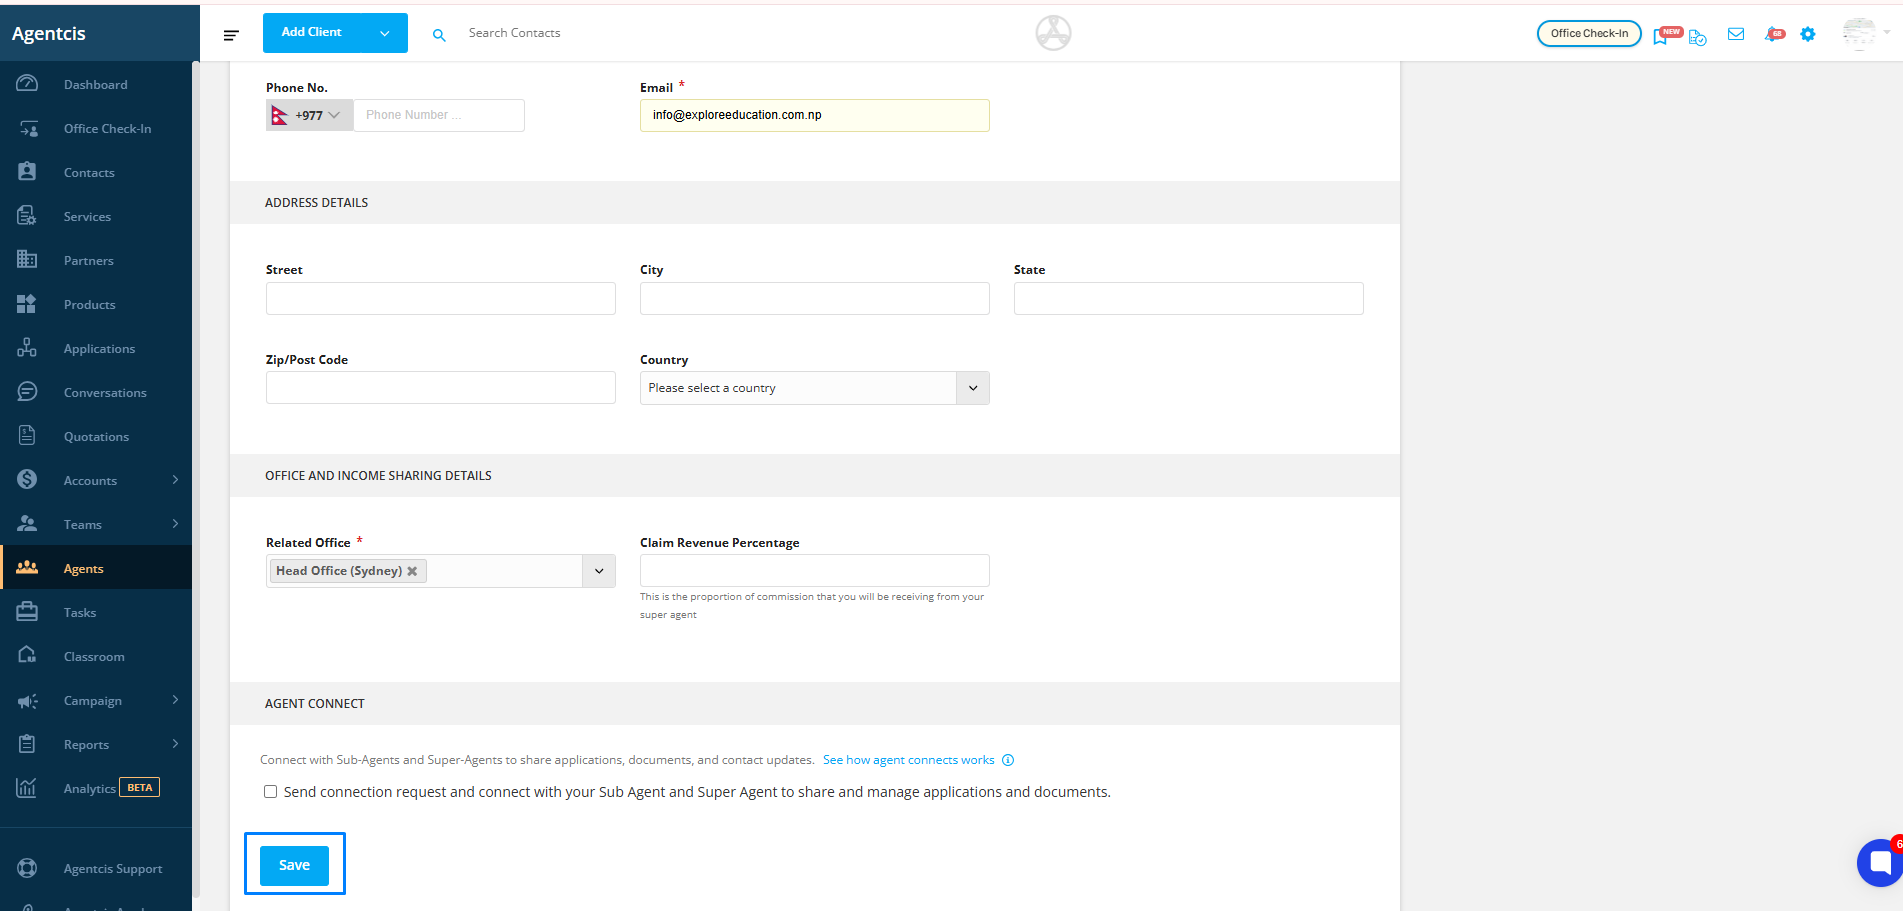
Step 6: Tick the checkbox if you want to send connection request and connect with your Sub Agent and Super Agent to share and manage applications and documents.
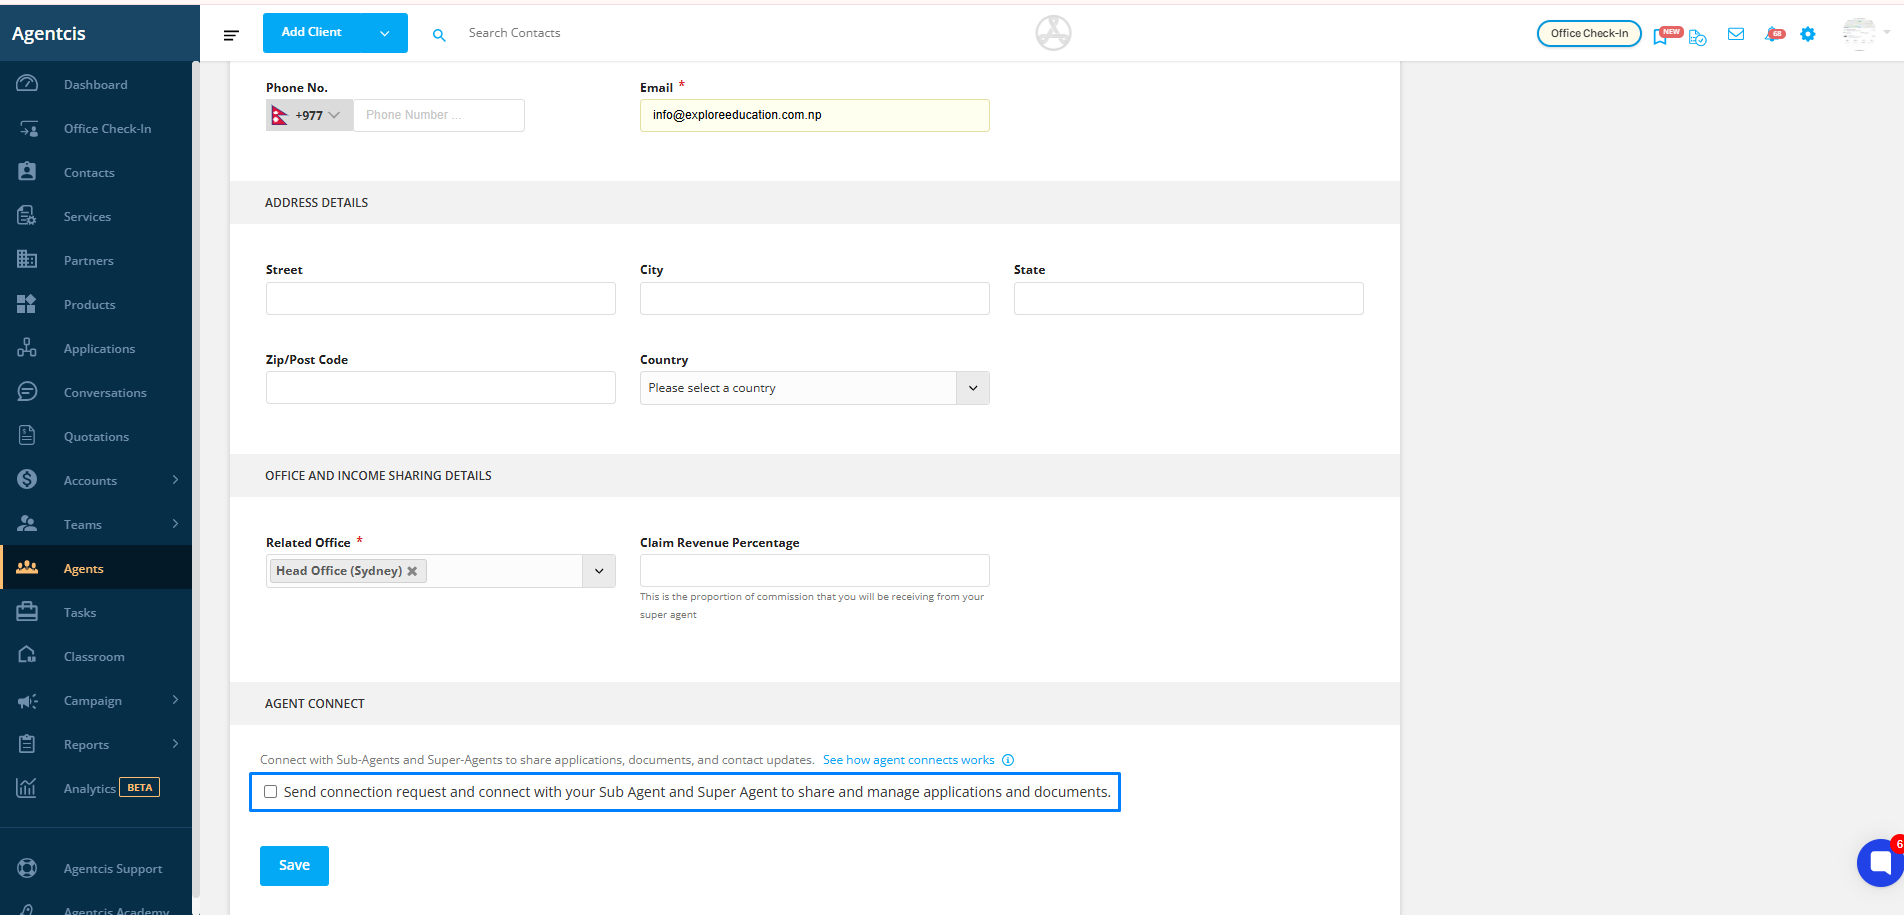
Step 7: Once all details are completed, click Save.
