In today’s professional environment, your email is more than just a communication tool — it’s a reflection of your brand. A company email, which uses your organization's domain (e.g., [email protected]), helps build trust, reinforce branding, and ensure consistency across internal and external communication.
In Agentcis, setting up a company email allows you and your team to send and receive messages seamlessly from within the system — helping centralize conversations and improve team collaboration.
Professional Identity: Sending emails from your company domain increases credibility.
Brand Consistency: Reinforces your business identity with every message.
Centralized Communication: Keeps client and partner conversations linked to profiles.
Team Collaboration: Allows multiple team members to access and manage emails efficiently.
System Integration: Lets you track conversations and maintain history right inside Agentcis.
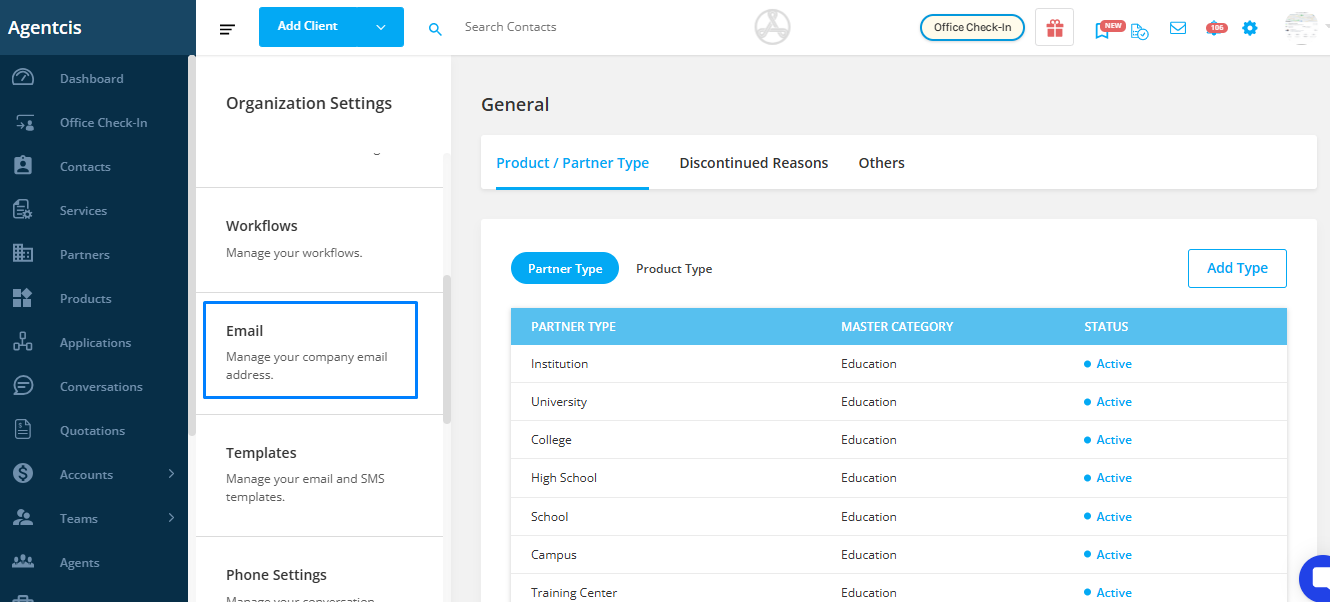
Click on the Settings icon in the top info bar to access system configurations.

From the settings menu, click on Email to manage company email configurations.
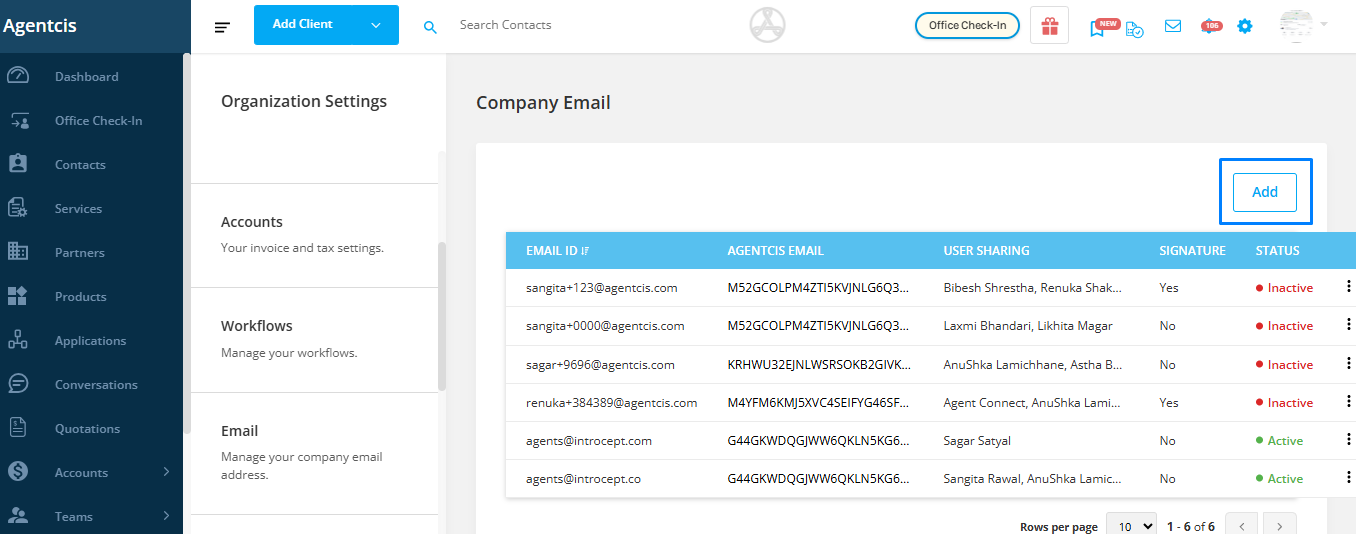
Click on the Add tab to start the integration process for a new company email address.
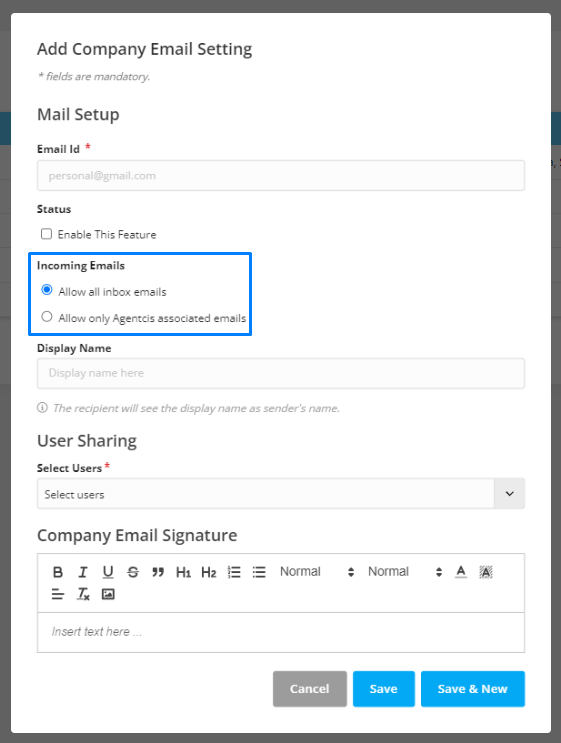
Enter the email ID you want to use. This must be a valid email under your organization's domain (e.g., [email protected]).
This email becomes the sender’s address for official communication via Agentcis.

Toggle “Enable this feature” to activate the email in Agentcis.
Without enabling, the email won't be usable for sending or receiving communication.

Choose from:
Allow All Inbox Emails: Lets users view all emails, even those not linked with Agentcis.
Allow Only Agentcis Associated Emails: Limits email visibility to communications linked to Agentcis contacts and partners.
This helps maintain privacy and ensures relevance, especially in client-specific workflows.
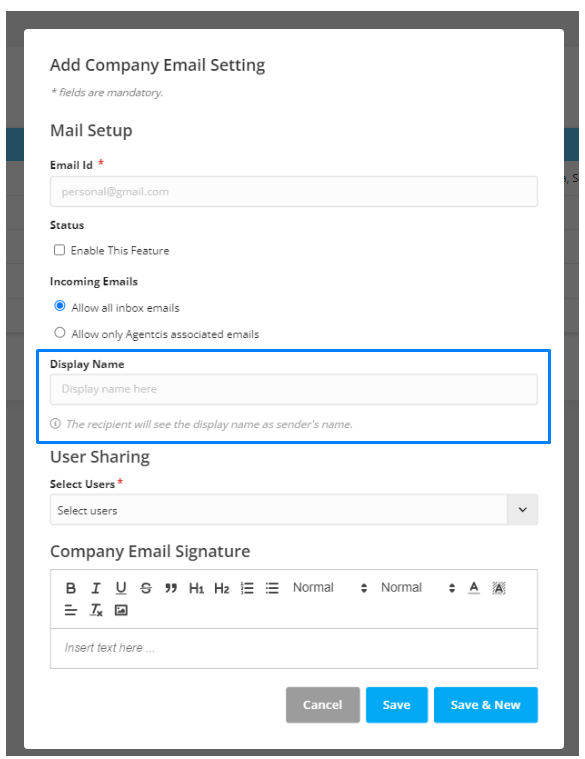
Input the Display Name — this is what recipients will see as the sender.
Example: If you input ABC Immigration Team, the recipient will see: ABC Immigration Team [email protected]
A clear, recognizable display name builds trust and makes your email appear more professional.
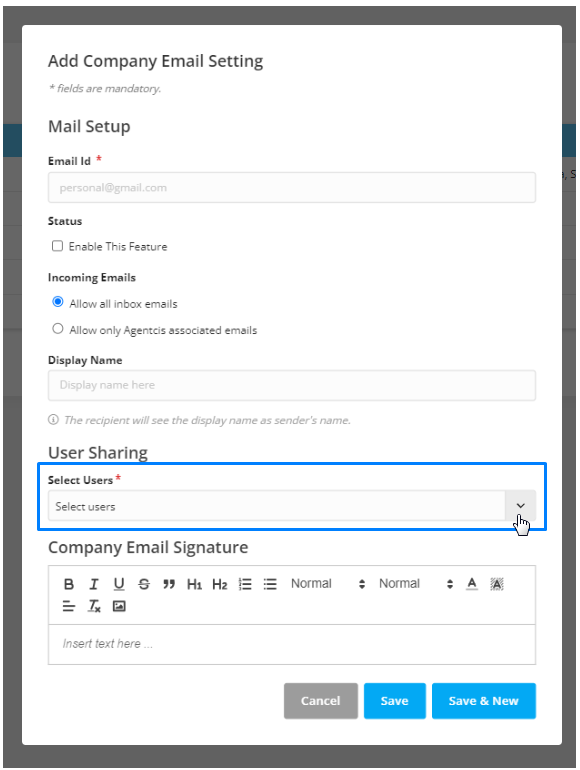
Step 8: Share Email with Team Members
Use the “Select Users” dropdown to choose which users can access this email.
Sharing a company email ensures that specific teams (like admissions or counseling) can collaborate efficiently. Only selected users can send/receive from this ID.
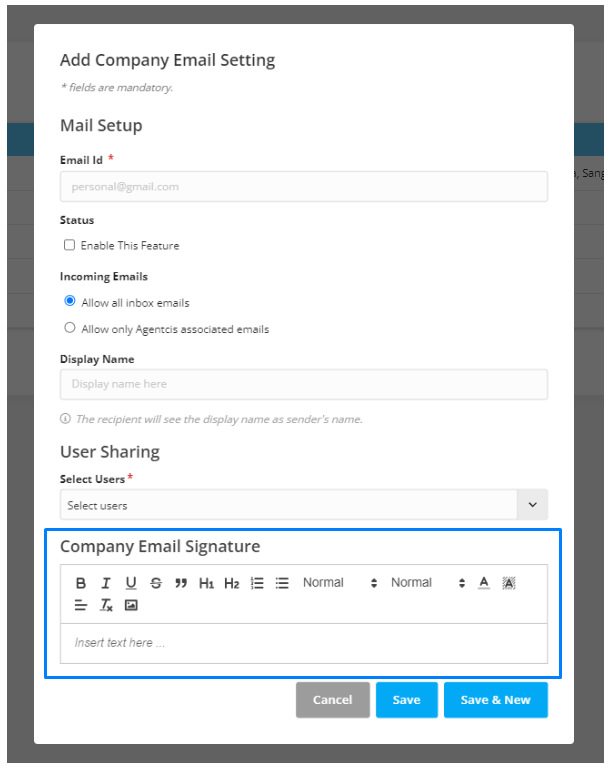
Add a custom email signature to appear at the end of each message. This may include:
Name
Designation
Contact Info
Company Logo or Banner
A signature not only saves time but reinforces your brand in every message. It's an important element of email professionalism.
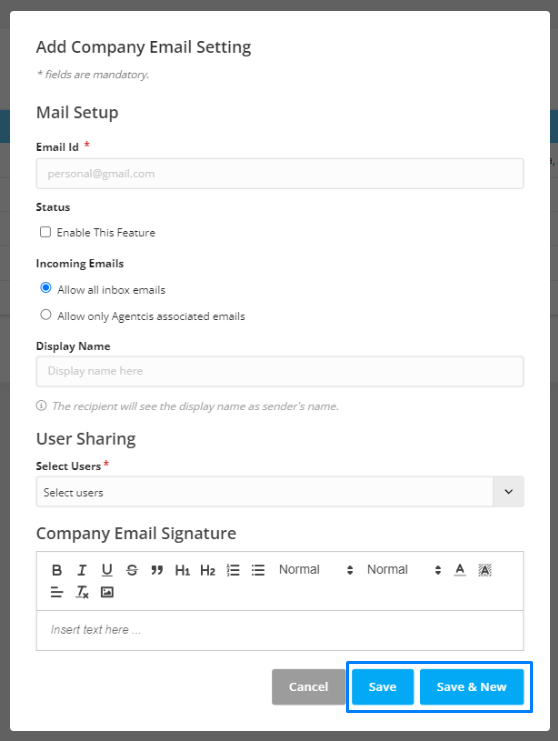
Double-check all fields before saving to avoid incorrect configurations.
Click Save to finalize the setup.
Only users selected in the “Shared with” section will be able to send or receive emails from the configured company email.
Ensure you have the required permission to access and set up emails. If not, please contact your system administrator.
