To connect studylink with Agentcis, please make sure you have the permission to do so.

Then,
Follow the following steps to connect with Study Link:
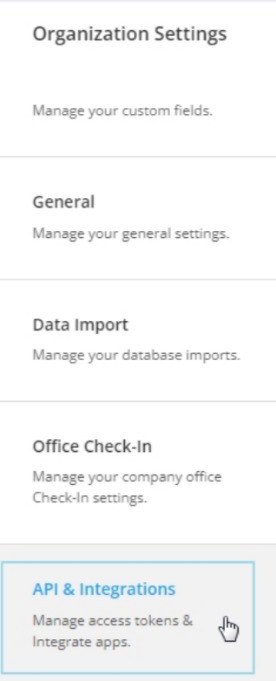
Step 1: Go to Settings and click on API & Integration.
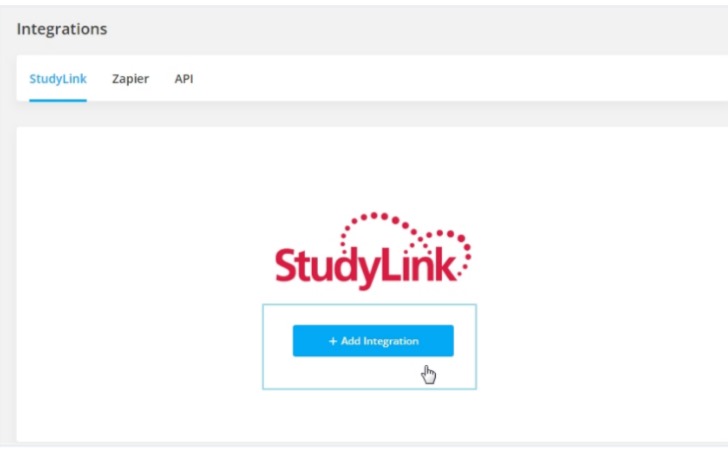
Step 2: Click on the StudyLink section and click on the “+Add Integration” button.
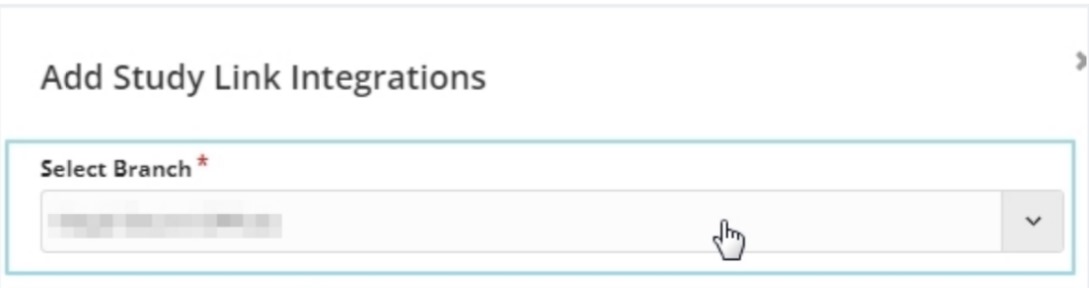
Step 3: Select the preferred branches in Agentcis from the dropdown.
Step 4: Input StudyLink API Key.
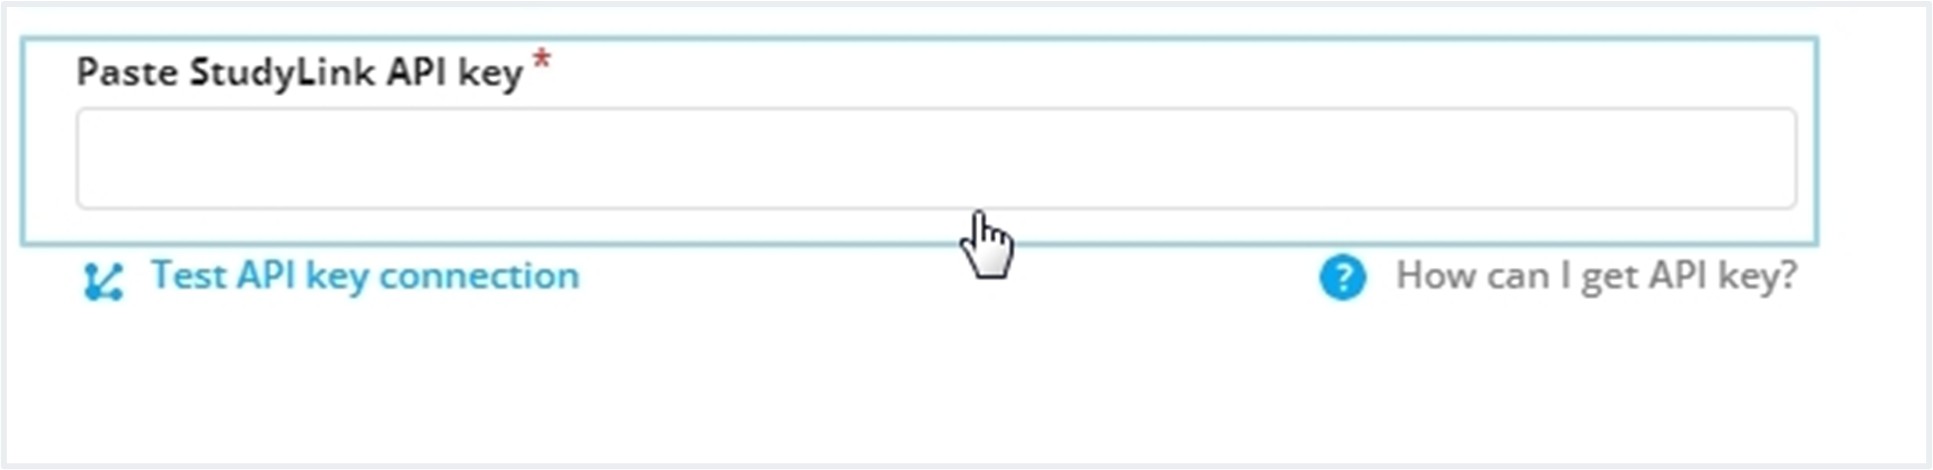
Note: Please visit the following link to learn how to get the API Key from StudyLink: https://support.agentcis.com/en/articles/205-how-to-get-an-api-for-studylink-integration
Step 5: Select the users, who should be able to use StudyLink.
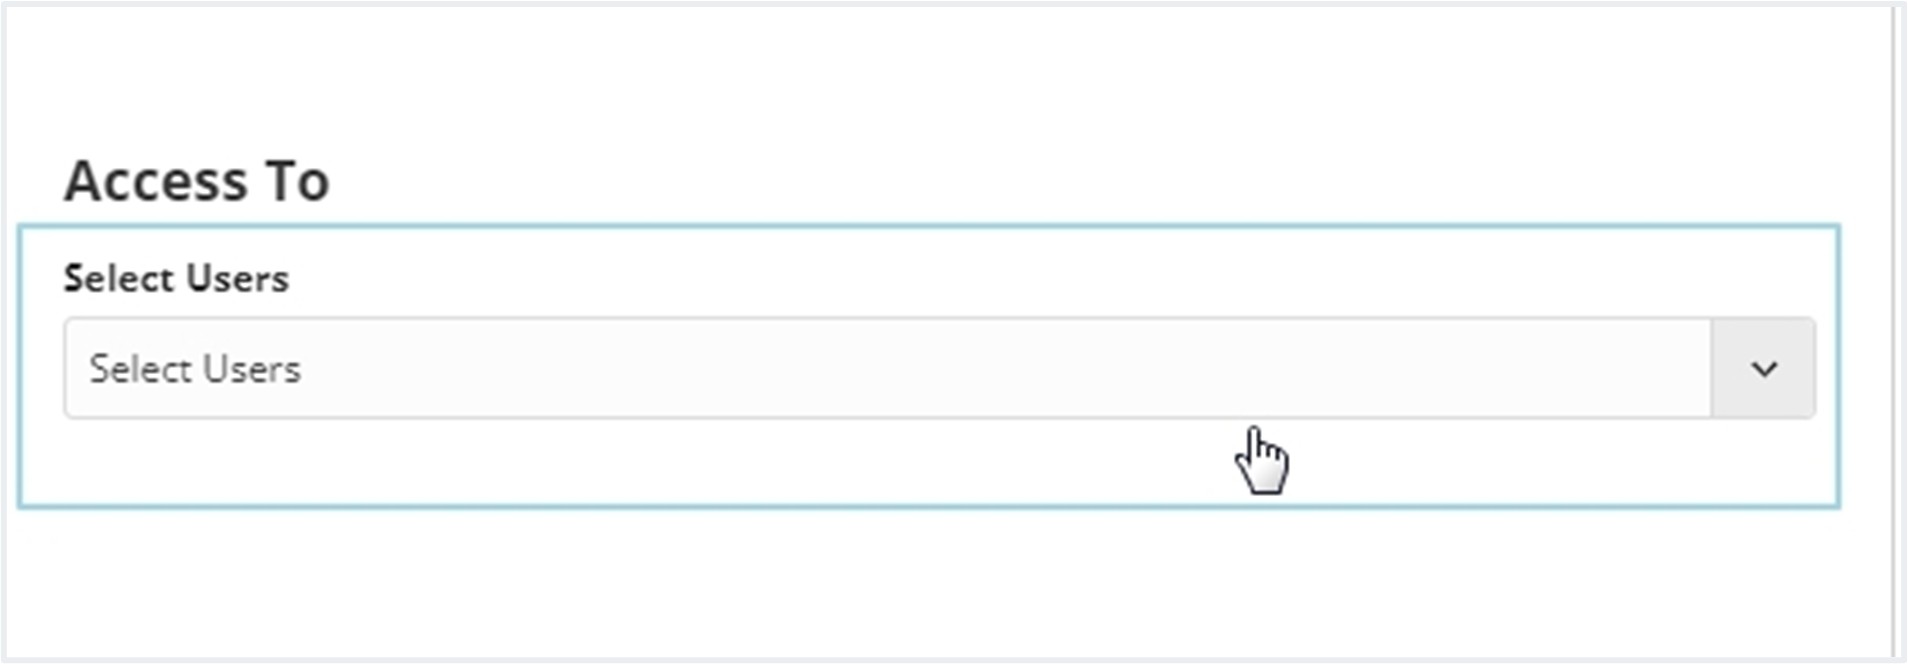
Note: The user must choose a minimum of one user to proceed ahead.
Step 5: Click on “Save Integration and Connect Partners”.

