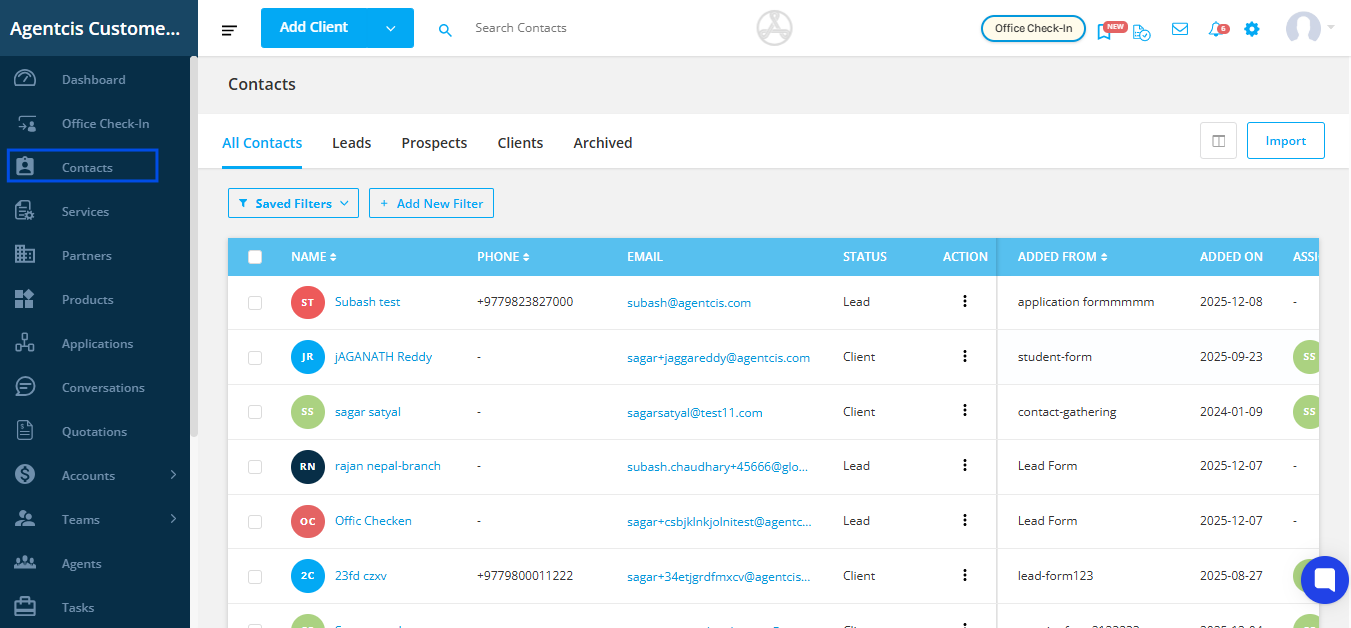
In Agentcis, you can efficiently view and locate clients using various filters, allowing you to find specific clients quickly and reduce search time. This helps in organizing client information, making data management and analysis more seamless. Additionally, you can create custom fields based on your workflow and use them as filters. You also have control over which filters are displayed in the filter section. To manage this, navigate to the Contacts Section from the left-side menu and select the icon shown in the image below:
Here are some filter options we provide in Agentcis:

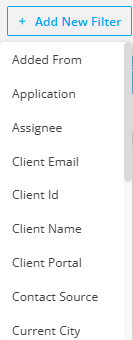
Note: You can add other filters by adding various custom fields according to your requirement.
To apply filters and view respective clients, follow these steps:
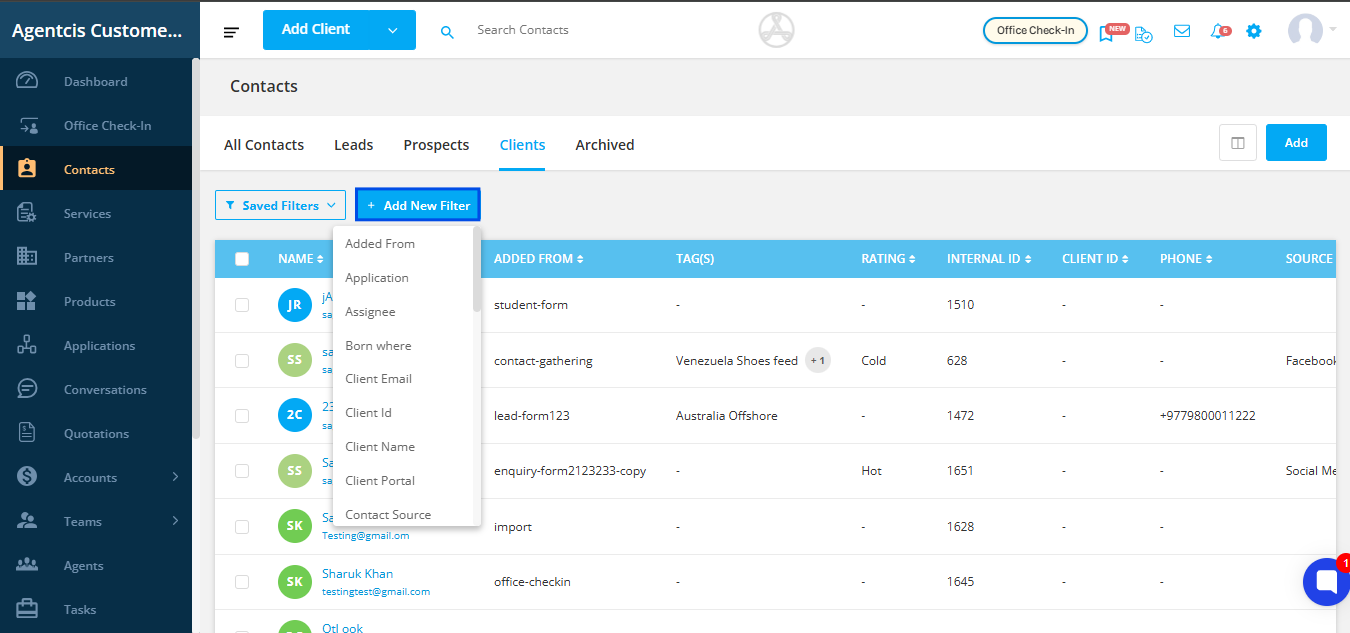
Step 1: Go to Clients and Click on “Add New Filter”
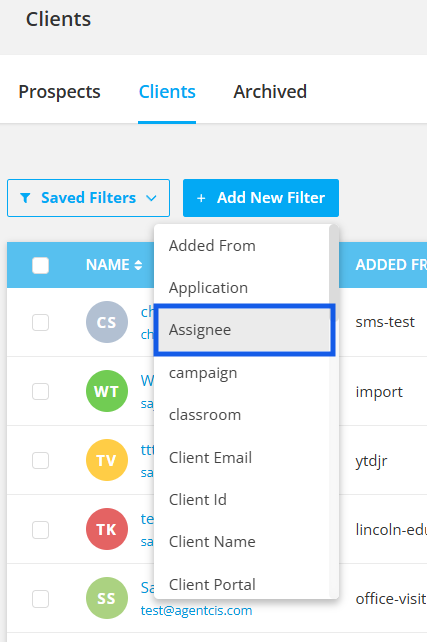
Step 2: Apply your necessary filter.
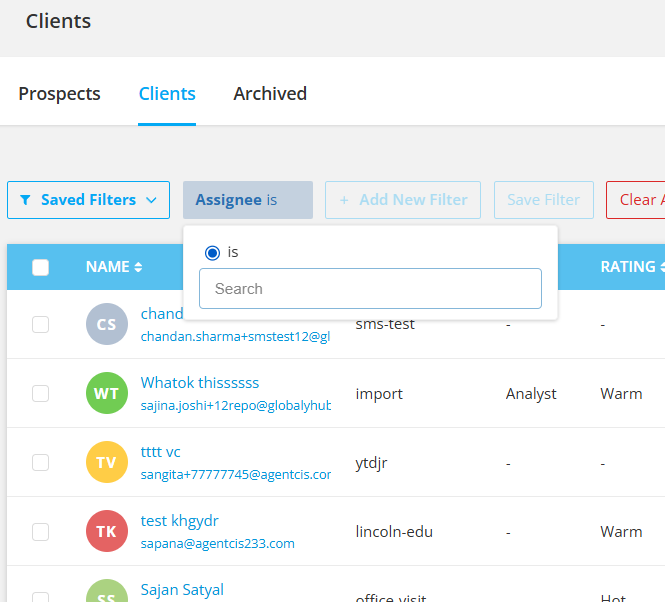
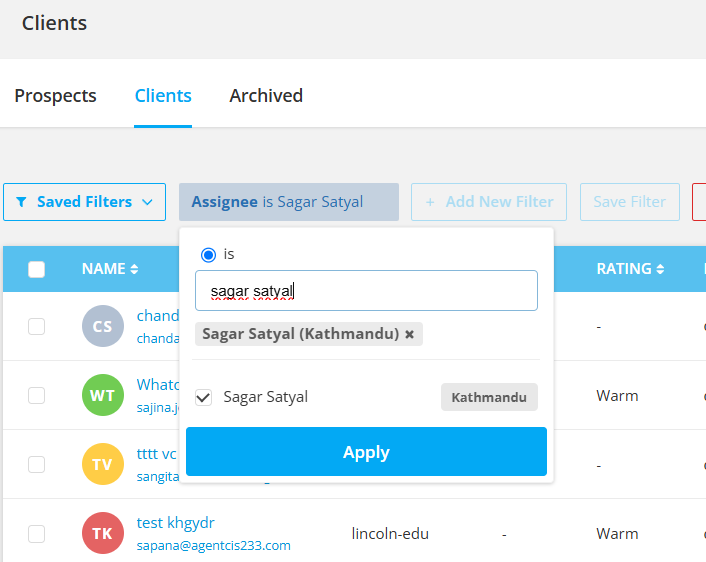
Step 3: Click on the Apply button.
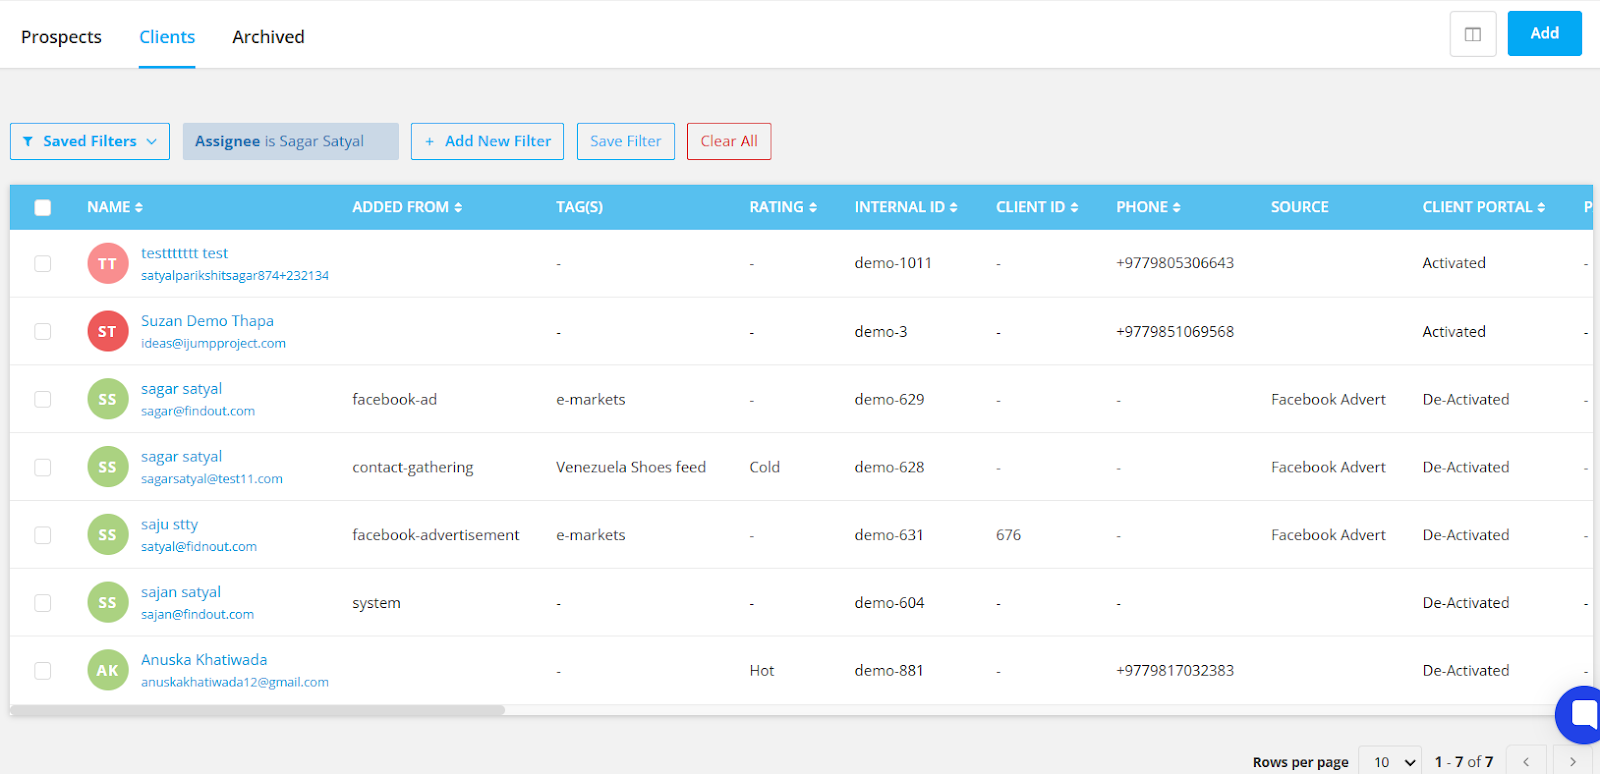
A list of filtered clients will be displayed.
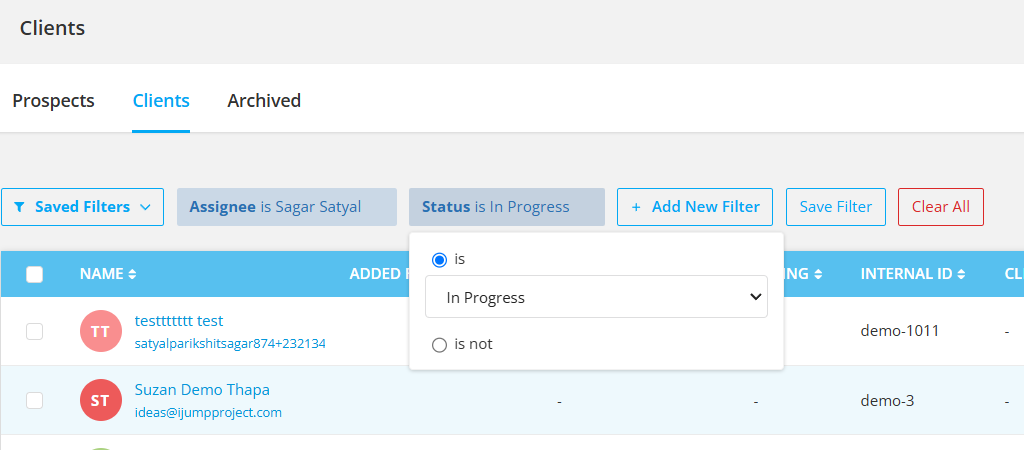
Note: You can add multiple filters to narrow down client data even more.
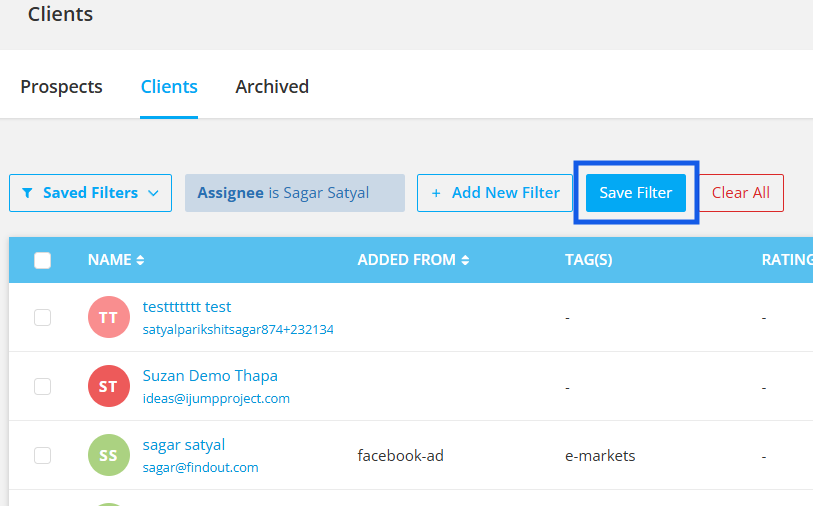
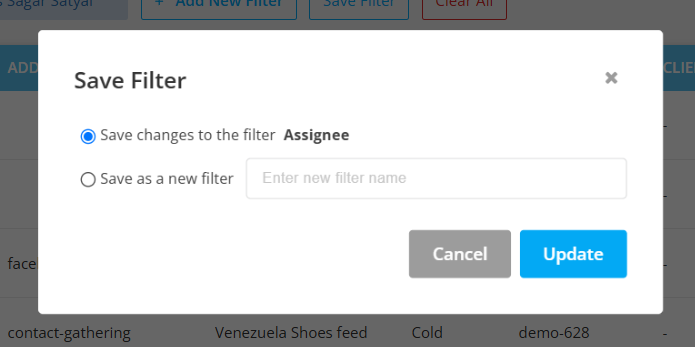
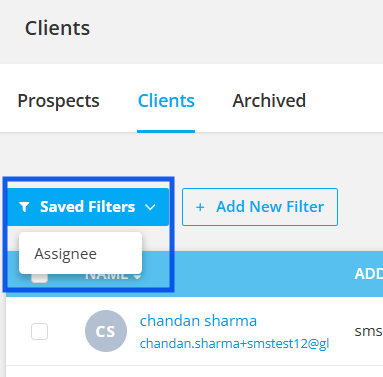
You can also save filters that you use the most for future reference.