You can now replace Agentcis’s default domain (e.g. consultancy.agentcisapp.com ) with your own domain (e.g. crm.consultancy.com)
Before starting, ensure you:
Own a Domain: (e.g., consultancy.com)
If you do not have a domain, purchase a domain (e.g., consultancy.com) via registrars like GoDaddy, Namecheap, or Cloudflare.
Access DNS Settings: You’ll need permissions to edit DNS records for your domain.
Agentcis Admin Access: Only account admins can configure white labeling.
To set this up, you need to add a CNAME record in your domain hosting provider. This involves copying a CNAME from our system and adding it to your domain hosting provider (e.g., GoDaddy, Namecheap, Cloudflare). Follow the steps below to complete the setup.
Log in to your Agentcis account.
Navigate to Settings and Click on Preference
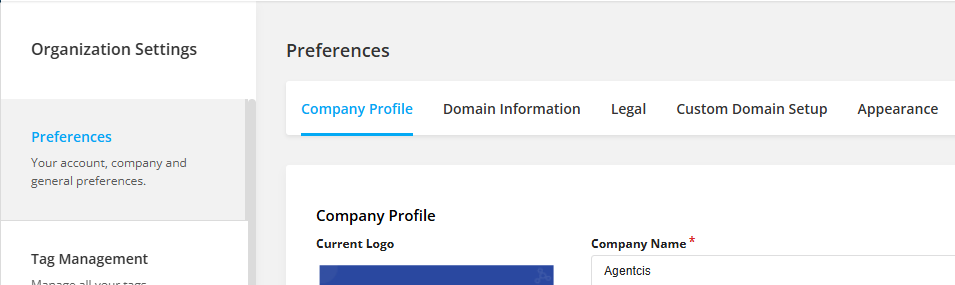
Go to the “Custom Domain Setup“ tab
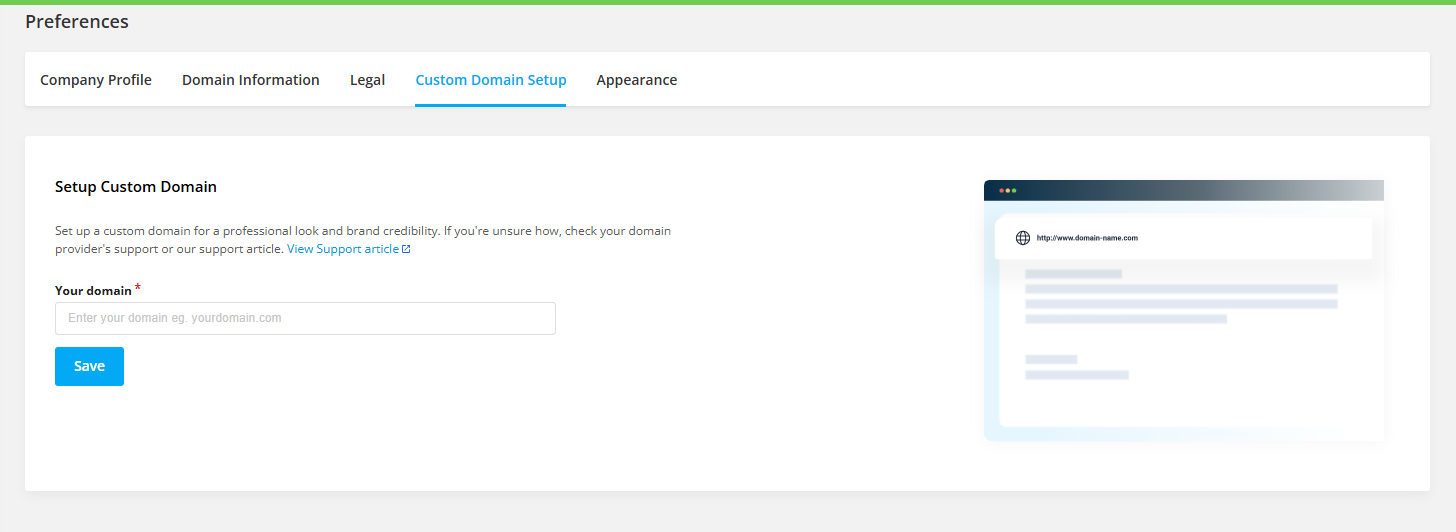
Enter your registered domain name in the text box and click on “Save”
If you domain name is consultancy.com You can enter any subdomain you prefer, such as:
💡 You can customize the subdomain as per your preference.
After saving, you will be redirected to the Custom Domain Details page, where you can view and verify your CNAME record.
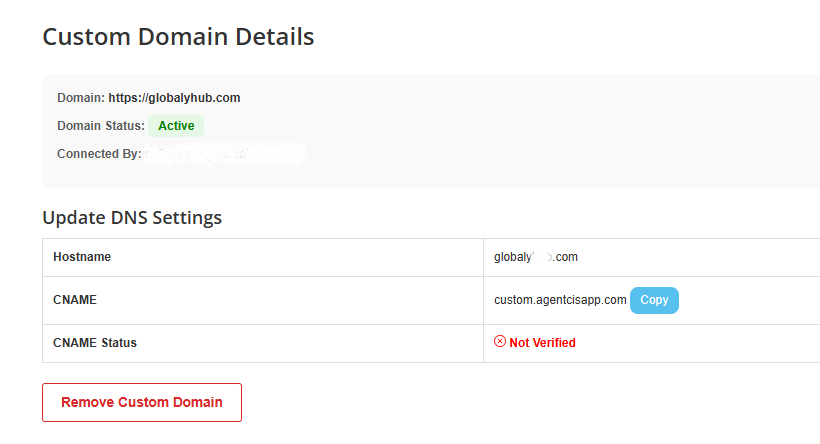
Copy the CNAME record provided by clicking on “copy“ button
Depending on your domain provider, follow the steps below:
For GoDaddy :
https://www.godaddy.com/en-in/help/add-a-cname-record-19236
Log in to your GoDaddy account.
Go to My Products and click on your domain.
Click Manage DNS.
Scroll to the DNS Records section and click Add.
Select CNAME as the record type.
In the Host field, enter the subdomain (e.g., portal or app).
In the Points to field, paste the copied CNAME value.
Click Save and wait for DNS propagation (may take up to 24 hours).
For Namecheap https://www.namecheap.com/support/knowledgebase/article.aspx/9646/2237/how-to-create-a-cname-record-for-your-domain/
Log in to Namecheap.
Navigate to Domain List and click Manage next to your domain.
Click on the Advanced DNS tab.
Under Host Records, click Add New Record.
Choose CNAME Record from the list.
Enter the subdomain (e.g., portal) in the Host field.
Paste the copied CNAME in the Value field.
Click Save Changes
For Cloudflare
Log in to Cloudflare.
Select your domain.
Go to the DNS tab.
Click Add Record and select CNAME.
Enter the subdomain in the Name field.
Paste the copied CNAME value in the Target field.
Ensure Proxy Status is set to DNS Only.
Click Save.
After adding the CNAME record, return to our Agentcis system. You CNAME status will change into “Verified“ after successful verification.
Note: Status will remain “Not verified“, as DNS changes may take some time to update.
Once your domain is verified:
If you have set you domain as crm.consultancy.com, Visit your custom URL (crm.consultancy.com) to ensure it loads Agentcis without errors.
Your entire system will be accessible through your new custom domain. This means that whole system including all URLs, your Lead Form, Client Portal,or login pages, will now use your personalized domain instead of the default one.
Example:
Before: consultancy.agentcisapp.com
After: crm.conusltancy.com
Your previous link will still remain active, but we recommend using your new domain for a consistent and professional experience.
You can use the same login credentials on both the old and new domains.
However, you won’t be able to stay logged in on both domains at the same time. If you log in to one, it will log you out from the other.
FAQs
Q: Will this affect my existing Agentcis links?
A: No—your default Agentcis URL will still work, but clients will see your custom domain.
Q: What if I don’t own a domain?
A: Purchase one through registrars like GoDaddy or Google Domains first.
Q: Can I use multiple custom domains?
A: No! Agentcis doesn’t support multiple domains.
If you need help, contact your domain provider's support or reach out to our support team.
