Please Note: This feature is the beta version.
Contacts Analytics allows you to generate detailed reports and insights about your contacts based on various criteria. This feature helps you better understand your customer base, enabling more targeted communication and data-driven decision-making.
Follow these steps to access and customize the Contacts Analytics Report:
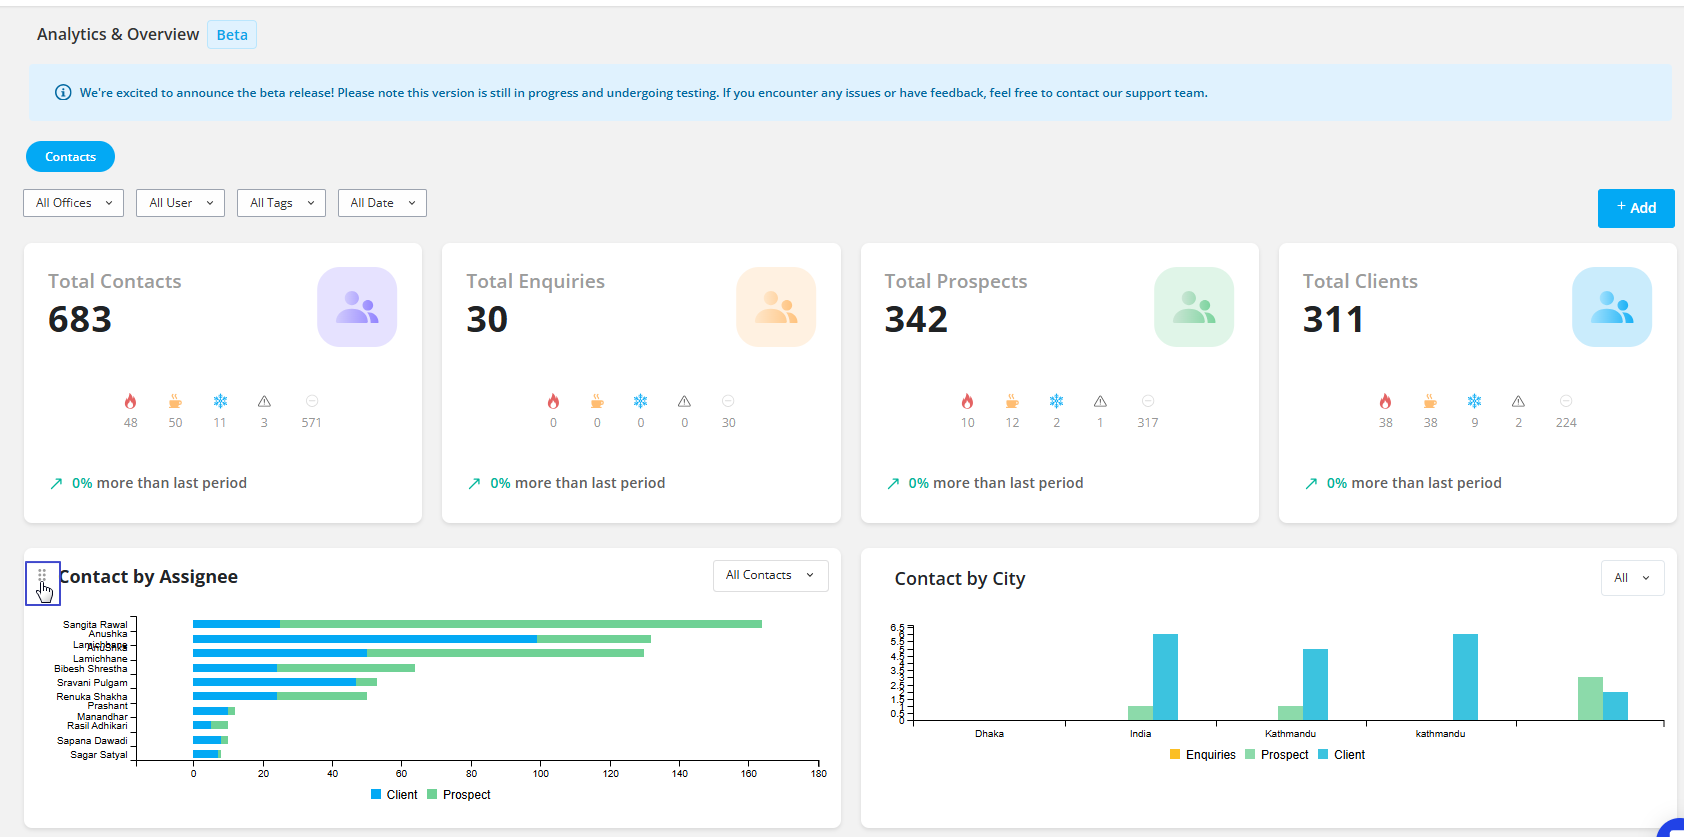
Step 1: Contact Analytics Section
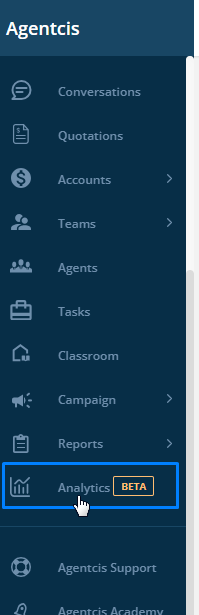
Navigate to the side menu and select Analytics.
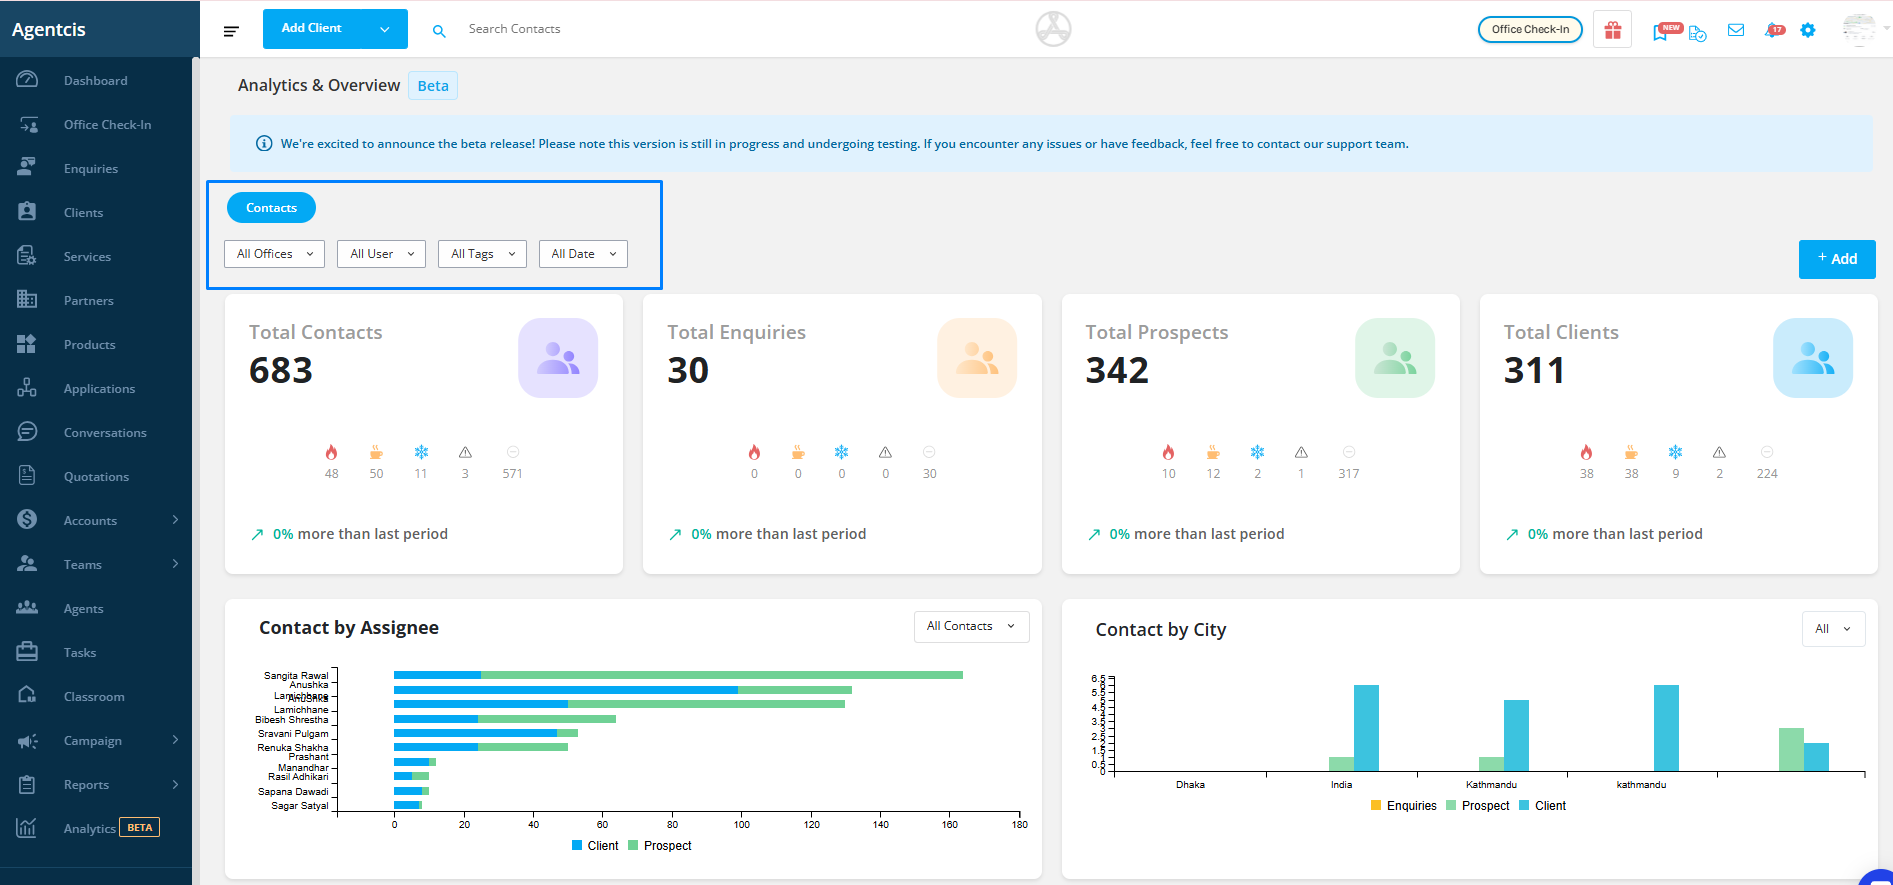
Step 2: Choose Report Filters. You can here get the filter of All Offices, All Users, All Tags and All Date.
Select the relevant filters such as Office, User, Tags, and Date to generate a report based on your specific filter.
Step 3: Enable or Disable Reports
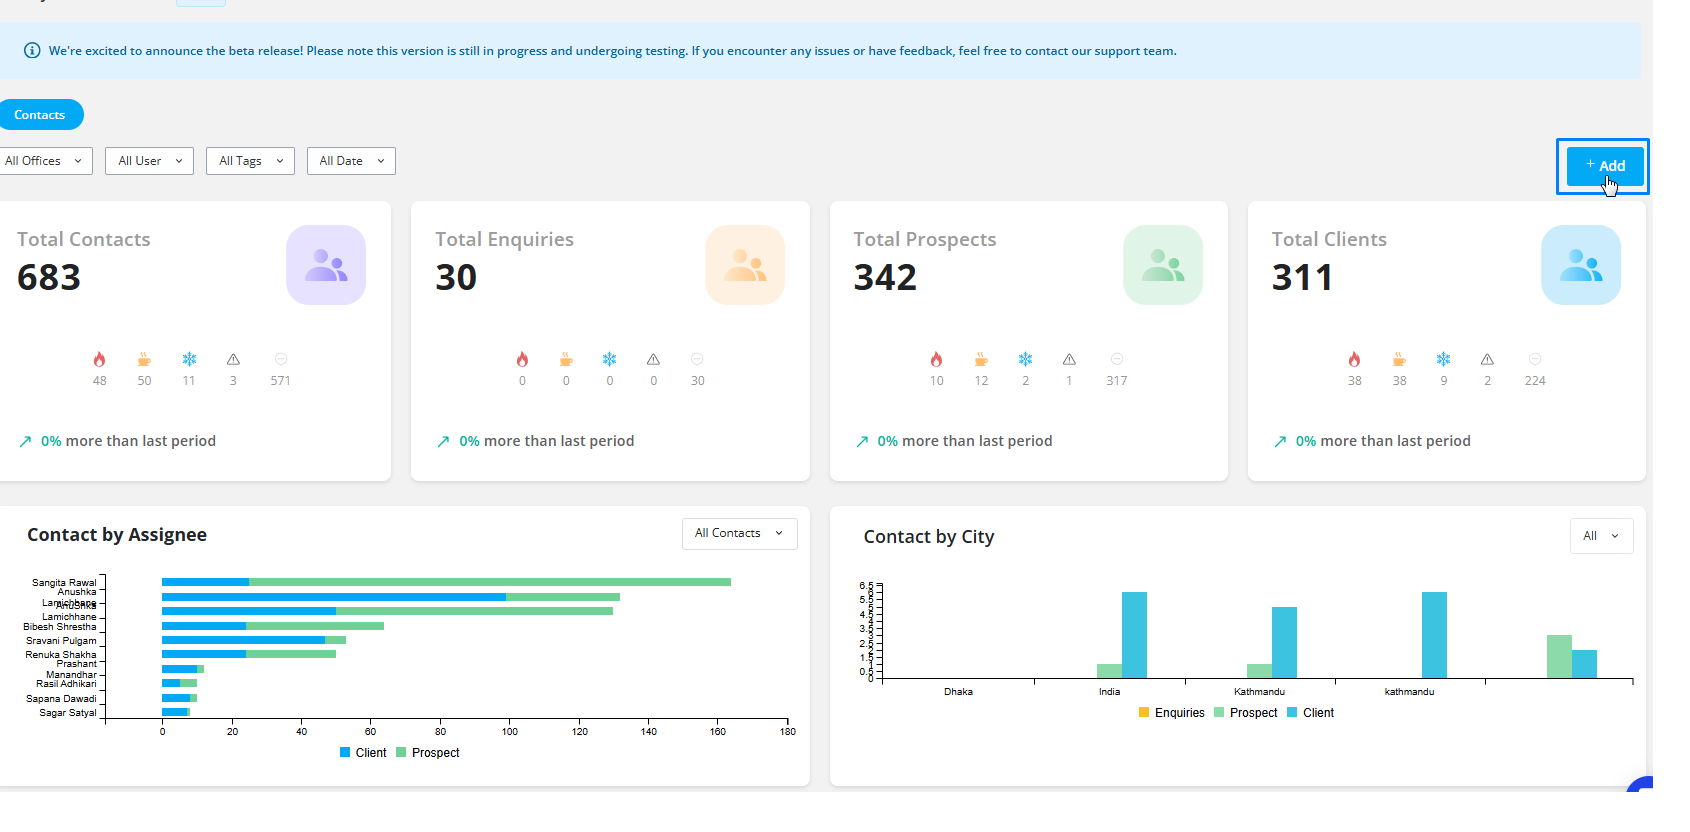
Click on Add to include a report.
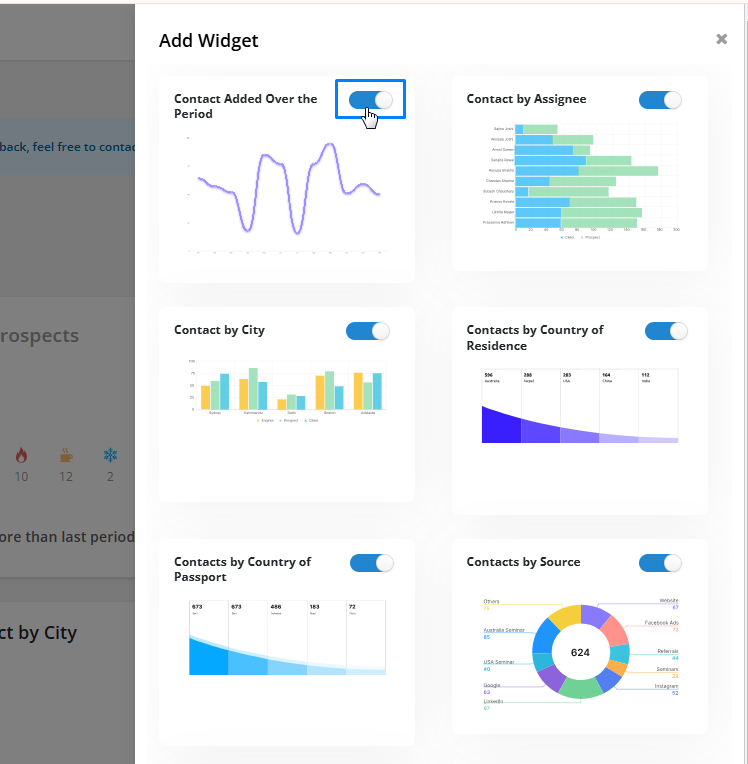
Use the toggle switch to enable or disable specific reports as required.
Step 4: Customize the Report Layout
Rearrange the reports by clicking on the six dots(hover beside the report name to get the six dots) next to a report and dragging it to your preferred position.
Please Note: The first four report which is Total Contacts, Total Enquiries, Total Prospects and Total clients are not moveable.
Step 5: Apply Filters to Reports
You can refine the data further by applying specific filters:
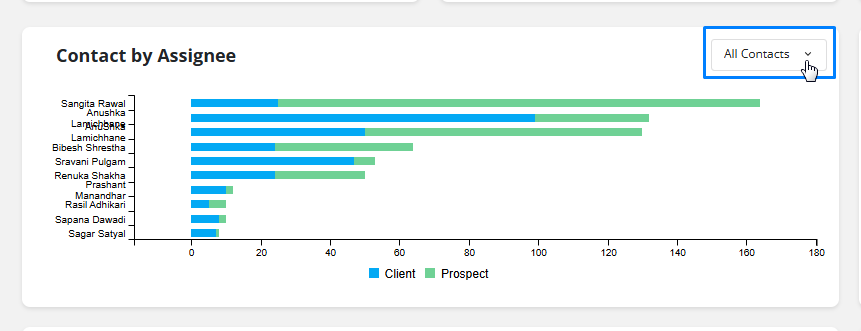
Contacts by Assignee – Select the Assignee from the dropdown.
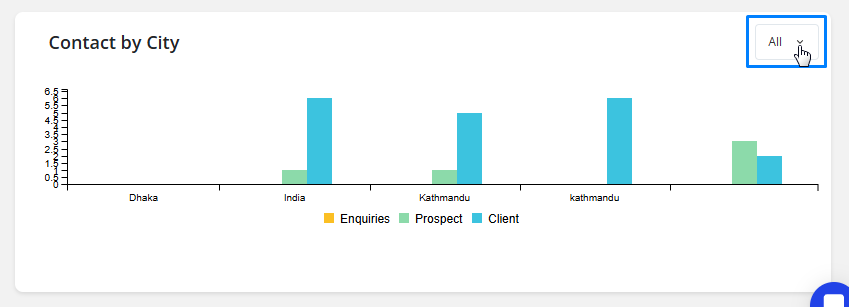
Contacts by City – Select the City from the dropdown.
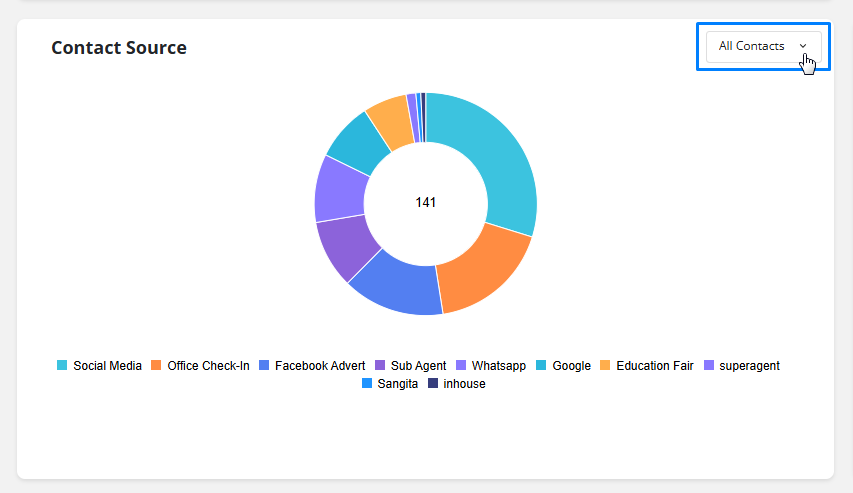
Contact Source – Select the Source from the dropdown.
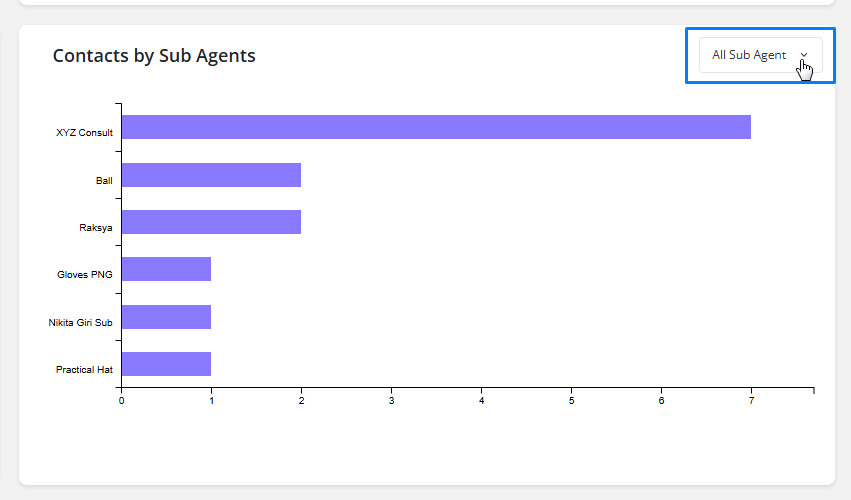
Contacts by Sub-Agent – Select the Sub-Agent from the dropdown.
By following these steps, you can efficiently analyze contact data and gain meaningful insights to support your business decisions.
