✅ Step 1: Go to Meta Business Suite
Open your browser and go to Meta Business Suite.
Log in using your Facebook account that manages your business page.
✅ Step 2: Navigate to Leads Center
In Meta Business Suite, go to the Leads Center.
On the left-hand menu, click Leads Center (If you don’t see it, click More tools to find it).

You’ll see the list of leads collected from your Facebook Lead Ads.
✅ Step 3: Manage Leads Access
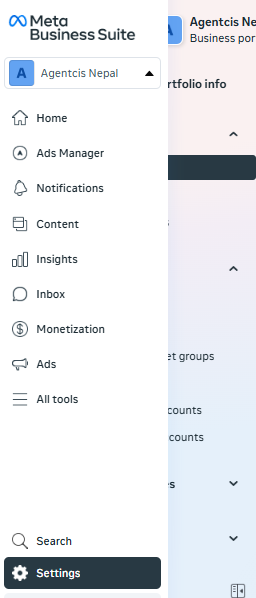
Click on Settings (gear icon) at the bottom left.
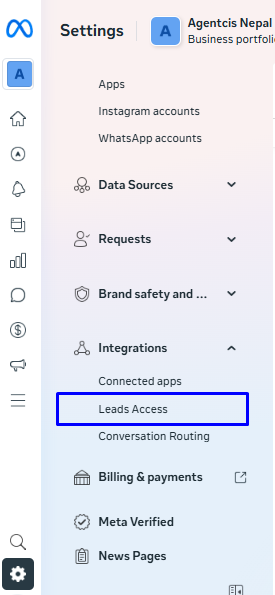
Under Business Settings, go to Leads Access.
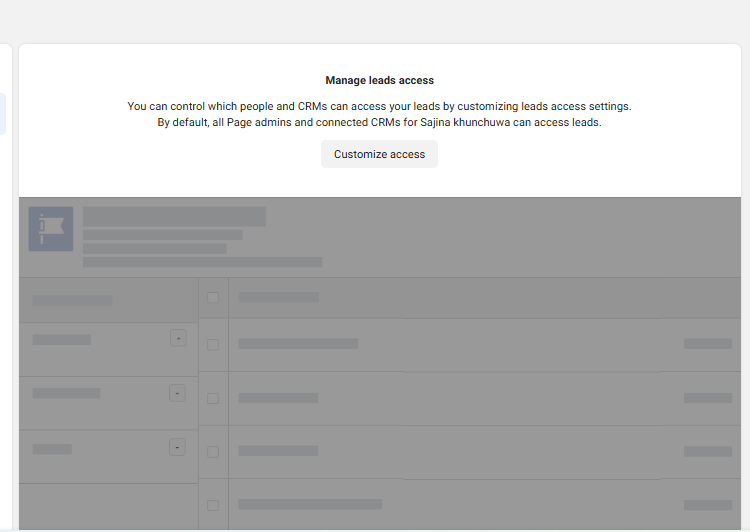
You’ll see a list of pages connected to your Meta Business Suite.
✅ Step 4: Customize access
Find the Facebook Page where you want to enable leads access.
Click Customize access in the box that appears, then click Confirm. Your leads access is now enabled.
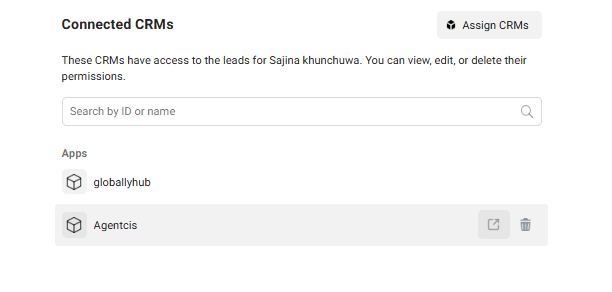
After clicking on confirm, go to the “CRMs” tab. You should be able to view the list of connected Apps there.
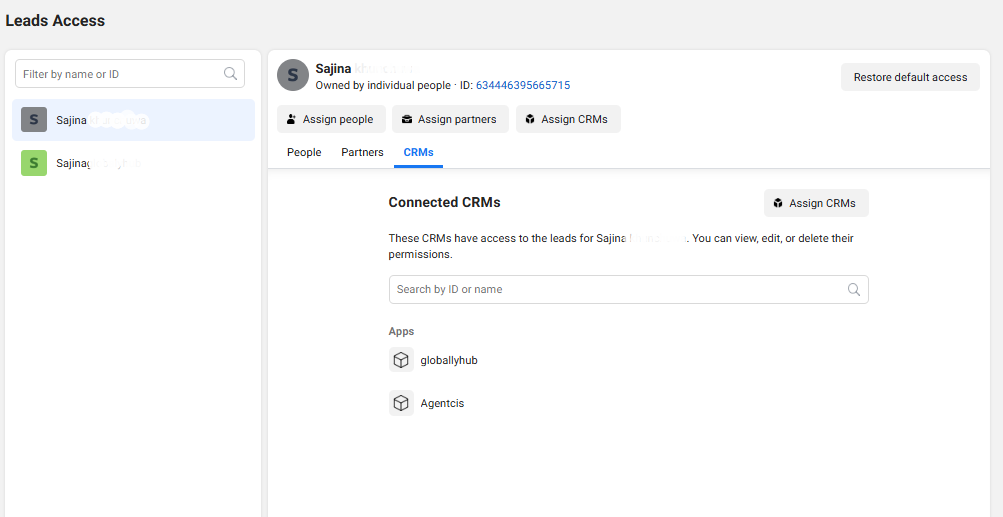
NOTE: Please confirm you have “Agentcis“ listed under Apps. Click on the “Link” icon on Agentcis. You should be able to view the list of Admins who have access to leads on the selected page.