Efficient task management is essential for staying organized, meeting deadlines, and delivering excellent service. In Agentcis, managing your daily to-do list is both easy and intuitive, with centralized task tracking and timely reminders to help you stay on top of your responsibilities.
However, plans can change. Deadlines shift, priorities evolve, or additional information may surface after a task is created. That’s where Agentcis gives you the flexibility to update your tasks with just a few clicks.
There are several practical scenarios where editing a task becomes necessary:
Change in Due Date: You may need to reschedule the task to a different date due to client availability or internal resource adjustments.
Task Reassignment: The team member initially assigned to the task may no longer be available, requiring the task to be reassigned.
Updated Task Description: Additional context or clarification might be required to ensure the task is executed correctly.
Priority Update: A task might become more or less urgent than originally anticipated, requiring a change in its priority status.
Client/Application/Partner-Specific Changes: Sometimes, specific client, application, or partner tasks need updates based on new information or developments.
Agentcis makes it simple to handle all these updates without losing track of your work.
Follow these simple steps to update any task details:
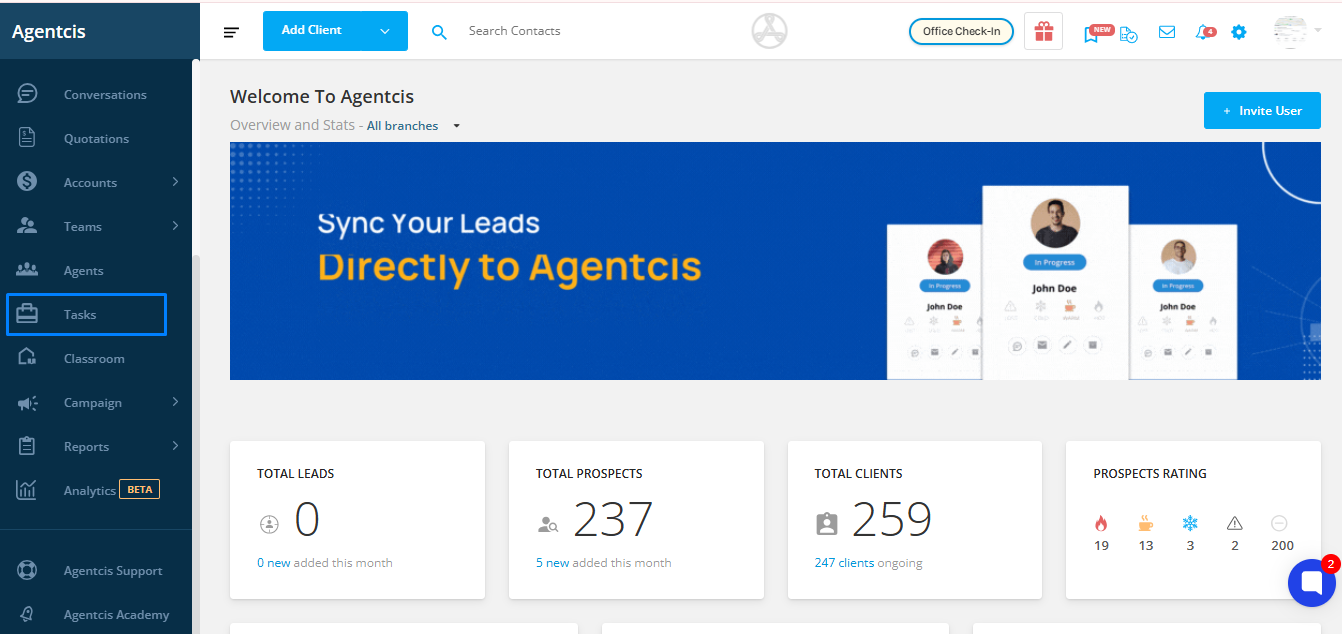
Step 1: From the left-hand side navigation bar, click on Tasks.
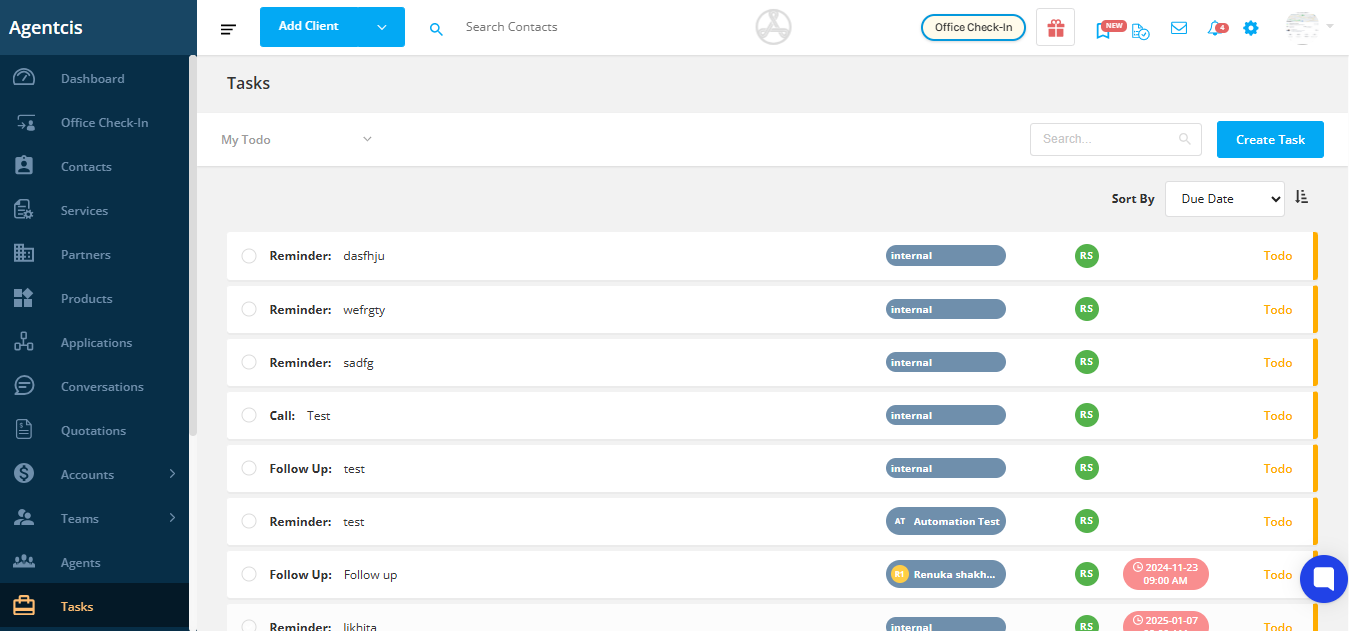
Step 2: Browse the list and select the task you want to edit.
Tip: If the task is associated with a specific client, application, or partner, go to their respective profile and open the Tasks tab to locate it.
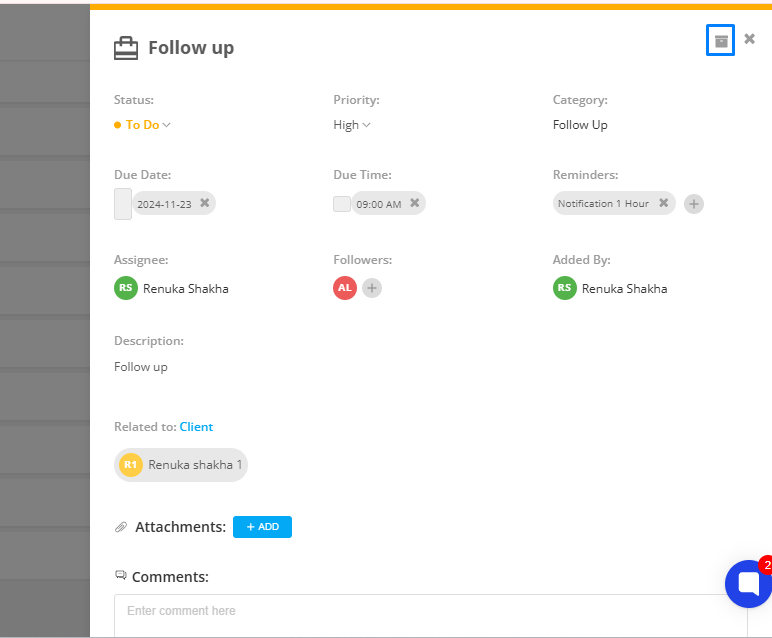
Step 3: Click on the task title to open the task detail page.

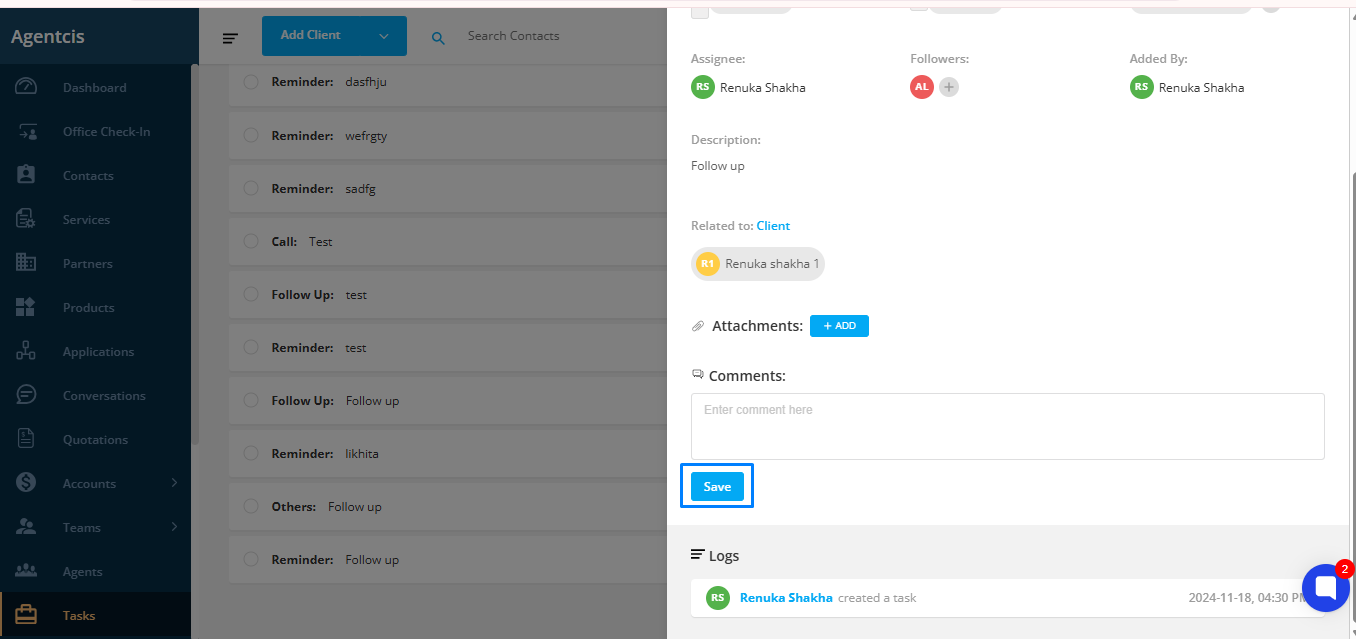
Step 4: Make the necessary changes. Simply click on the section you'd like to update—such as due date, assignee, or task description—and choose the updated values from the dropdowns or input fields.
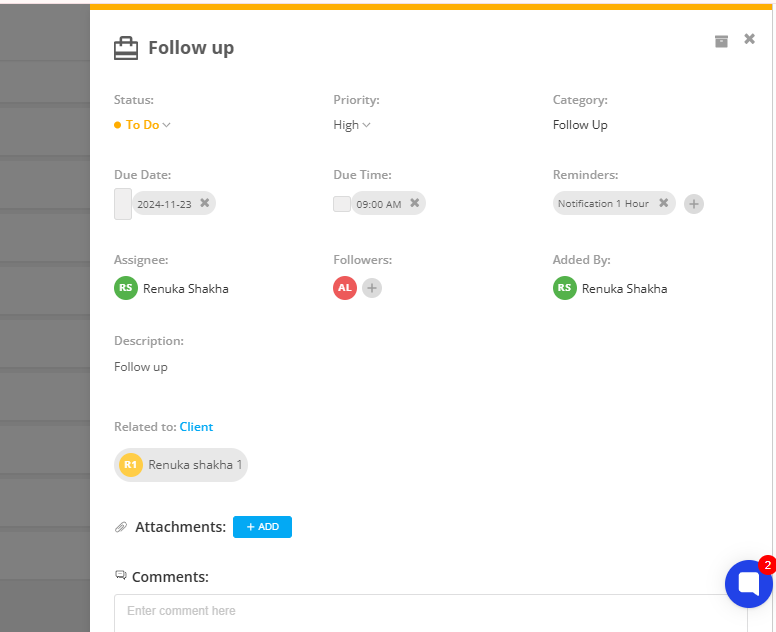
Step 5: Click Save to apply the changes.

Agentcis provides full visibility into task updates through the Logs section. Here, you can view:
Who created or modified the task
When the changes were made
What specific changes were applied
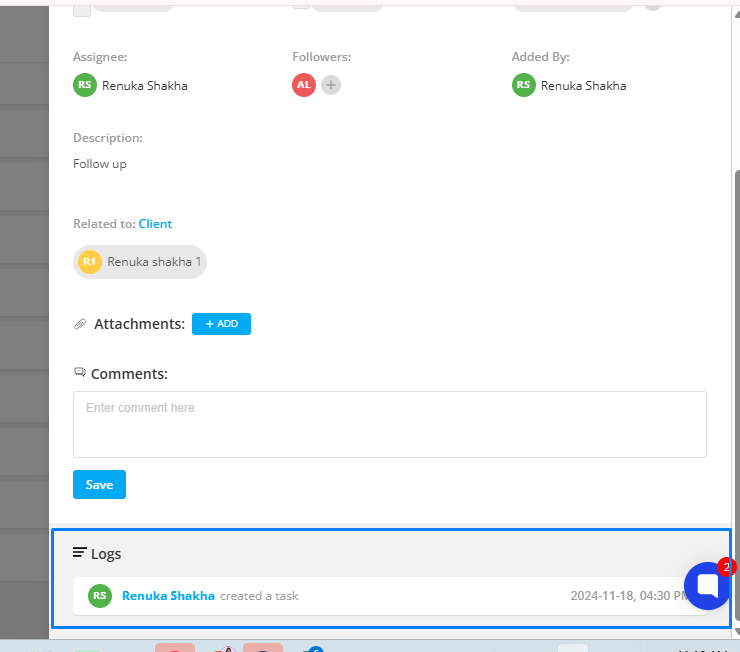
This helps maintain transparency and accountability within your team, especially when multiple users are managing the same workflow.
Step 6: If you want to archive the task then please click on the archive icon.
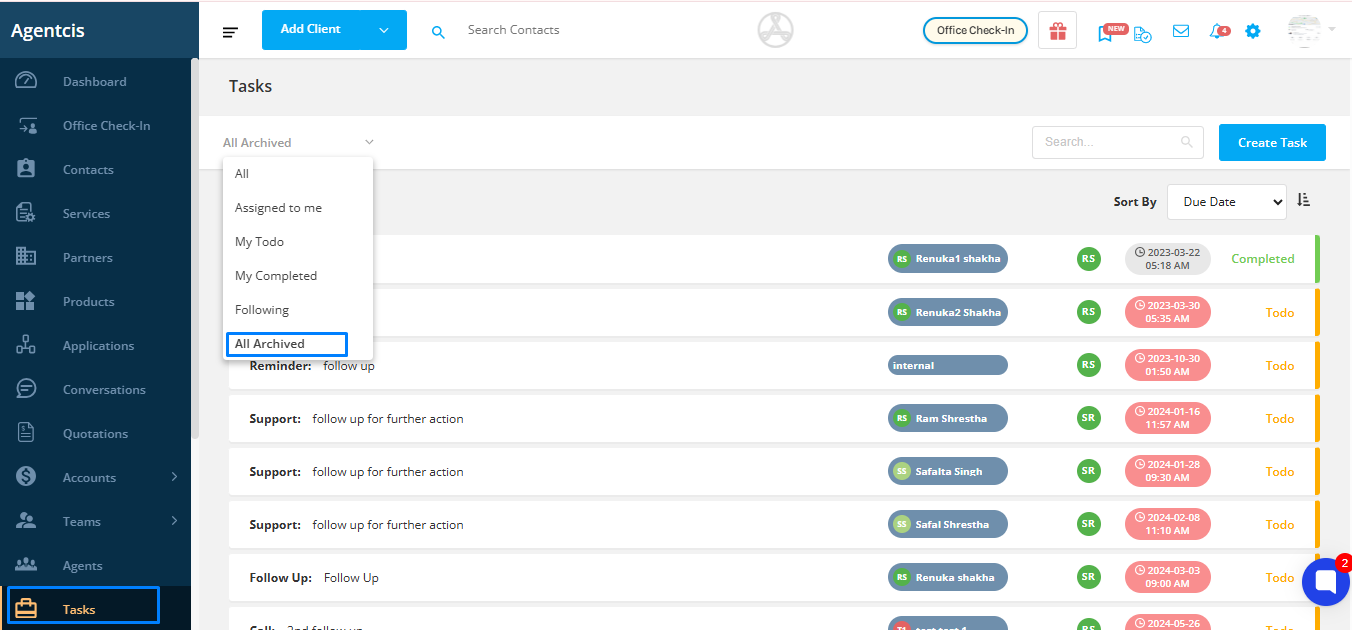
Step 7: To access the archive tasks, in the task listing page, click on the dropdown beside To Do on the top left corner and then select All Archived.