Agentcis’ Audit Logs give account owners a secure way to track system access. With detailed records of login times, user identities, and access locations, this feature strengthens your organization’s data protection and compliance.
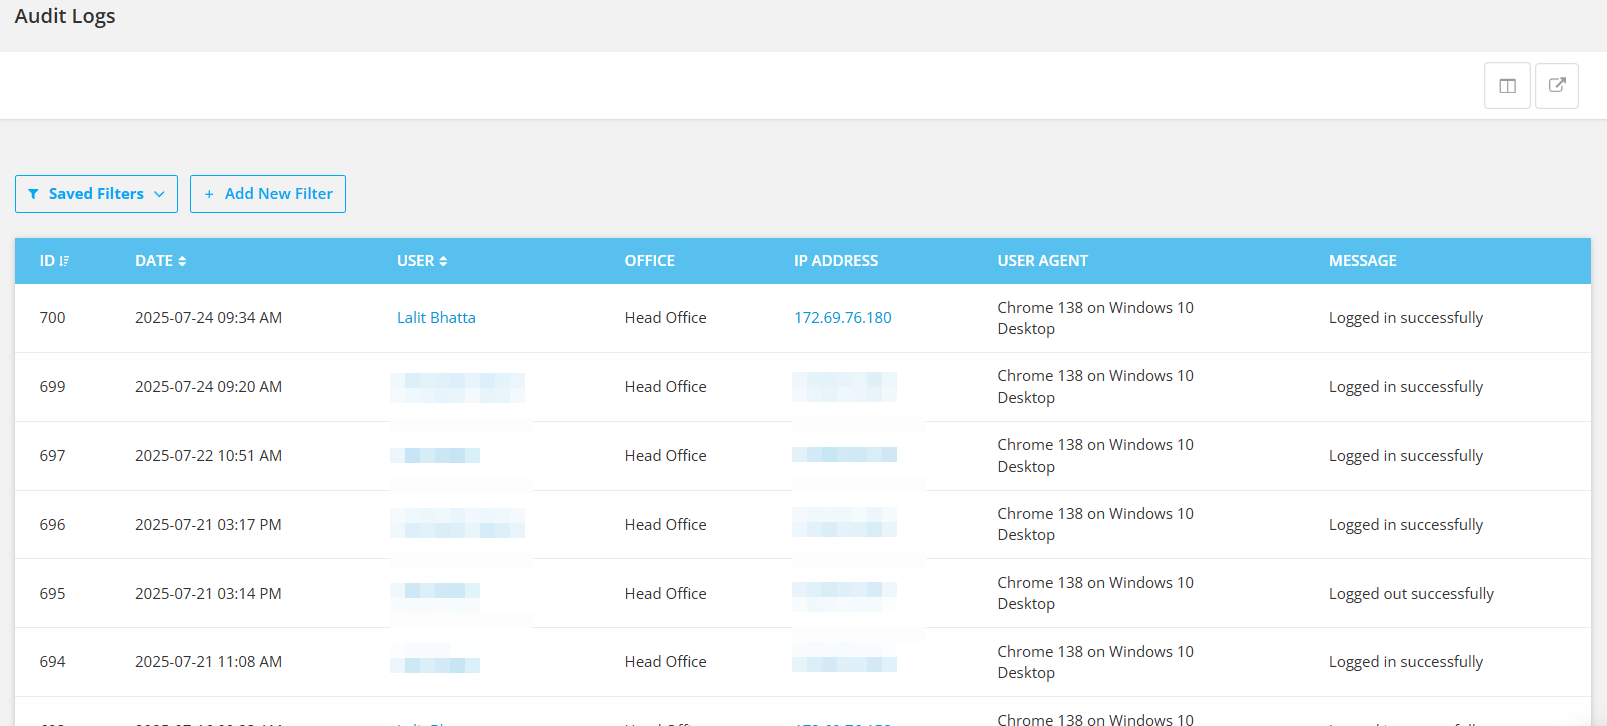
Audit Logs help system owners:
Monitor all user login and logout activities
Identify failed login attempts
Track access by IP address and device type
Export data for external analysis or reporting
Customize and filter log data for efficient review
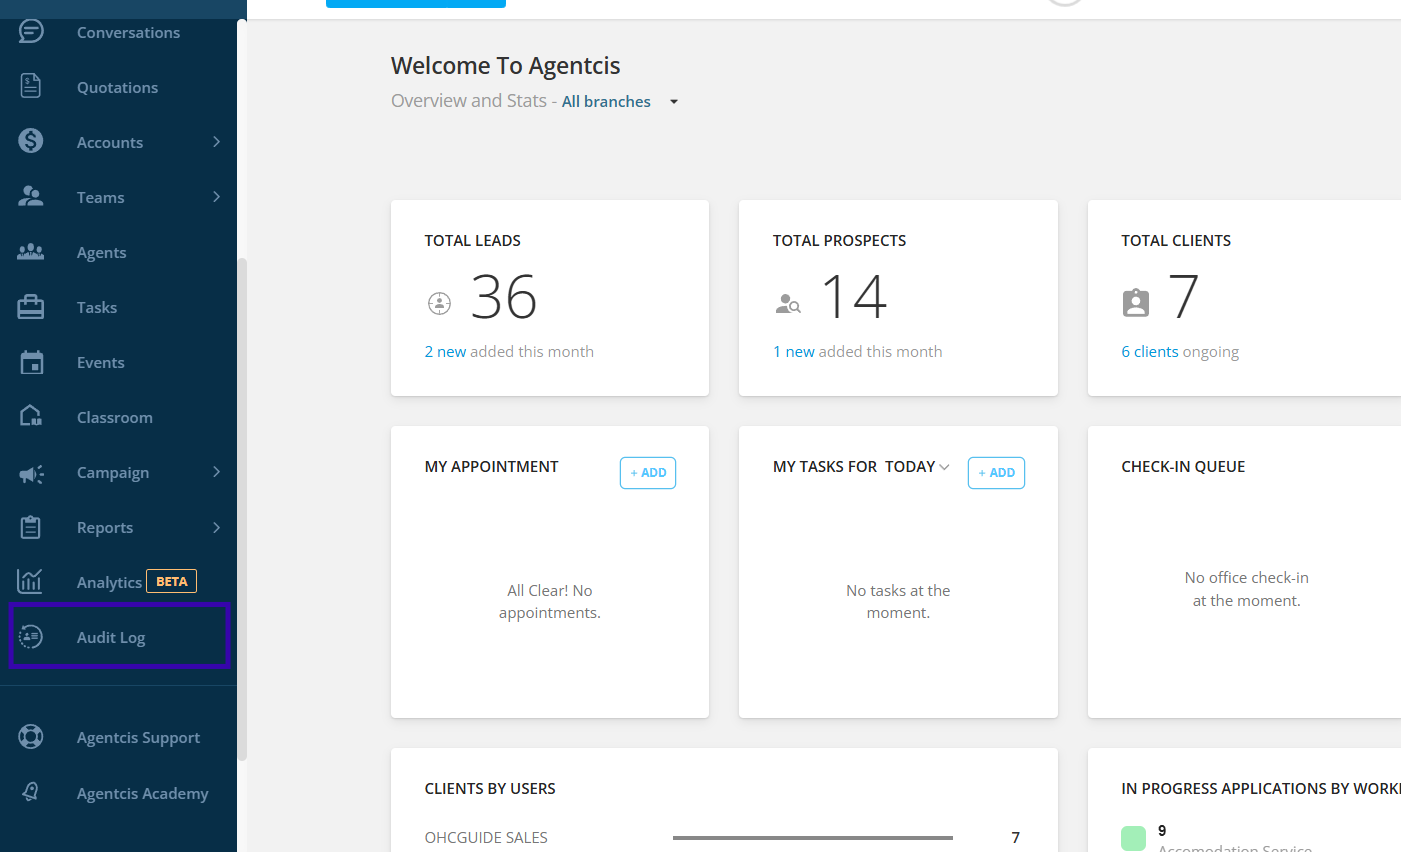
To access Audit Logs page, please follow these steps:
Step 1: Select Audit Log from the left-side navigation bar.
🧭 Understanding the Audit Log Columns
Field | Description |
ID | A sequential identifier assigned to each login event. Higher numbers indicate more recent activity. |
Level | Indicates the severity or type of the event: |
- Info | Successful login/logout |
- Warning | Suspicious behavior (e.g., multiple attempts) |
- Critical | Failed login attempt or invalid password |
Date | The date and time of the activity. |
User | The name of the user who performed the action. Clicking the name opens the user’s profile in a new tab. |
Office | The office to which the user belongs. |
IP Address | The IP address from which the login occurred. |
User Agent | Device and browser information (e.g., “Chrome 134 on Linux” or “macOS Catalina 10.15”). |
Message | A status update on the activity: - Logged in successfully - Logged out successfully - Invalid password |
Managing Column Visibility
To tailor the audit log view, users may adjust which columns are displayed:
Click the column display icon (top-right of the table).
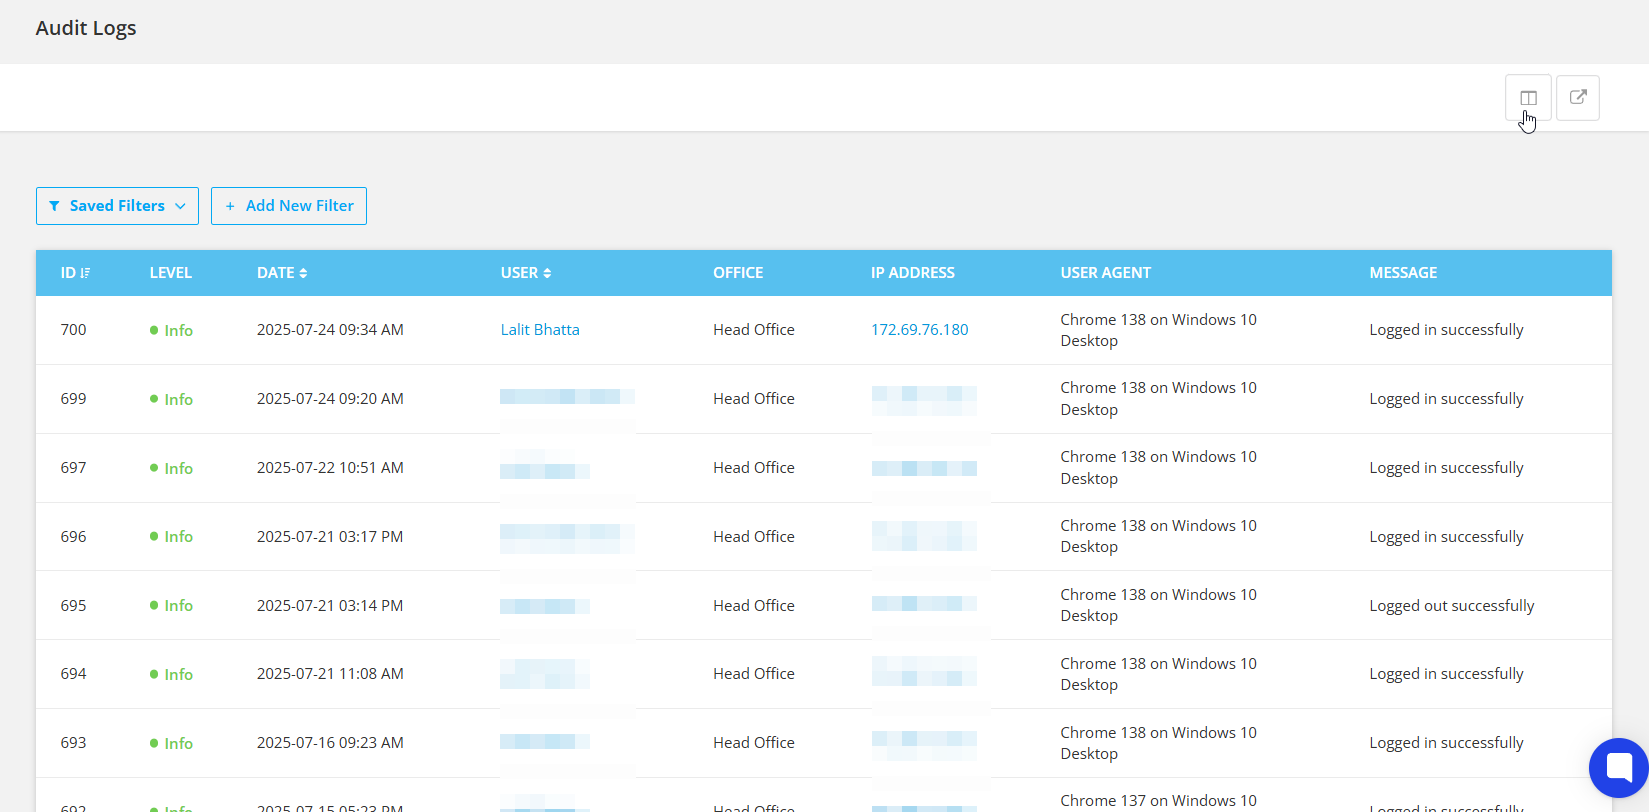
Tick or untick fields such as User Agent, Message, or Office.
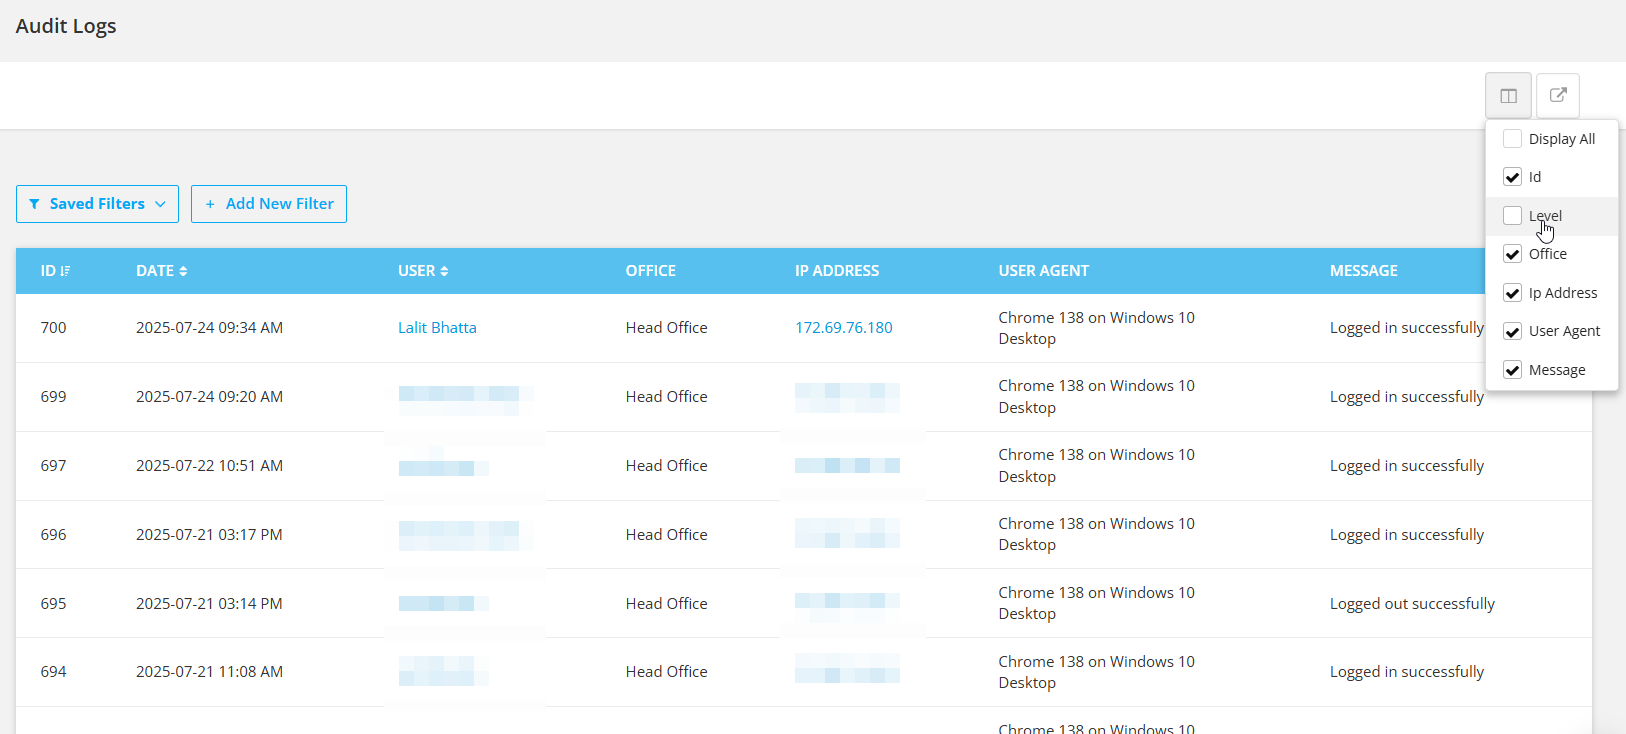
Only selected columns will be shown on the screen.
The filter toolbar provides advanced search functionality, allowing you to narrow results based on:
ID
Level
Date and Time
User
Message
IP Address
User Agent
Office

To track login records for the Sydney Office during a specific timeframe:
Filter by Office = "Head Office" Or, you can also search by using specific Name of the office
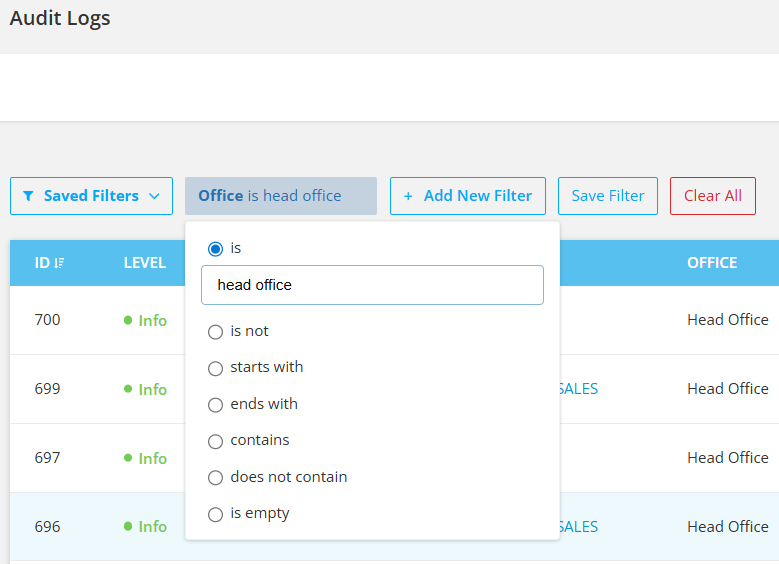
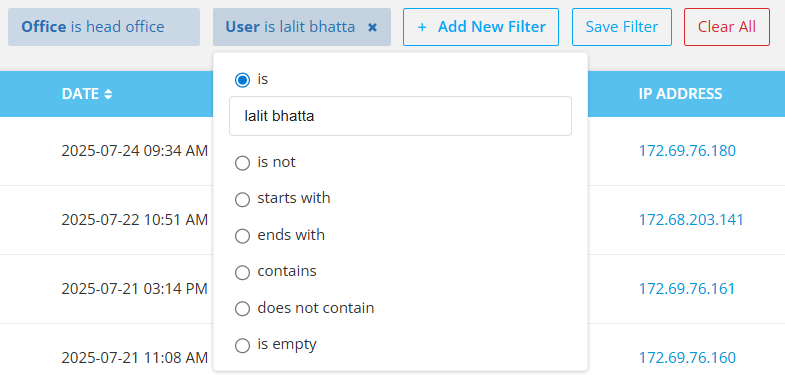
Filter by User (optional)
Filter by Date (e.g., July 15, 2025)
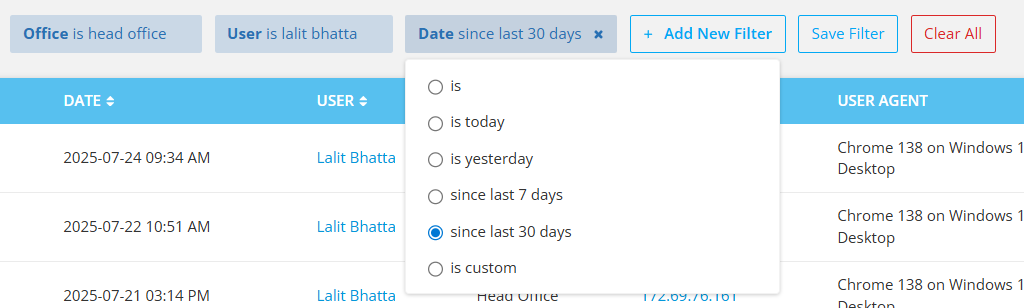
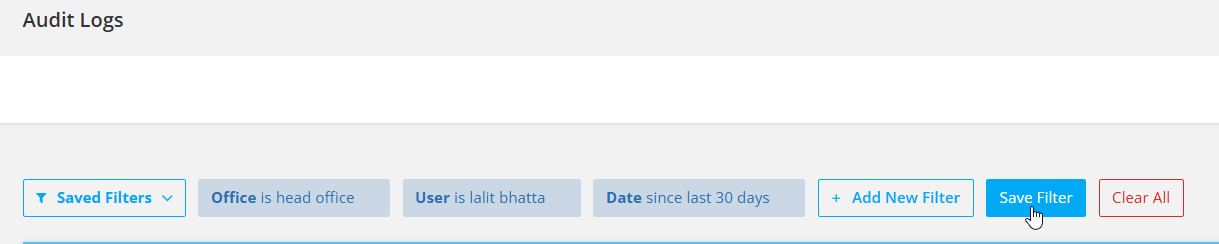
Once a useful filter combination is applied, it can be saved for future access:
Click on “Save Filter”.
Name your filter set (e.g., “User Monthly Logins”)
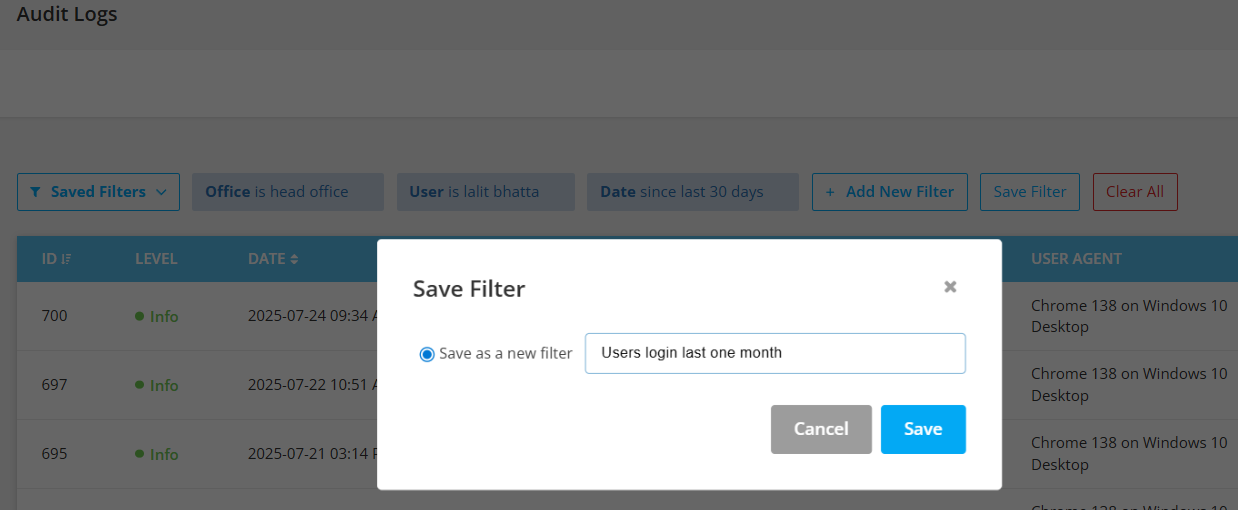
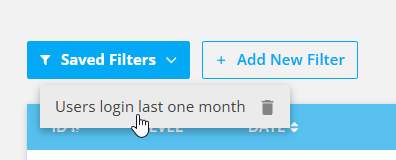
Access it later from the Saved Filters dropdown
You can also delete the filter by clicking on trash icon on the right of the filter name.