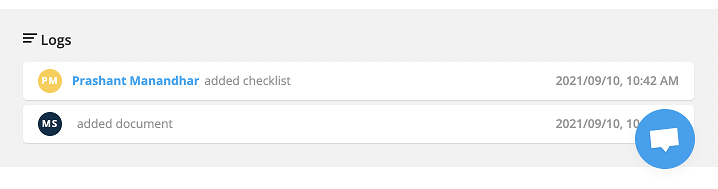
The document upload is now possible from your client’s end as well which would reduce the manual work for you and your counselors. You will receive a notification when a client uploads a document.
Note: Make sure that the client has access to the client portal and can upload documents.
Client Portal must be activated for the respective clients. Please visit the below link for more info:
Activating & Using Client Portal
Activating & Using Client Portal
To upload documents from the client portal dashboard:
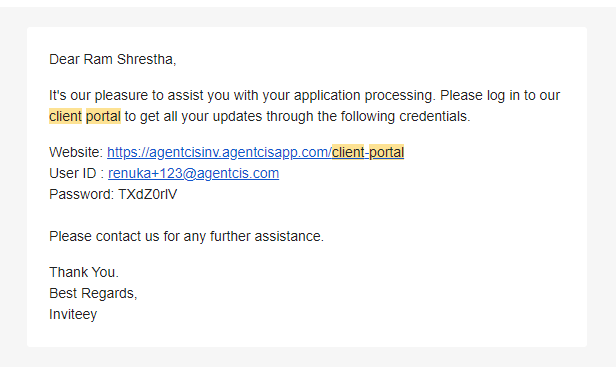
Step 1: The client should log in to the portal using the credentials they receive in the client portal activation email.
Step 2: In their client portal Dashboard, they can see their applications and their process.
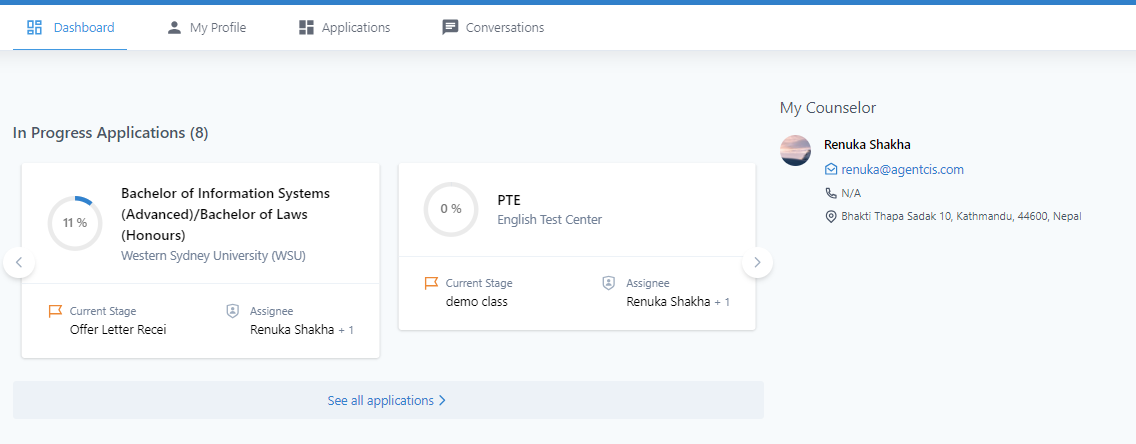
Step 3: If their current applications need any documents to be uploaded, they can see it in the dashboard and upload the document. They can also see the due dates of the upload.
The clients can see all their recently uploaded documents on the right side. They can download the documents as well.
Step 1: The client should log in to the portal using the credentials they receive in the client portal activation email.
Step 2: Go to the Applications tab
Step 3: Each of their applications will be listed here in the cards view.

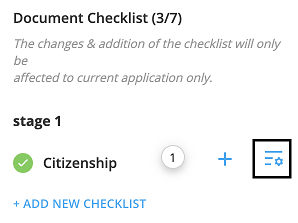
Step 4: Click on the “Requirements” option. The “Requirements” option shows the number of documents that are remaining to be uploaded.
Step 5: The drawer will show which documents are to be uploaded. Click on the Upload button on the side of the checklist.
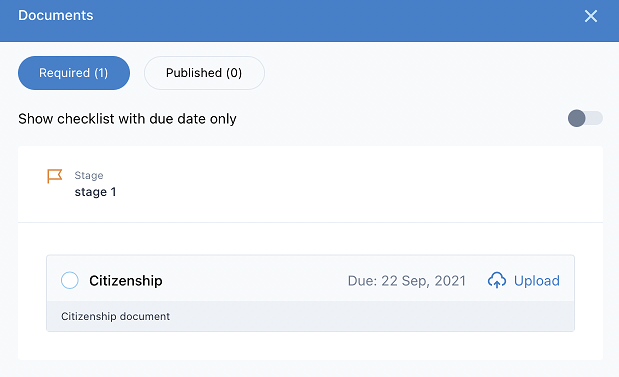
Step 6: Upload the document.
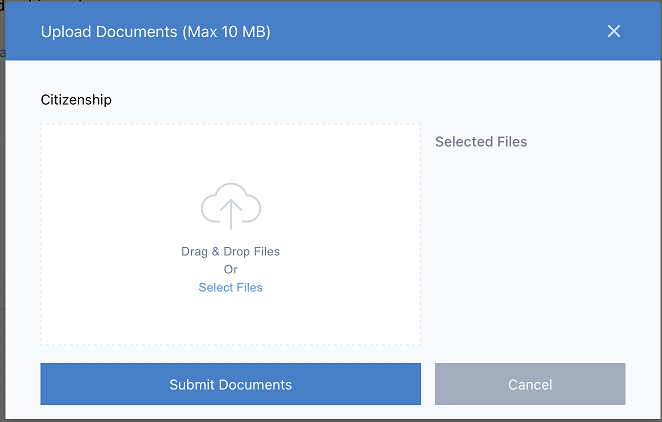
Step 7: Click on Submit Documents.
To get a log of the documents uploaded by the client through the client portal:
Step 1: Go to the application detail page and click on the Documents sub-tab.

Step 2: Click on the Properties icon of the checklist.
Step 3: The bottom of this drawer has a log of all the documents that have been uploaded by the client.