To set up automation in Agentcis, you first need to create an automation flow. This means choosing a trigger that starts the process, adding contact filters to focus on the right people, and picking an action to happen automatically—like sending emails, updating information, or assigning tasks. It’s important to set each part correctly so the automation works smoothly and helps make your work easier and faster.
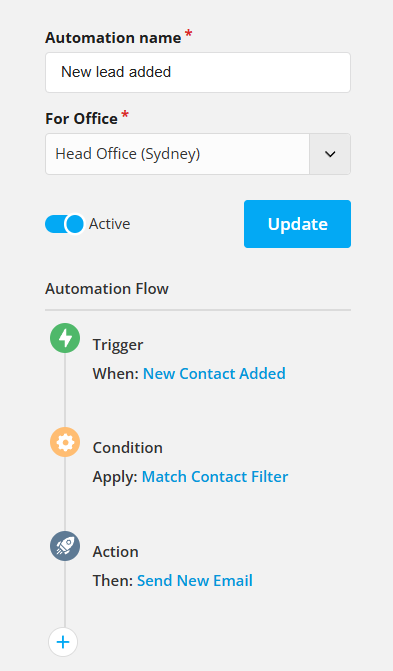
Creating an automation in Agentcis is based on a simple logic:
- When something happens (Trigger)
- To a specific group (Match Contact Filter)
- Then do something (Action)
Let’s break it down:
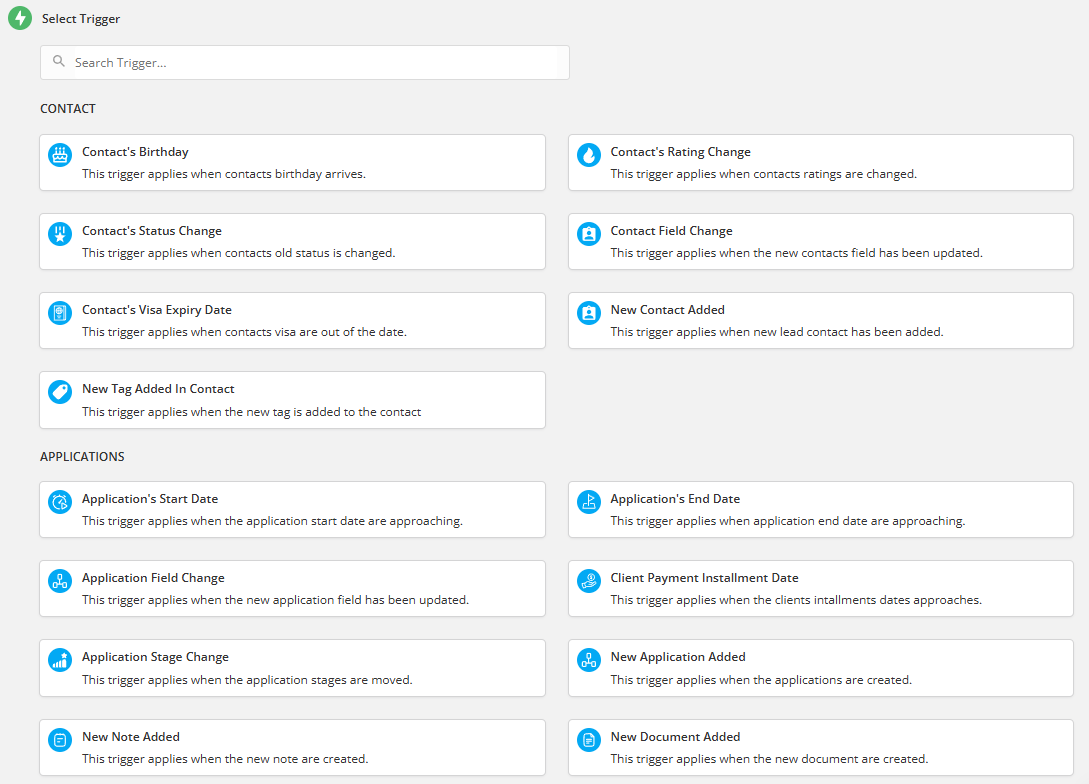
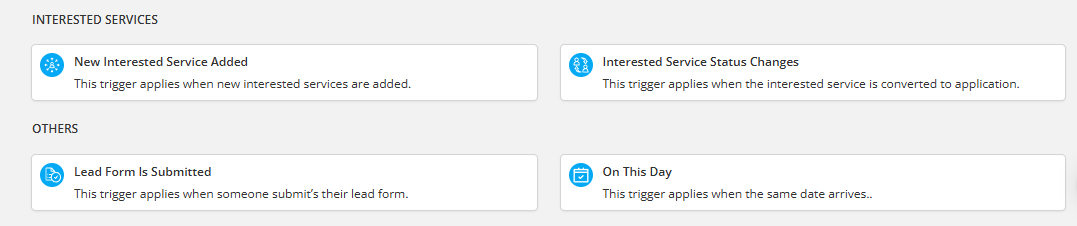
A trigger is the event that causes the automation to run.
Examples:
New Contact Added → Send a welcome email
Application Stage Changed → Create a task for the counselor
Contact’s Birthday → Send a birthday greeting
Agentcis offers both date-based and action-based triggers.
The contact filter lets you select which contacts the automation should apply to — so you're not sending emails or creating tasks for everyone.
Filter options include:
Client’s email
Assigned team member
Tags (e.g., Student Visa, Migration)
Preferred service
Phone number,
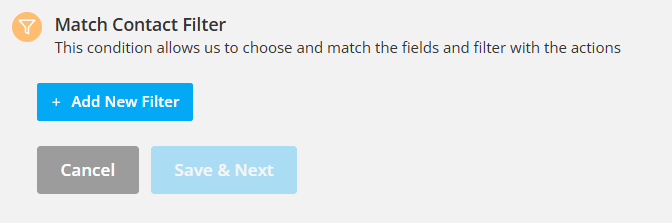
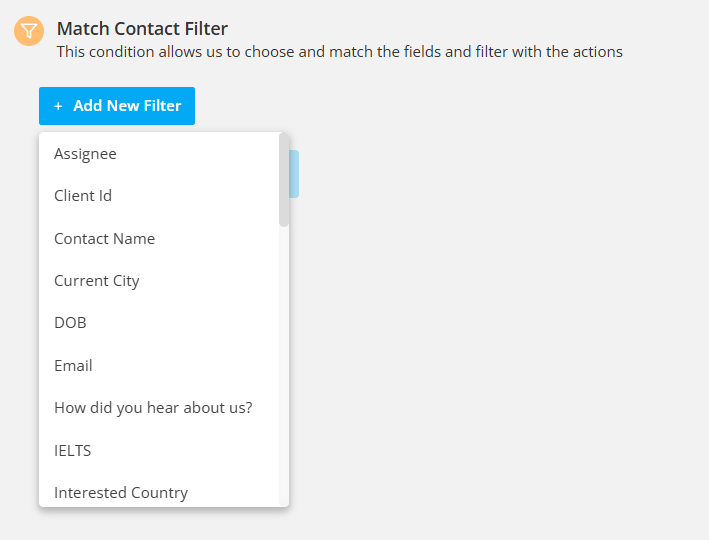
Example:
You want to send a follow-up only to contacts assigned to a specific counselor — use Assignee = [Name] as the filter.

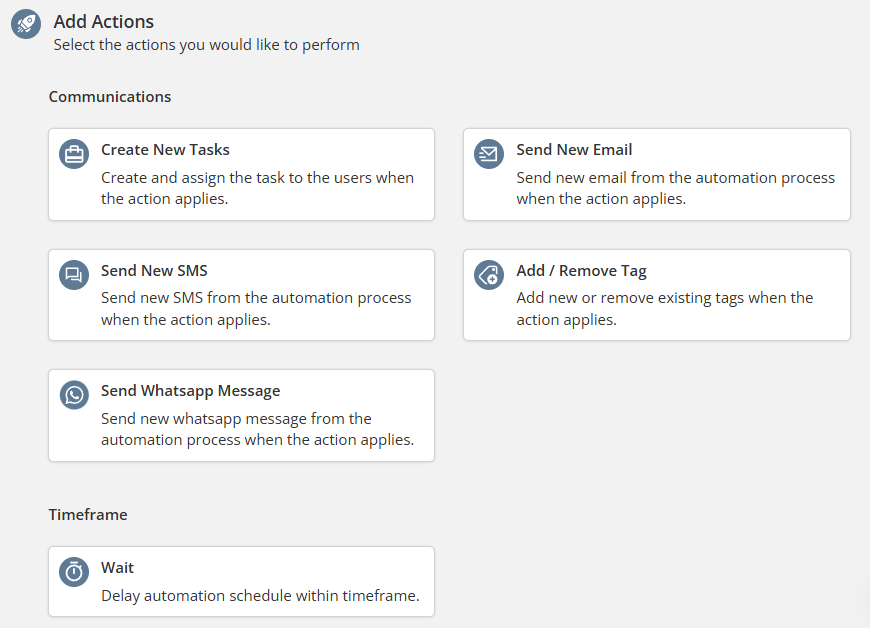
The action is the result of the automation — what the system should do after the trigger is activated and the contact matches the filter.
Agentcis supports:
Send Email
Send SMS
Send WhatsApp message
Create Task
Add/Remove Tags
Delay the next step
Example:
Trigger: Contact’s Birthday
Filter: Tag = Offshore Students
Action: Send a birthday email (with a 3-hour delay)
You can chain multiple actions or conditions in one automation.
Use delays to control timing between steps.
Preview the automation flow visually on the left side of your screen while setting it up.
Don’t forget to click “Active” to make the automation live after creating.
