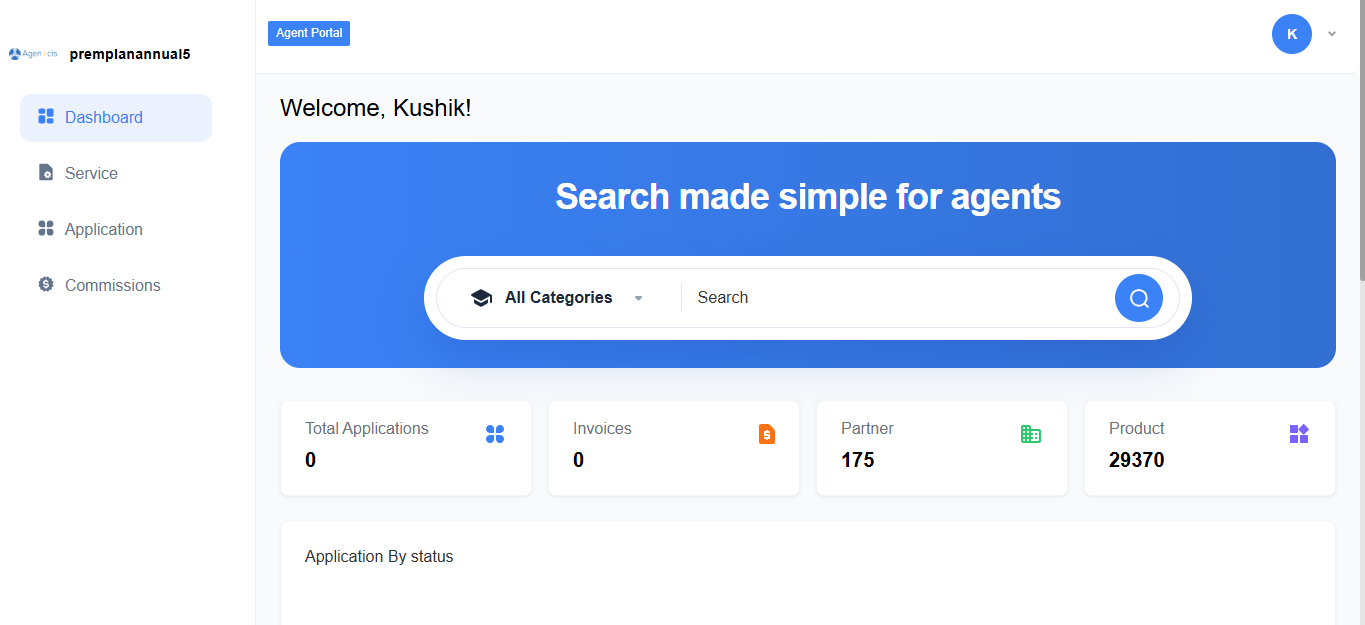
Upon logging in, agents are greeted with the Dashboard, a centralized view that provides key information at a glance:
Dashboard Element | Description |
Welcome Message | Personalized greeting displaying the agent's name |
Total Applications | Displays the total number of applications managed by the agent |
Invoices | Shows invoice-related information |
Partner | Displays partner associations |
Product | Shows product-related details |
Application by Status | Visual breakdown of applications based on their current status (e.g., pending, approved, in progress) |
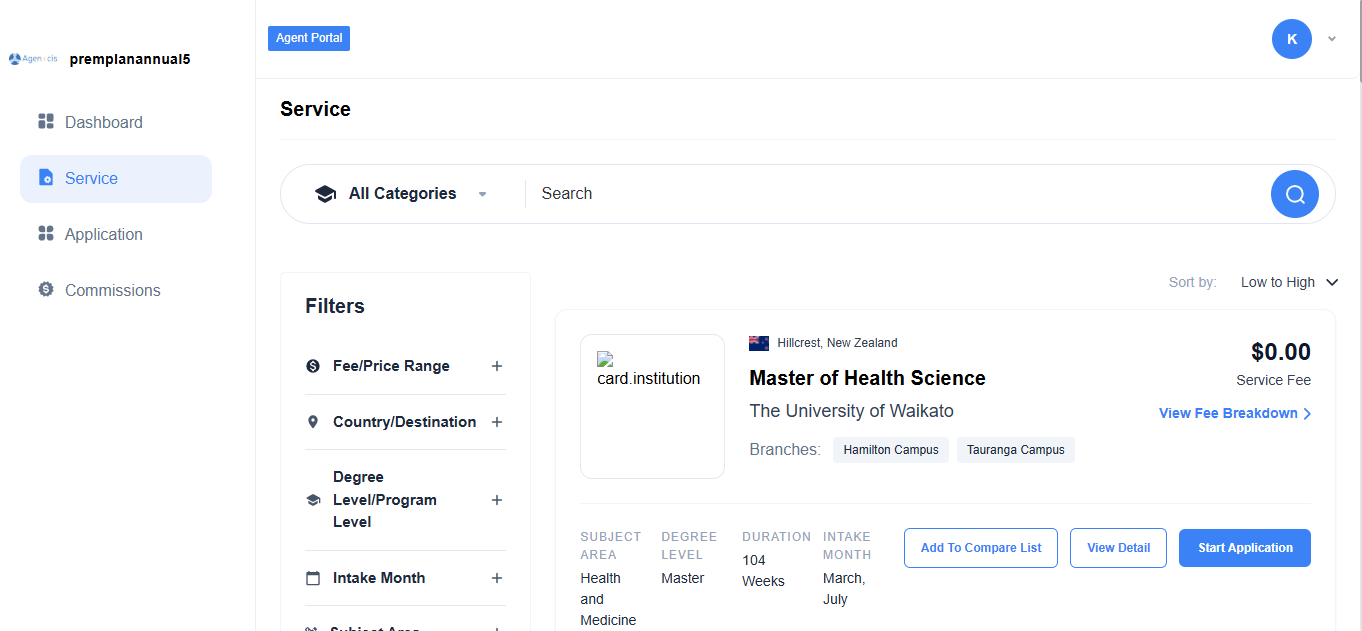
From the Services tab, agents can browse programs from partner institutions. Each program card displays the institution name, program title, service fee, country, campus branches, level, subject area, duration, and intake months.
Agents can sort results by fee (low to high) and filter by country or destination. From any program card, agents can view the fee breakdown, add programs to a compare list, view full details, or click Start Application to begin the application process.

From the Applications tab, agents can view and manage all client applications. Applications are displayed with client details, application detail, status, added on date, last updated date, product fee, application in queue, and action. Agents can search for specific applications using the search bar and apply filters to narrow down results.
Applications are organized by:
All Application
Draft
Submitted
In Progress
Completed
Discontinued
Each status displays the total number of applications. Agents can sort applications by Date Added and last updated in descending or ascending order and also apply filters.
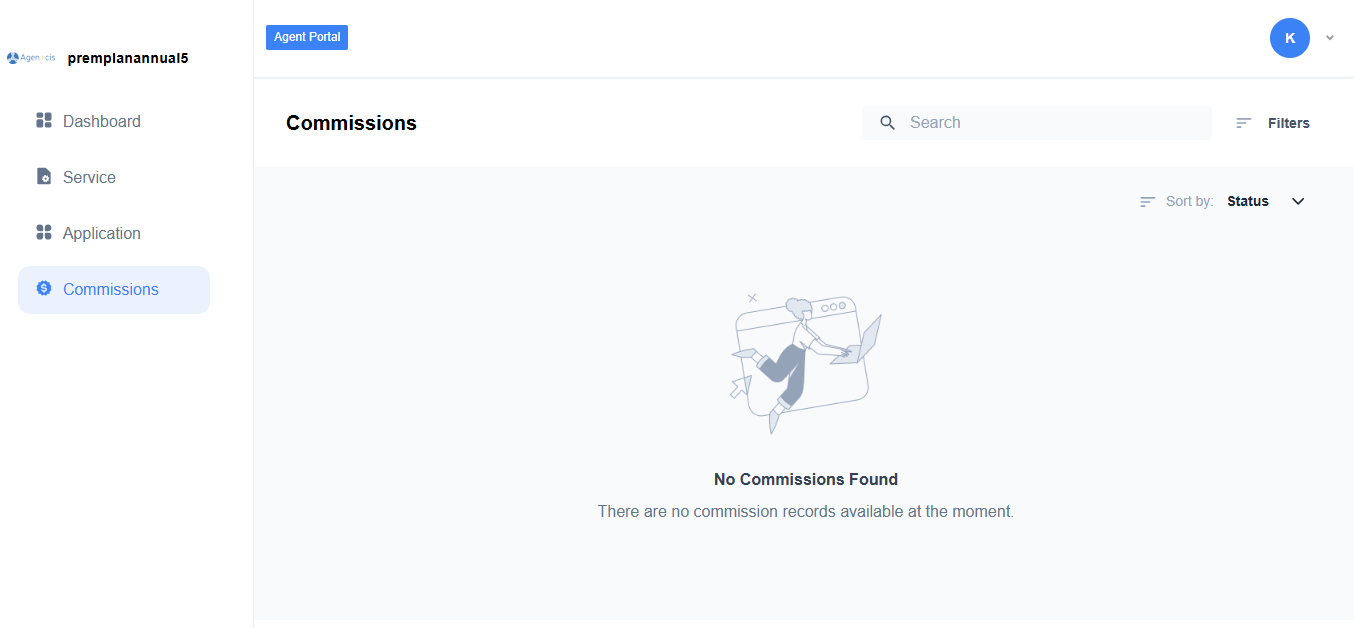
From the Commissions tab, agents can track and manage their commission records. Once a super agent activates the portal and allows commissions, agents will be able to view their commission details in this section.
When no commission records exist, agents will see a message indicating No Commissions Found with a note that there are no commission records available at the moment.
Agents can use filters to narrow down commission records and sort by status to organize their view.
