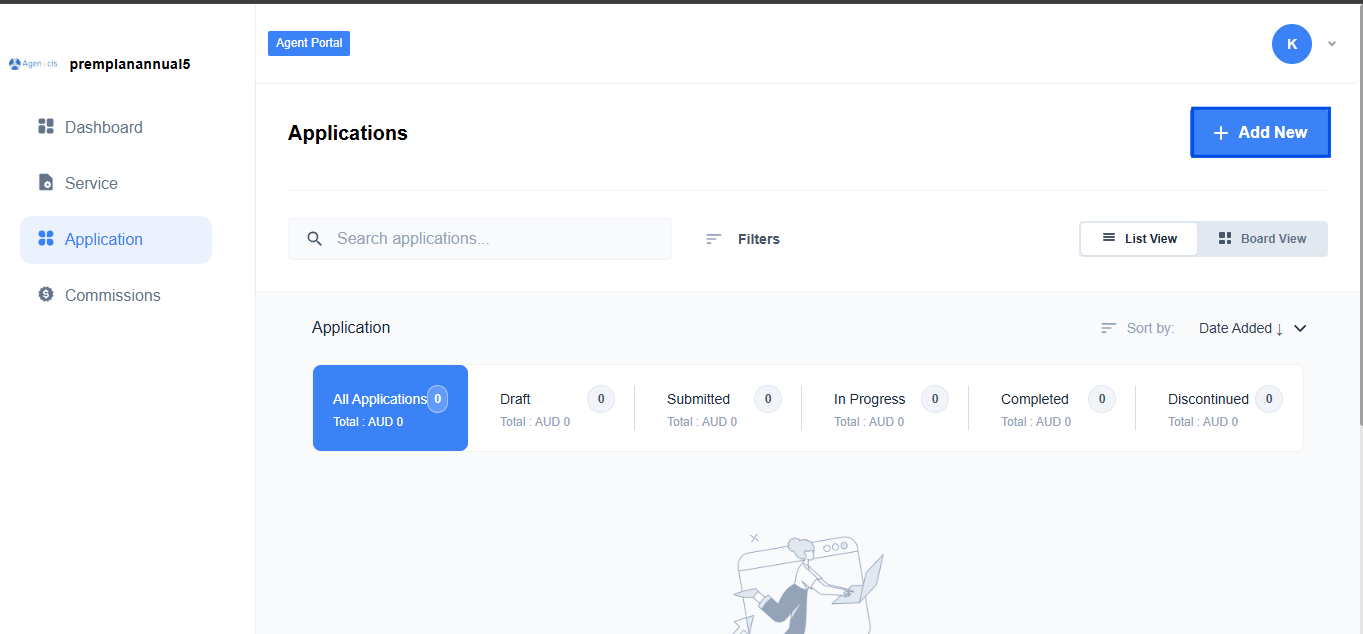
Once the Agent Portal is activated, agents can begin submitting client applications directly through the platform. Whether you're working with a new client or an existing one, the process is straightforward and guided step by step. This article walks you through each stage, from selecting the partner and program to submitting the final application. All applications created will be saved and visible in the Applications tab for easy tracking and management.
Step 1: From the Applications tab, agents can begin a new client application by clicking the + Add New button.
Step 2: From the Select Partner dropdown, choose the partner institution. Then select the specific program from the Select Product dropdown, followed by the campus location from the Select Branch dropdown. Click on proceed.
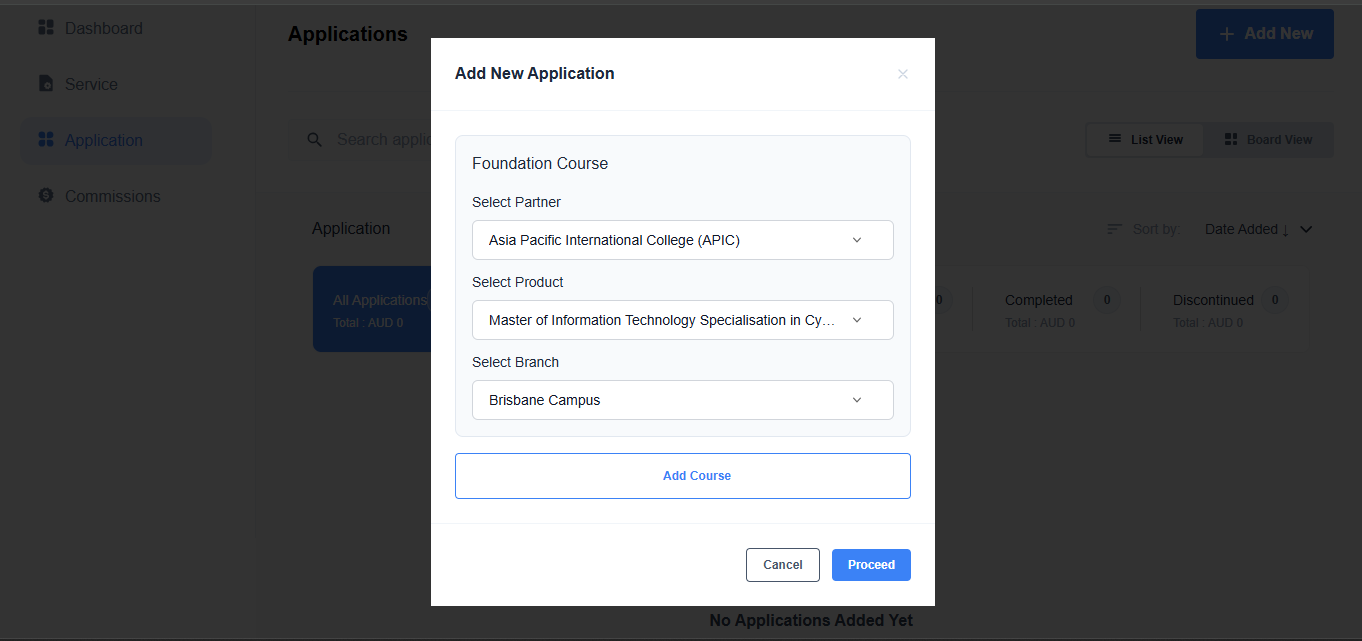
Note: You can add more course as well by clicking on add course button.
Step 3: Choose whether the application is for an existing or new student. If the client has been added before, select Existing Student. If not, select New Student to add their details. Click Start Application to proceed.

Note: If you select Existing Student then a popup will appear to select the student.
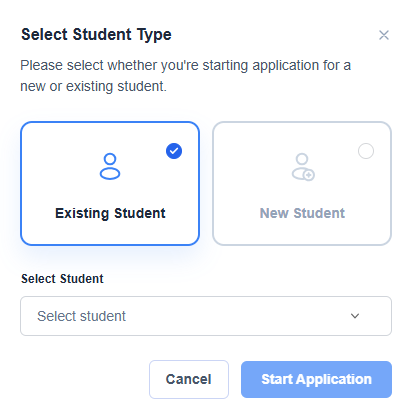
Note: If you select New Student then a form will appear to input the details of the client. You have to fill in all the mandatory details which is asked. Remember that this a system built in form which cannot be customized.

Step 5: Once done, you can either select the option save as draft or you can directly submit.
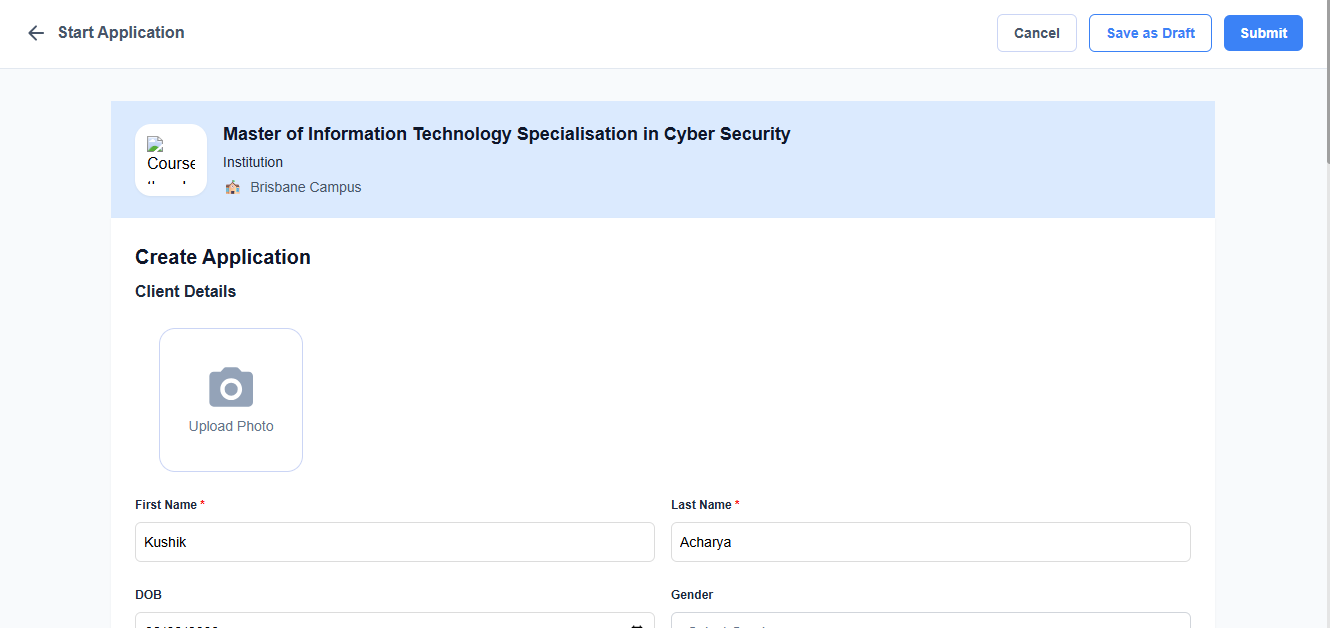
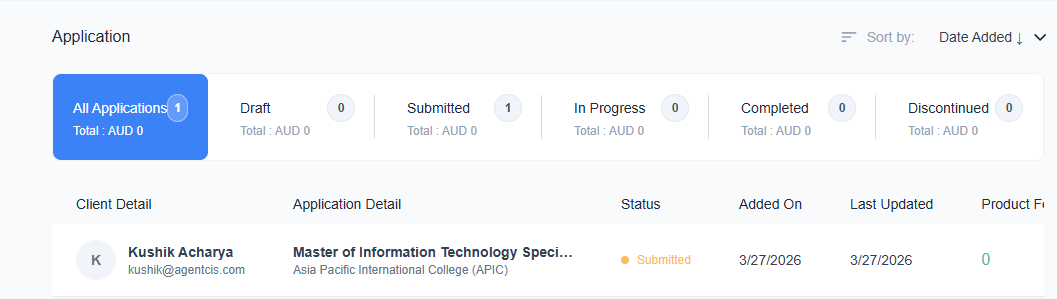
Note: Once you submit, the application will be reflected in the application tab.
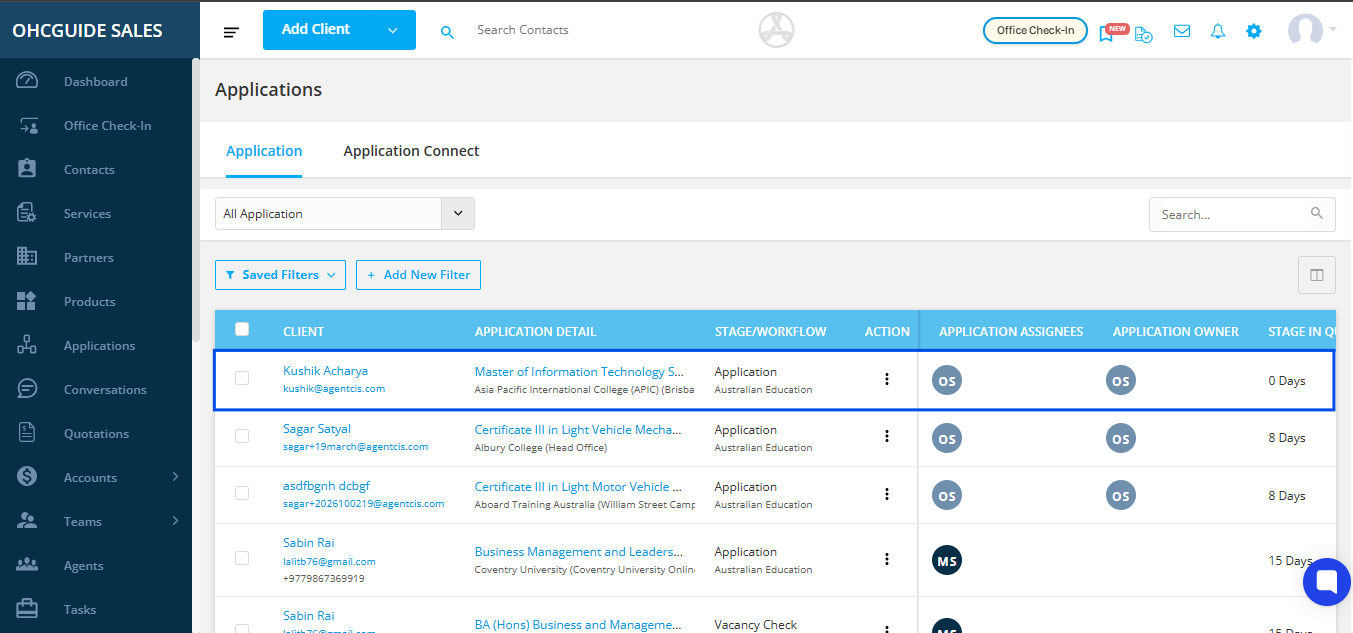
Once application is submitted by the sub agents, the further process will involve the super agents for that they need to perform different actions. So how can super agents manage the application submitted by sub agents.
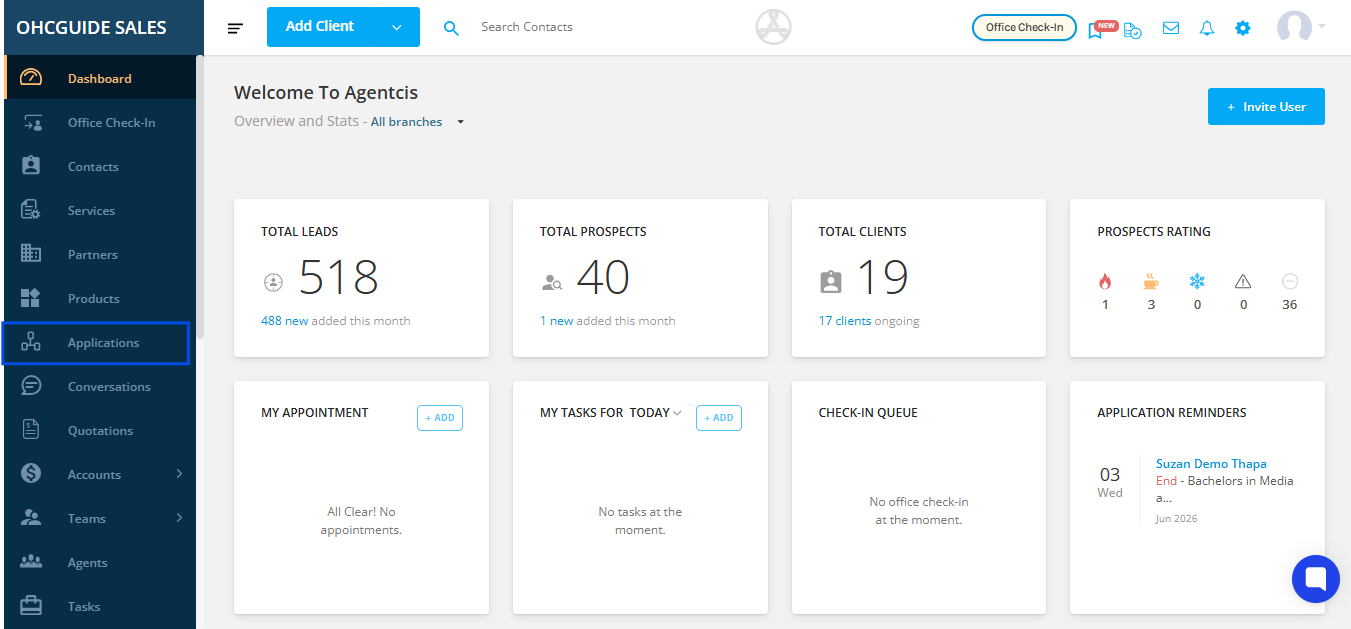
At first, Go to application from the dashboard.
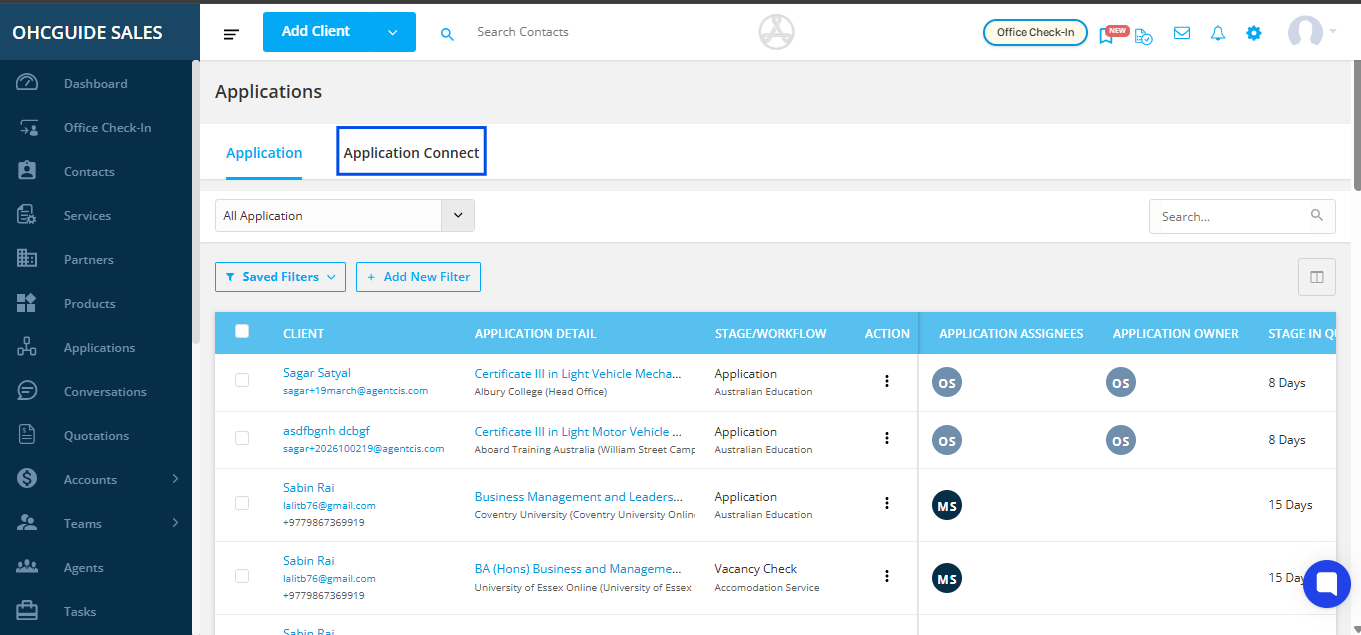
Secondly, click on application connect.
Thirdly, hover to the application submitted by sub agent through source as agent portal and click on accept button.
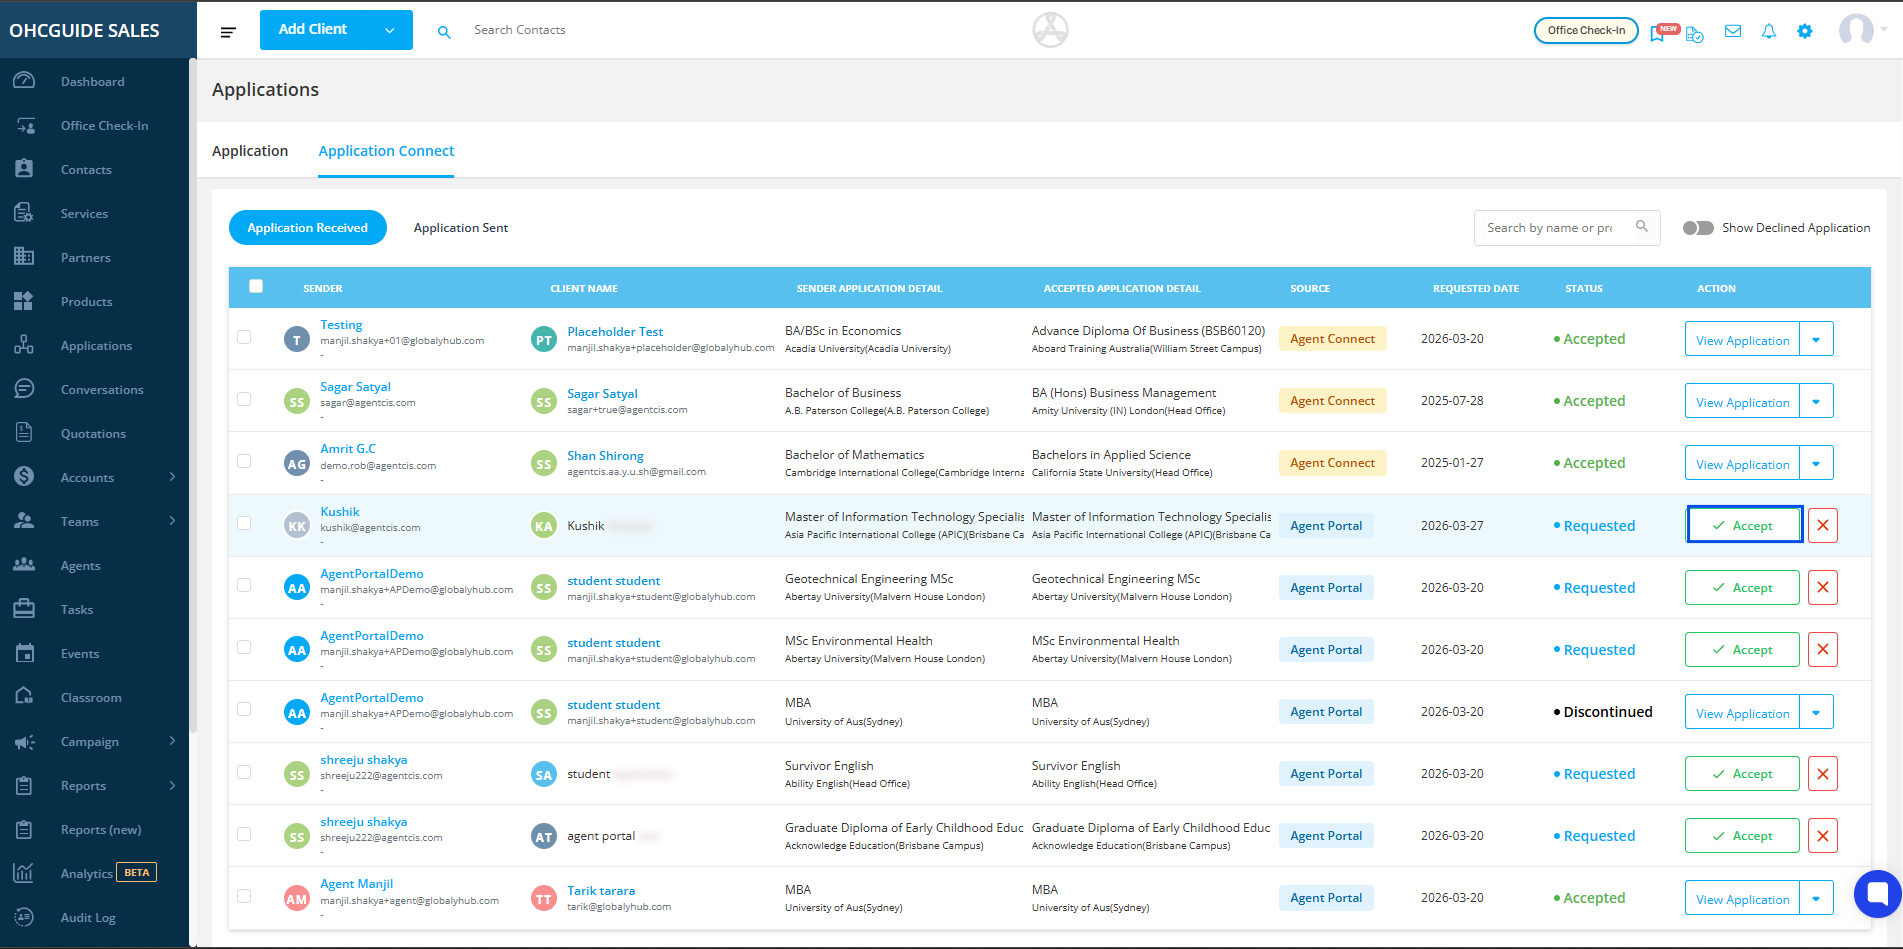
Fourthly, the super agent should select the workflow, as well as application stage and assign a assignee into the application and click on save and accept.

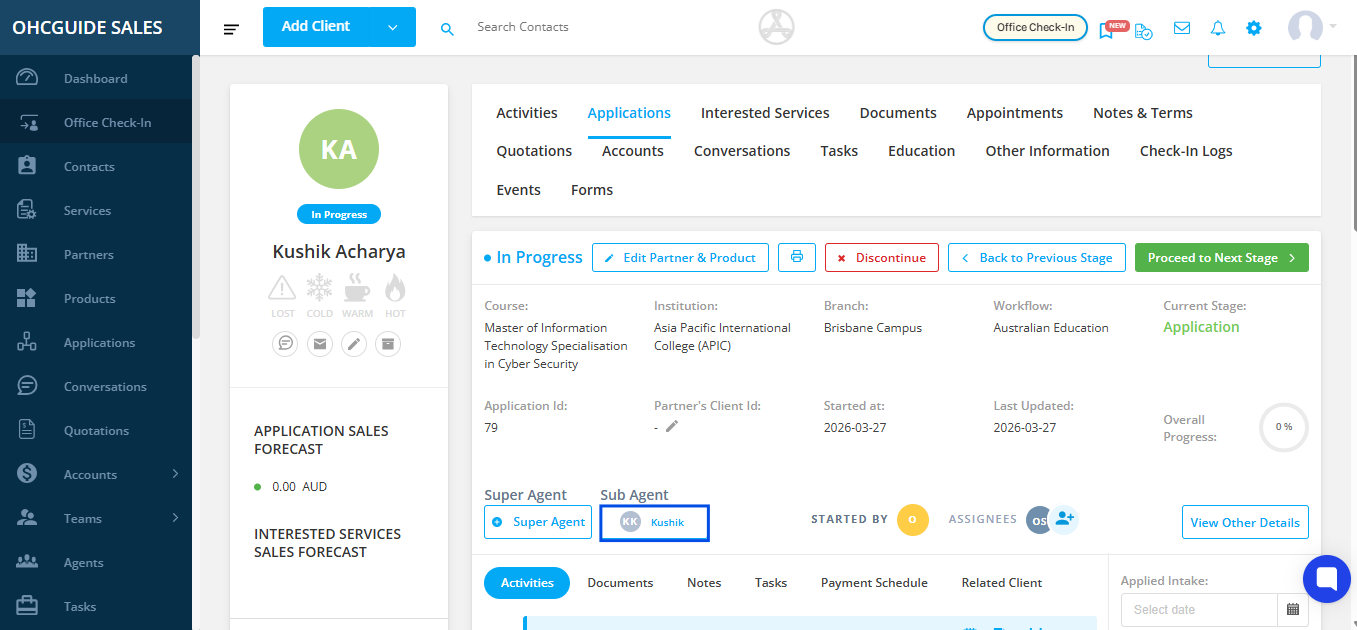
Once you proceed with save and accept, it will show under application of the super agent.
Also, in sub agent portal, the application will show as in progress.

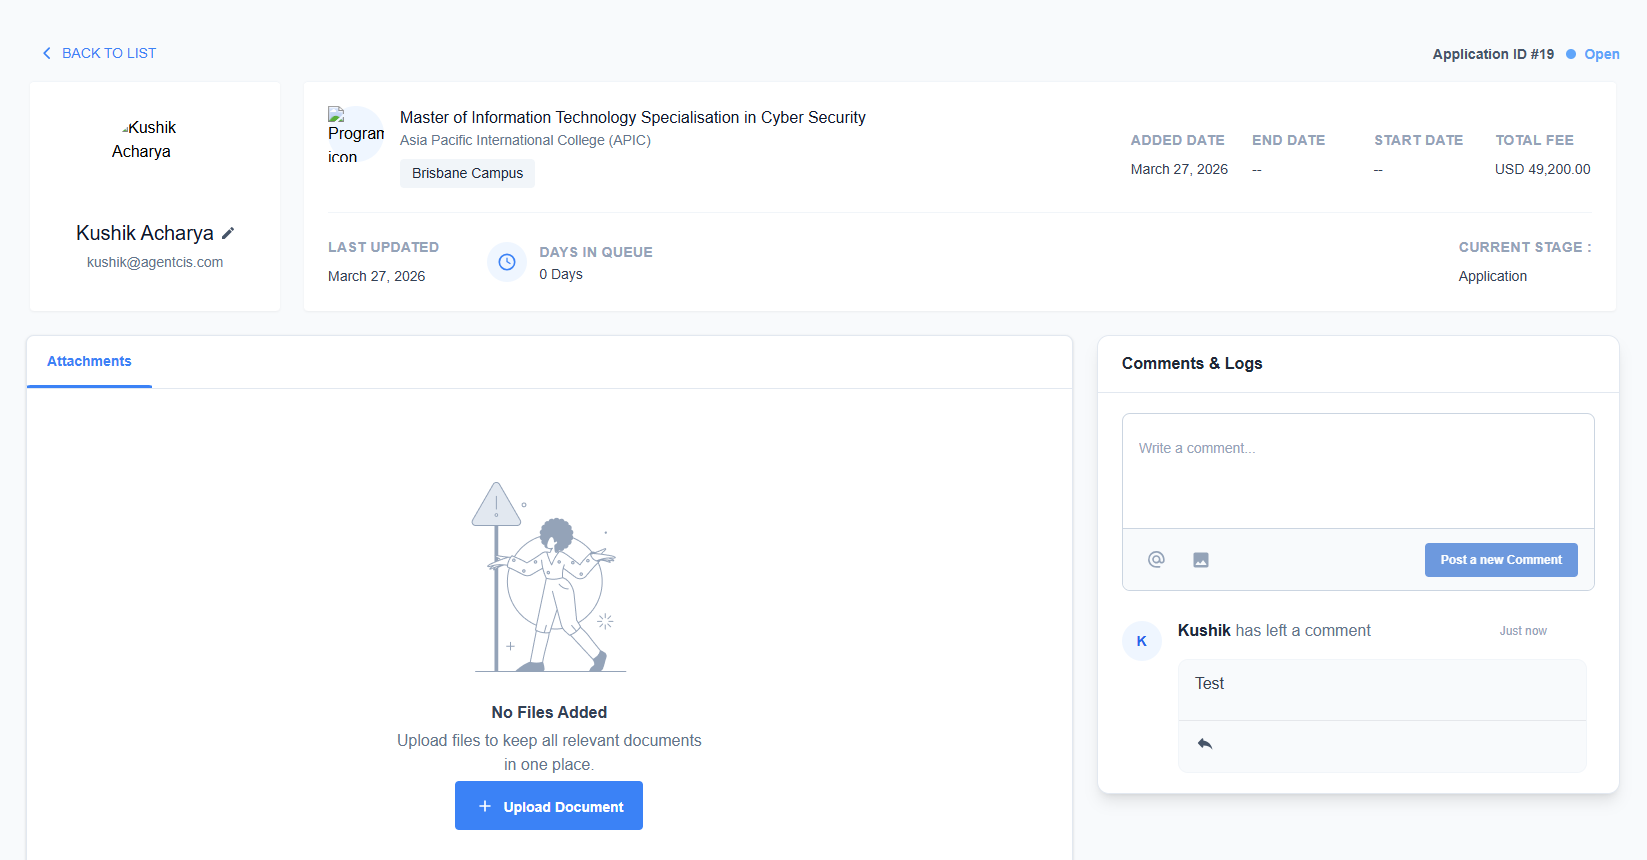
And after clicking on the application, sub agent will be able to view different things, such as current stage, they can also upload the document as well as leave comments.
To access the sharing page, the super agent must click on the sub agent from the contact application.
Once clicked, it will land on a sharing page where the super agent can view comments and files uploaded by the sub agent.
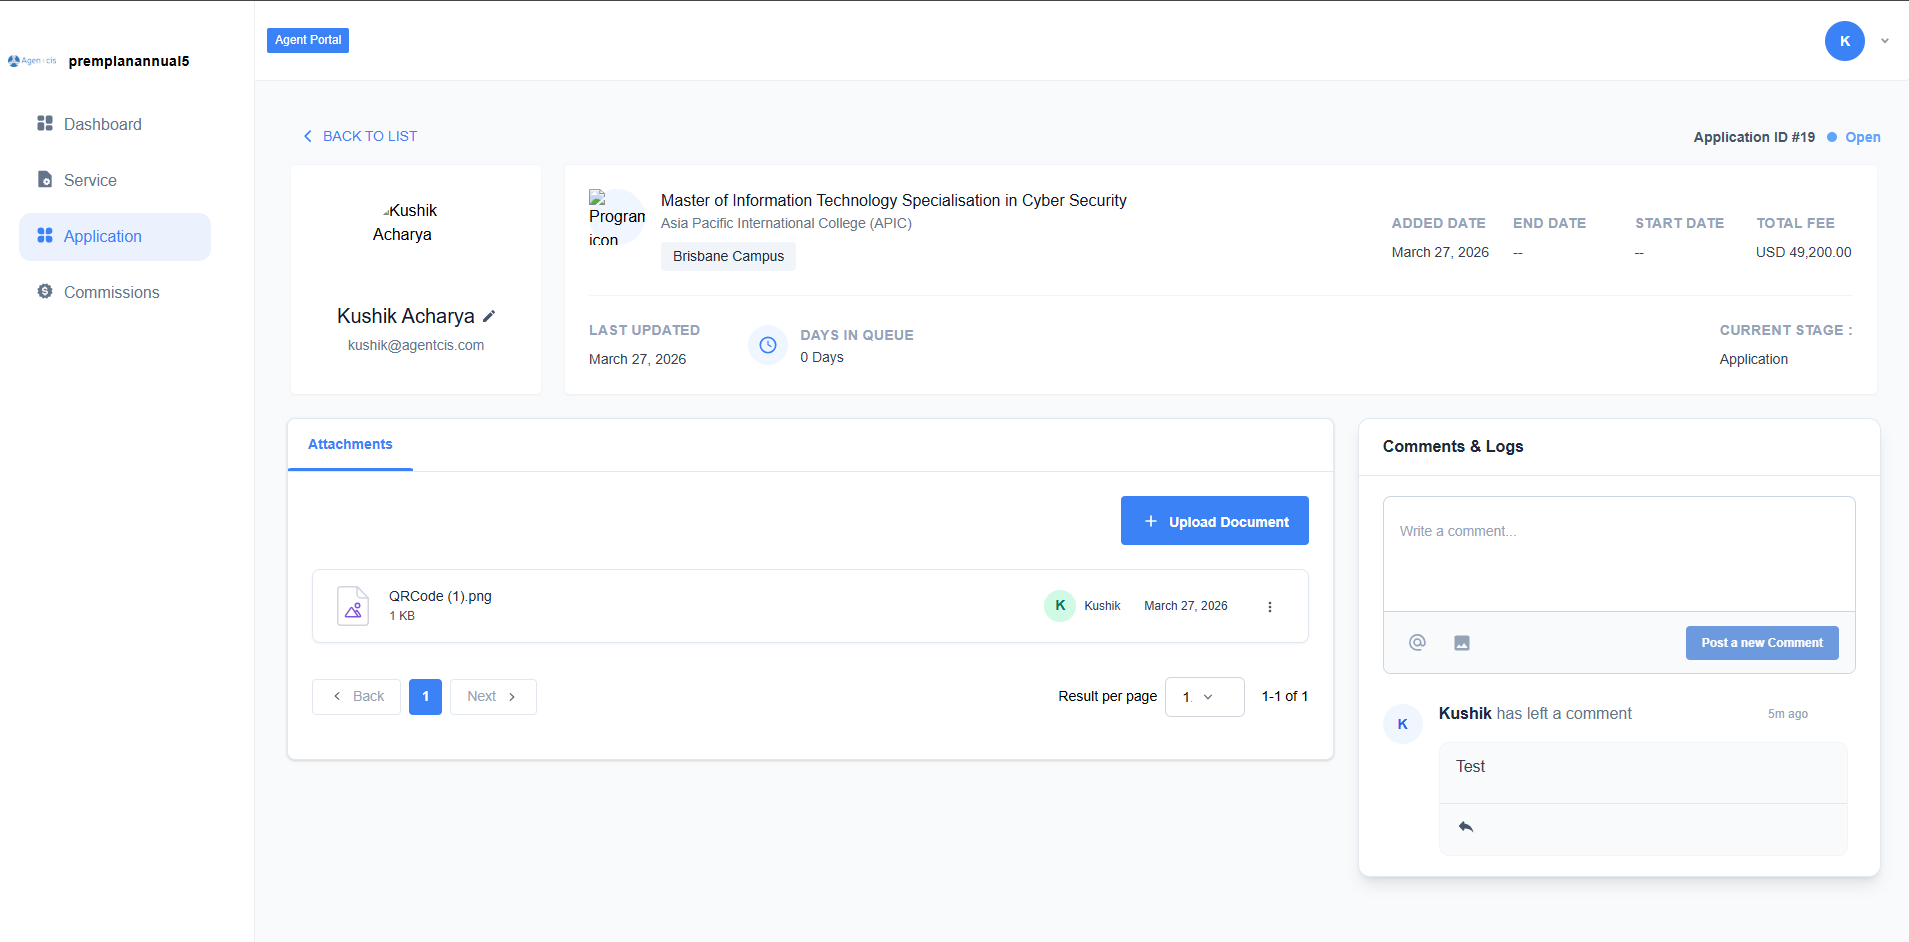
Note: The sharing page accessed by the super agent is different from the portal given to the sub agent, though they may appear similar. This page serves as a means of communication and allows the super agent to view files that have been uploaded by the sub agent.
When a super agent shares income with a sub agent, the commission details will be reflected in the Commissions tab.

