After creating a dashboard, you can further customize it to suit your reporting requirements. Agentcis allows users to modify widgets, organize layouts, apply filters, and manage dashboard settings.
This guide explains how to manage and maintain your dashboards.
When creating a widget, you can configure:
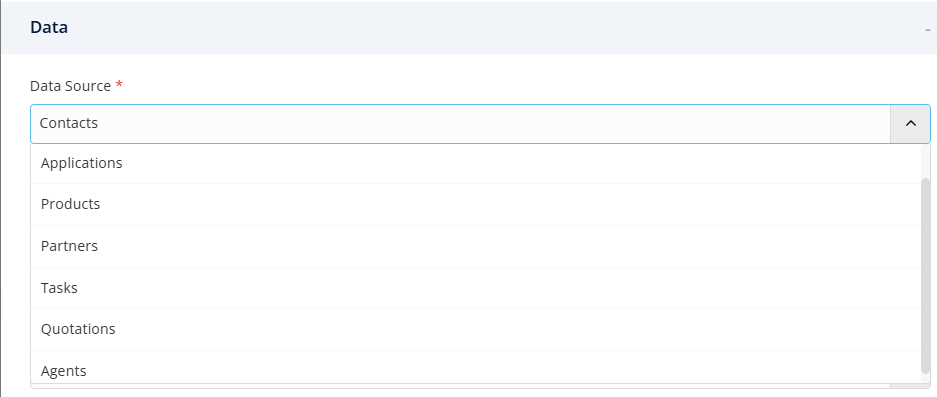
Dataset: Choose the source of data for your report.
Metrices: Select the values you want to measure, such as:
Total Applications
Revenue
Conversion Rate
Converted Date
Completion Rate


Dimensions: Group and organize data by categories such as:
Application Status
Office
Assigned User
Partner
Contact Type

Filters: Apply filters to focus on specific information.

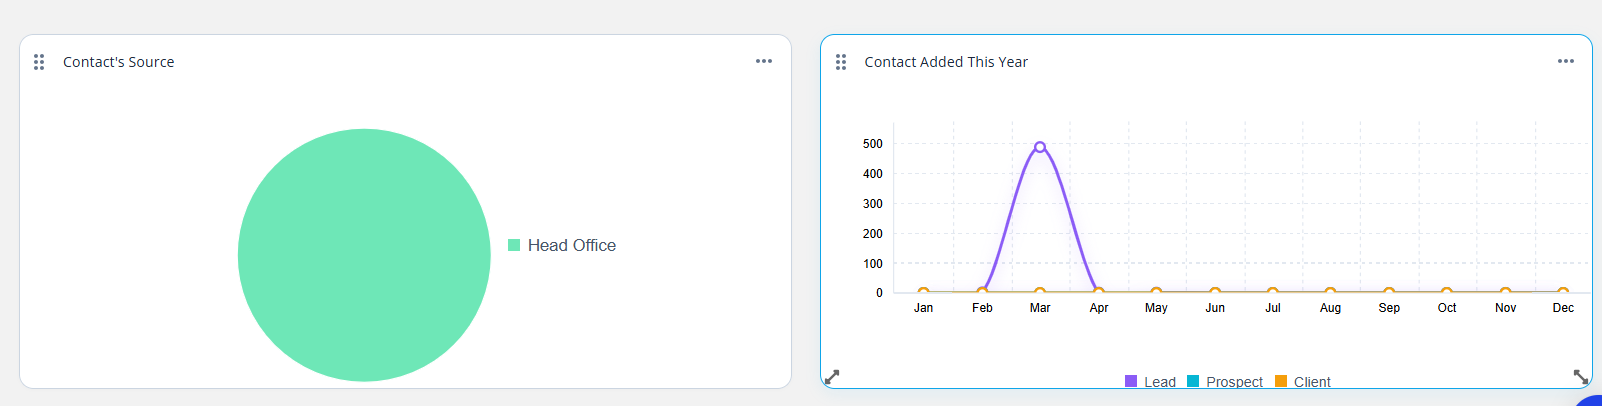
Dashboards use a flexible layout that allows you to arrange widgets according to your reporting needs.
To reposition a widget, Click and hold the widget.

Drag it to a new location.

Release to save it position.
To resize a widget, Drag the resize handle.
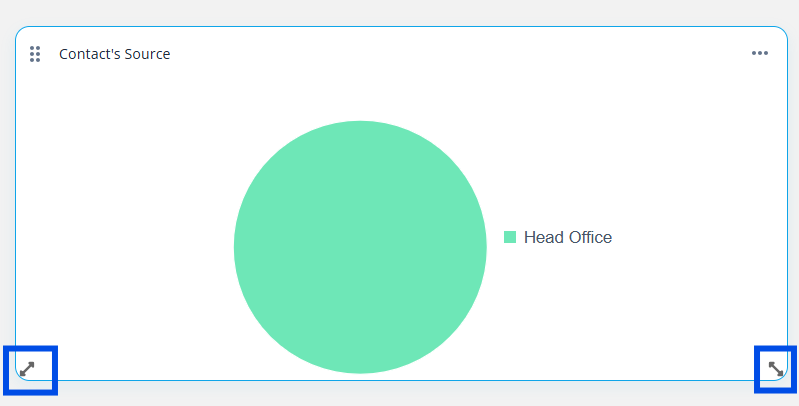
Adjust the size as needed.

To update a widget, follow these steps:
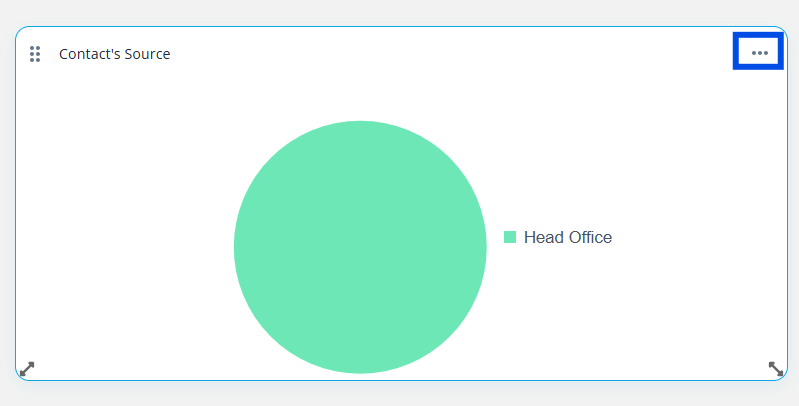
Hover over the widget and click the three dot icon.

Click on Settings.
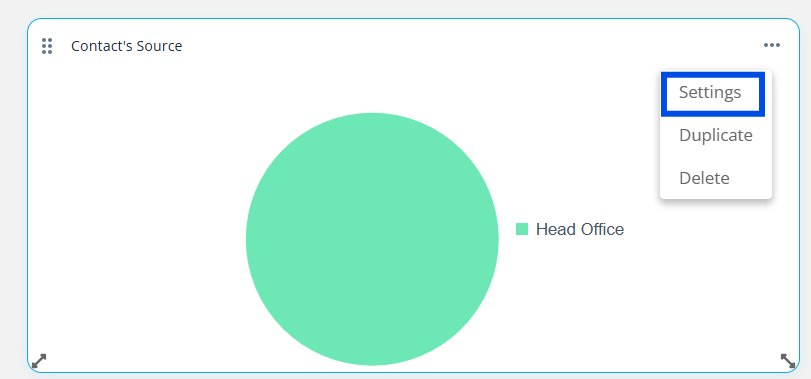
Modify the configuration.
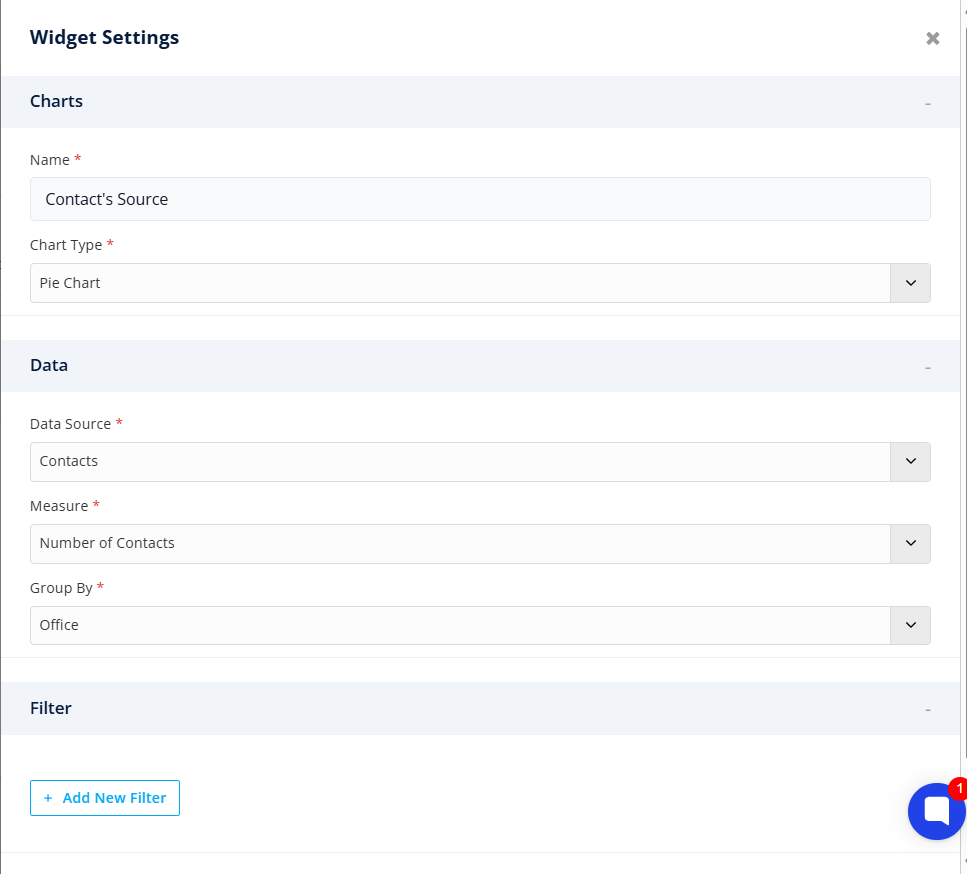
Save your changes.

The widget will refresh automatically with the updated settings.
To delete a widget, follow these steps:
Hover over the widget.
Click Delete.
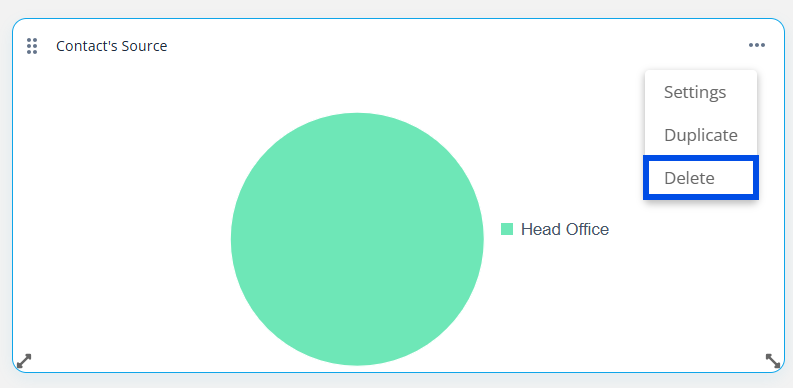
The widget will be permanently removed from the dashboard.
To ensure optimal performance, the following limits apply:
Item | Limit |
Dashboards per User | 10 |
Widgets per Dashboard | 20 |
If a limit is reached, Agentcis will display a notification and prevent additional dashboard or widget creation.
You can manage your dashboards using the dashboard menu. Available actions include:
Rename Dashboard: Update the dashboard name at any time.
Duplicate Dashboard: Create a copy of an existing dashboard, including all widget configurations.
Delete Dashboard: Remove dashboards that are no longer required.
Note: Default dashboards provided by Agentcis cannot be deleted.
