An application in Agentcis represents the specific service a client decides to proceed with, such as a university admission, visa processing, or any other offering. It serves as a platform for counselors and administrators to manage, track, and communicate the client’s conversion process through clearly defined stages. One key advantage of processing an application in Agentcis is the ability to add and manage various activities at each stage of the workflow. This helps teams stay organized, collaborate efficiently, and ensure that every part of the client journey is properly recorded and followed up on.
Note: To perform these actions, you must have the necessary permission to edit the application.
Each stage of an application workflow allows you to add and track multiple types of actions, including:
Notes are essential for capturing client-specific preferences, updates, and reminders that may not be documented elsewhere. They help ensure continuity of service, especially when multiple team members are involved in handling a client’s case.
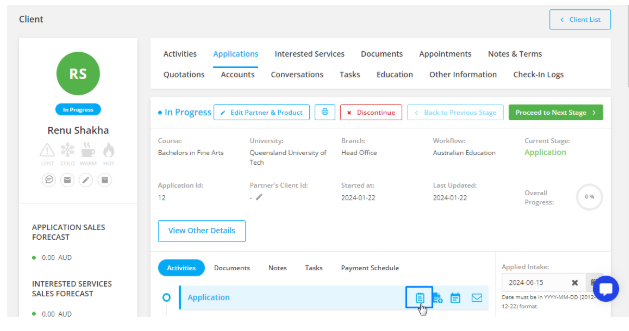
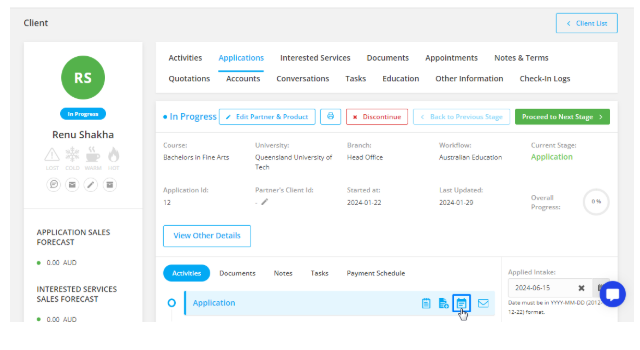
Step 1: Open the Application Detail Page.

Step 2: Click on the Notes icon within the relevant workflow stage.
Step 3: A pop-up will appear. Enter the required information.
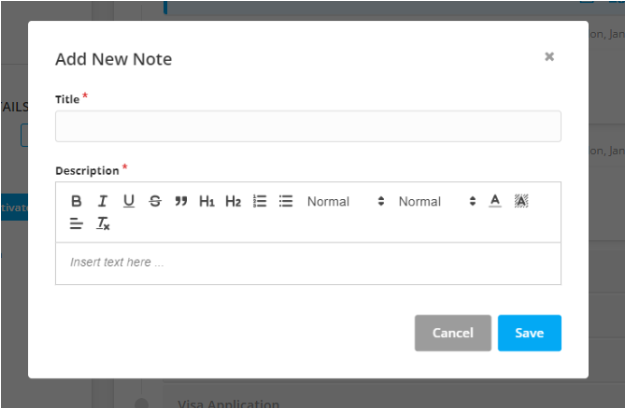
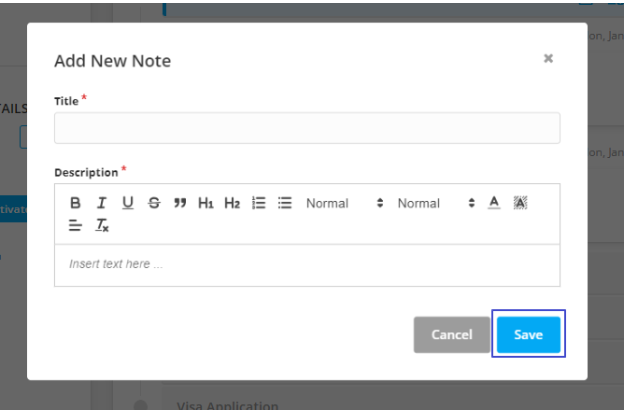
Step 4: Click Save once you're done.
All added or deleted notes will appear under the Activities section.
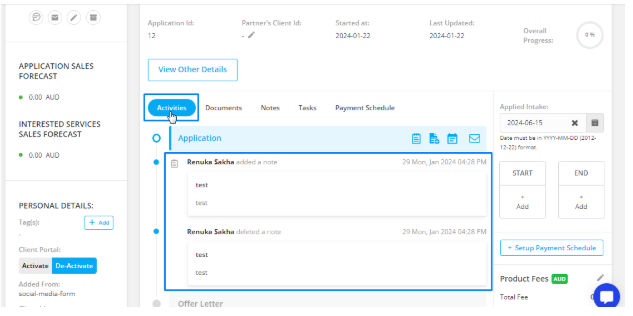
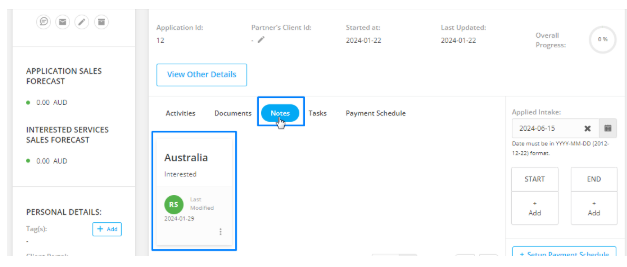
Notes are also accessible under the Notes tab of the application for quick reference.
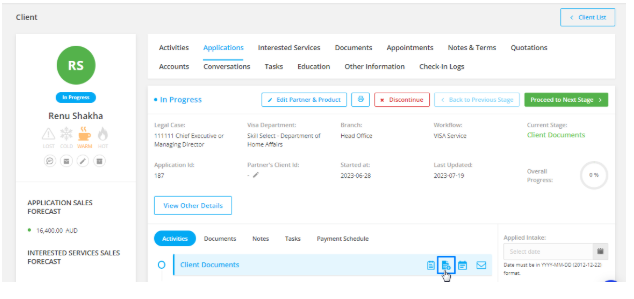
Uploading documents at each stage helps maintain centralized access to critical files like offer letters, receipts, client IDs, or visa documentation. This reduces the chances of misplacing important paperwork and allows for quick reference and review.
Step 1: Click on the Document icon in the workflow stage.
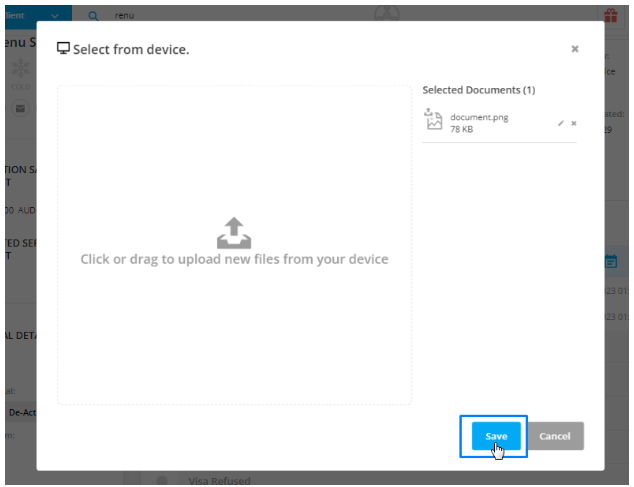
Step 2: Choose either Agentcis Document (already uploaded in the system) or Select from Device.
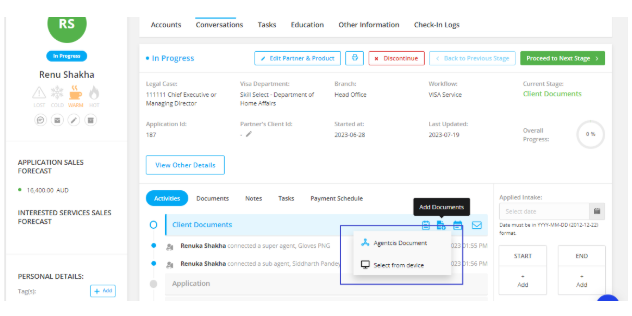
Step 3: Upload the required file.
File size limit: The maximum allowed file size per document is 10 MB.

Step 4: Click Save once uploaded.
Appointments allow for structured, time-bound interactions with clients. Whether it’s a consultation, interview, or follow-up meeting, scheduling appointments within each stage ensures timely progress and helps avoid communication gaps.
Step 1: Click on the Appointment icon at the desired stage.
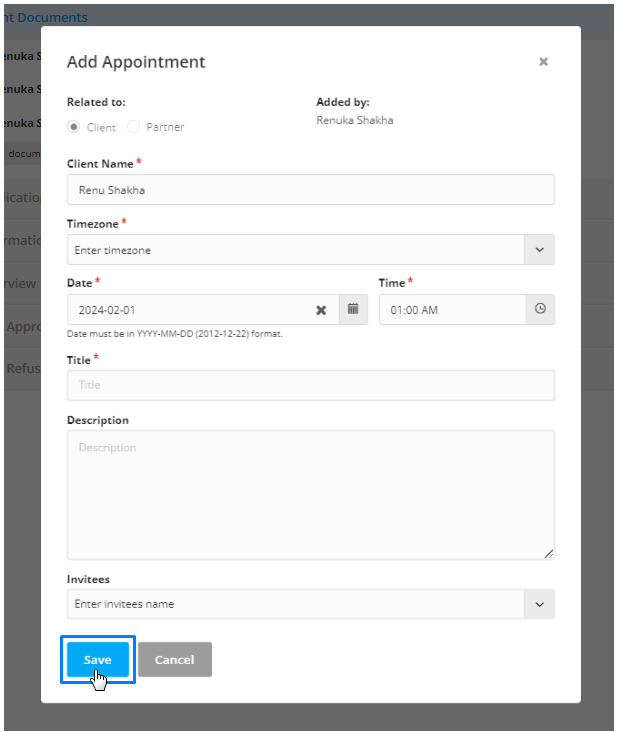
Step 2: Fill in the appointment details in the pop-up window.
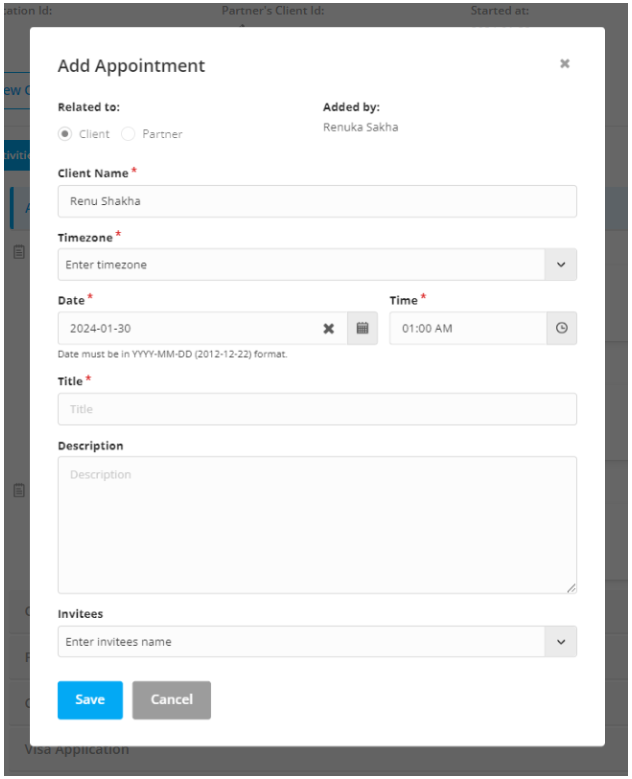
Step 3: Click Save to finalize.
Communicating with clients directly from the application stage keeps all correspondence relevant and timely. It also ensures that messages are clearly linked to specific stages of the application, improving transparency and follow-up.
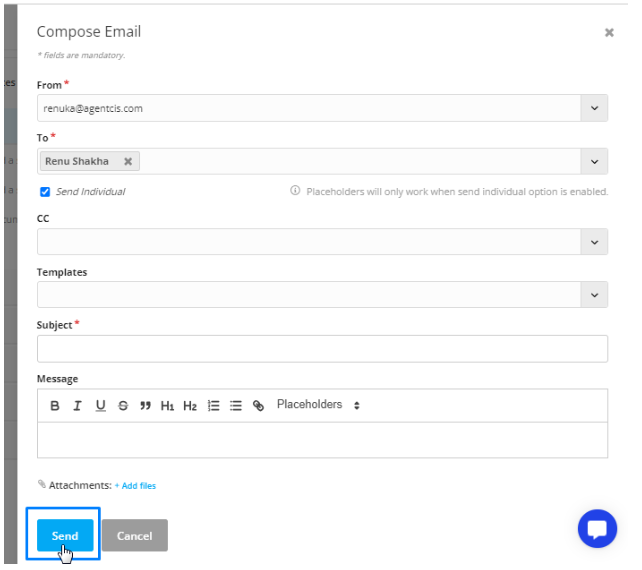
Step 1: Click the Mail icon in the workflow stage.
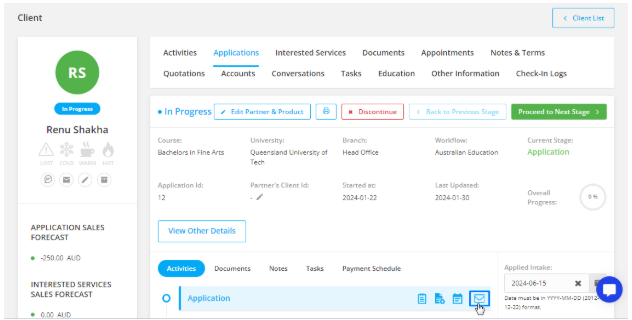
Step 2: A pop-up will appear on the right. Enter the email content and details.


Step 3: Click Send to dispatch the email.
All email communications are logged under the Activities section of the application.

Sent emails are also visible under the Conversation tab on the client’s profile.
By using these activity features at each stage, your team can maintain transparent communication, improve workflow efficiency, and deliver personalized service to every client.
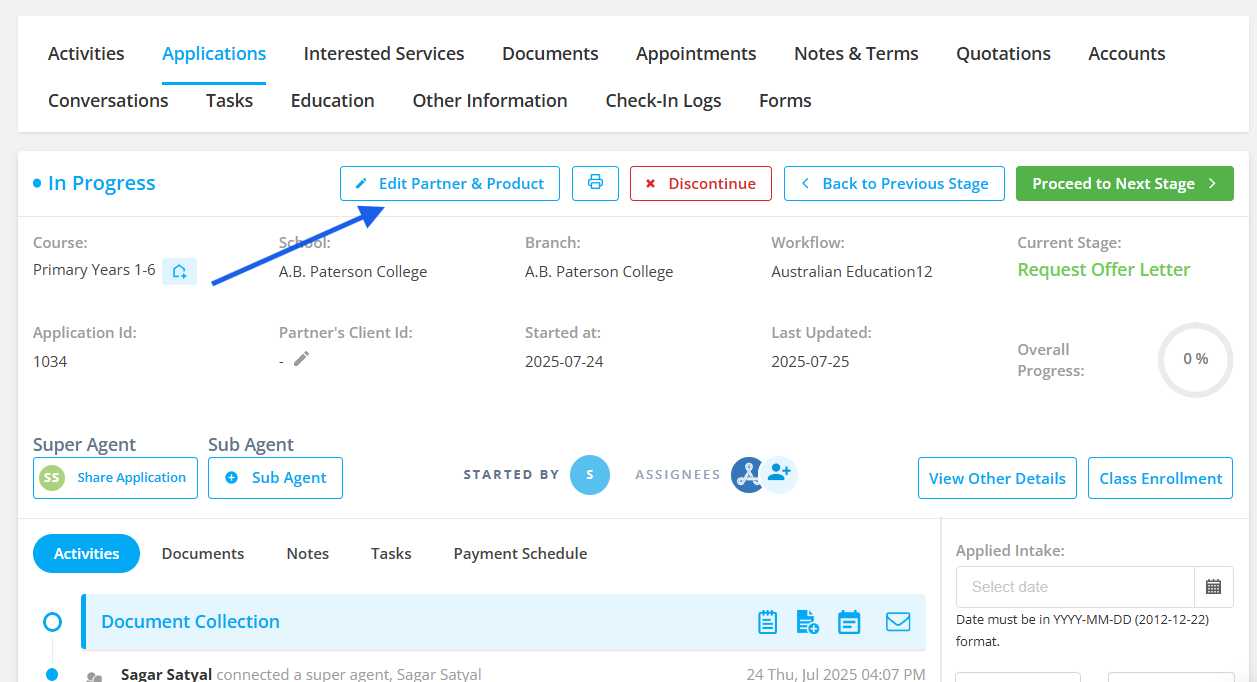
To edit Application Partner and Product,
Click on Edit Partner and Product tab at the top of the application detail page.
Then, choose a different Partner and Product name and click on Update.
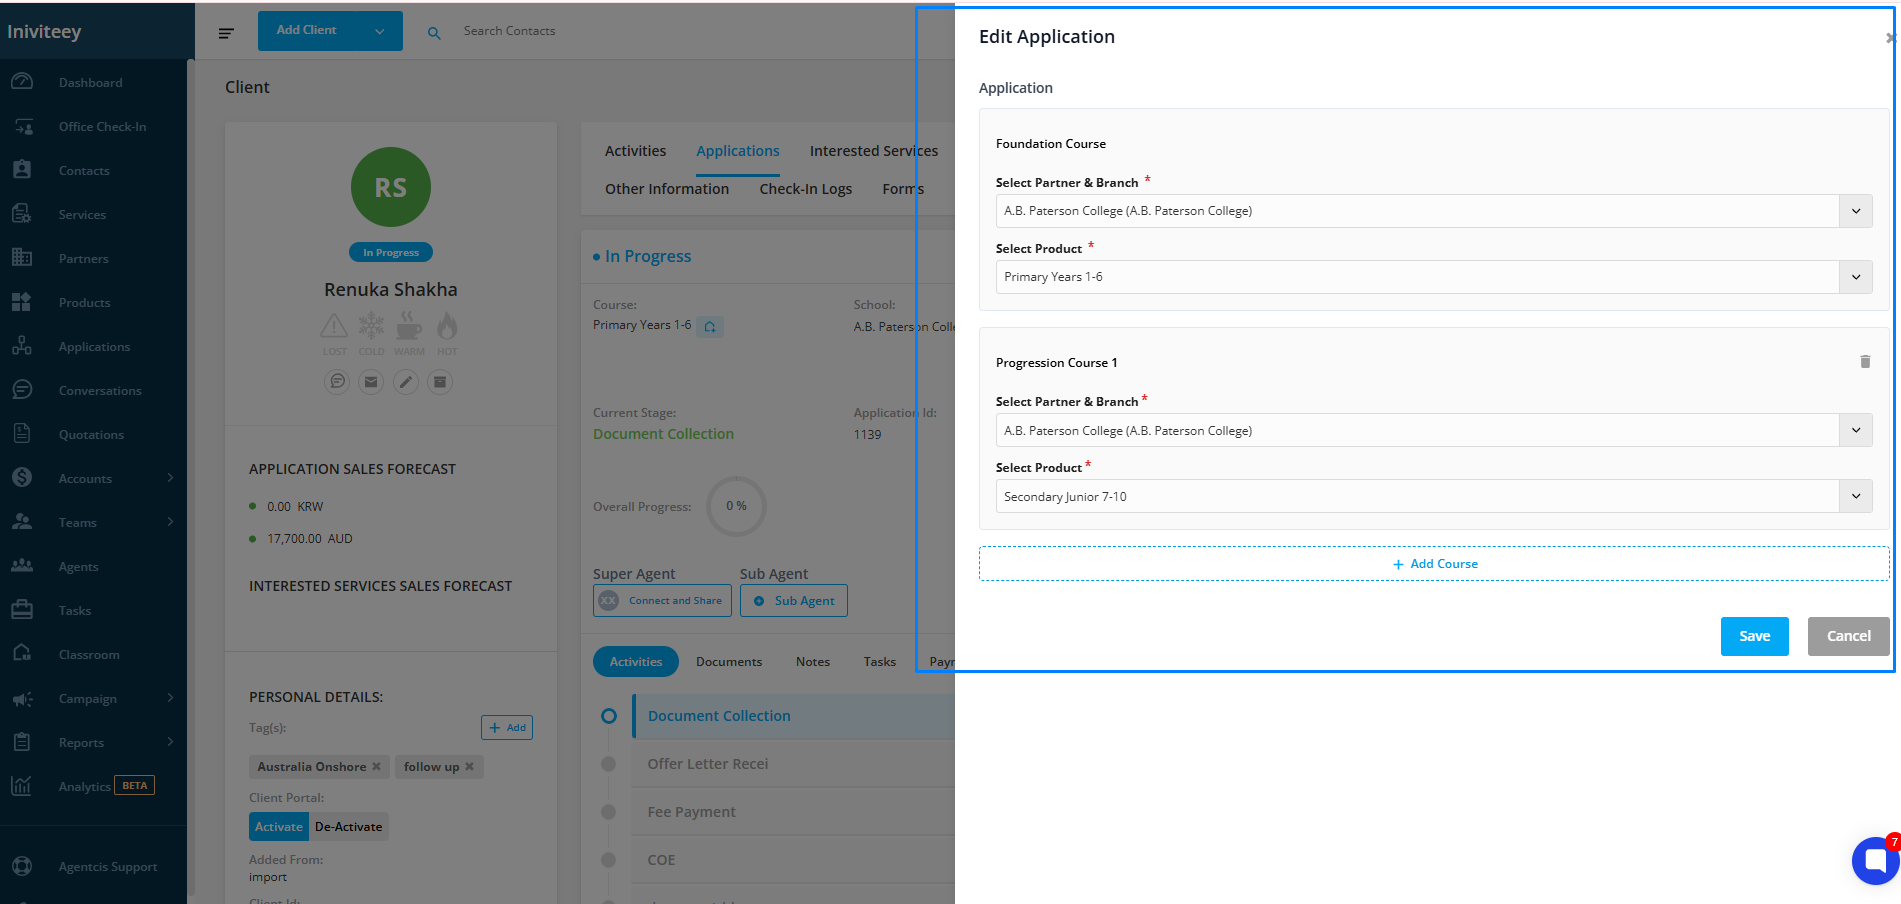
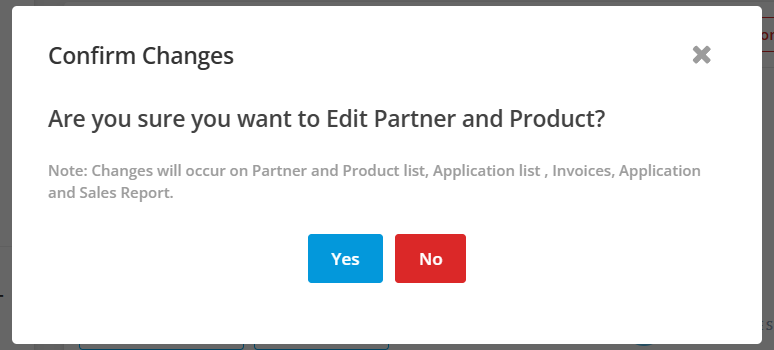
Confirm your changes.