Managing client communication efficiently is a key part of your success. Whether you're sending a welcome message, a visa checklist, or a document submission follow-up, you probably find yourself typing the same content again and again.
That’s where Templates in Agentcis come in.
By using predefined email templates, you save time, maintain message consistency, and eliminate repetitive tasks. Plus, with dynamic placeholders, each email still feels personal.
Save Time: Send common emails quickly without rewriting content.
Maintain Accuracy: Avoid missing key information or making manual errors.
Enhance Personalization: Use placeholders to insert client-specific details automatically.
Ensure Brand Consistency: Standardize how your team communicates with clients, partners, and agents.
Click the Settings icon (⚙) on the top navigation bar of Agentcis.
Note: If you do not see the Email Templates option, your role might not have permission to access this section. Please reach out to your system administrator.

From the Settings menu, choose Email Templates.
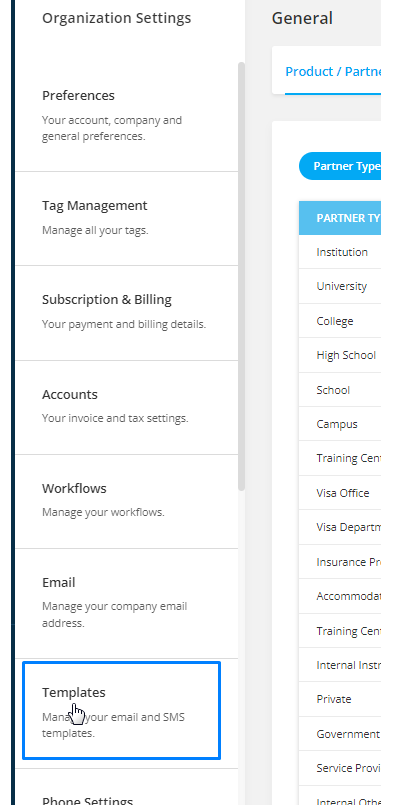
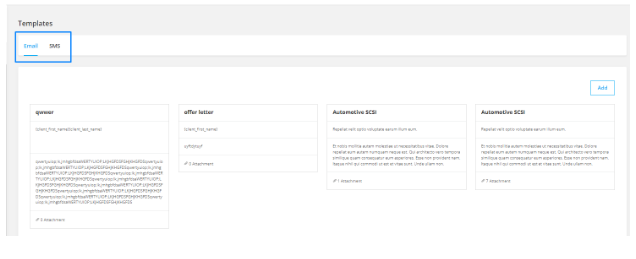
Select whether you are creating a template for Email or SMS.
Tip: Use email templates for formal or detailed communication (like offer letters), and SMS templates for short, time-sensitive messages (like reminders or appointment confirmations).
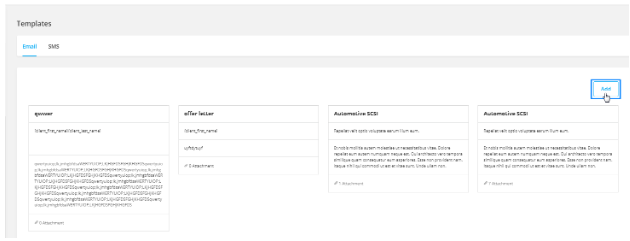
Click the Add button to start creating your new template.
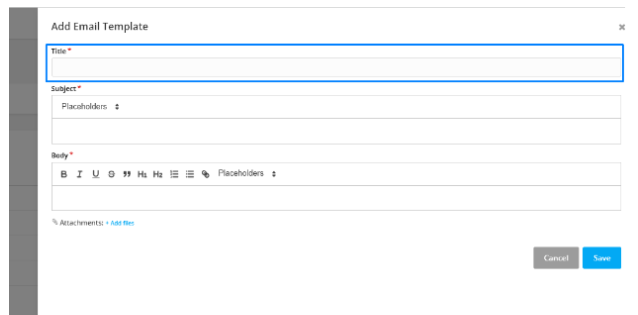
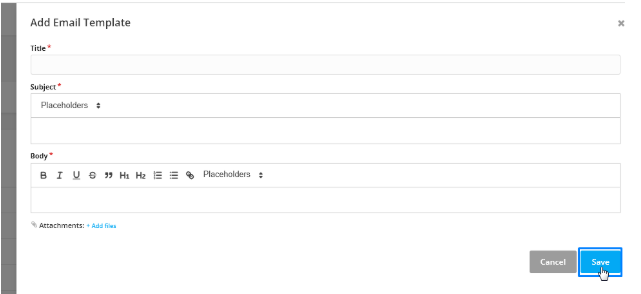
Enter a descriptive Title for your template, like:
“Offer Letter Received”
“Visa Checklist Follow-Up”
“Welcome to Our Services”
The title helps you and your team quickly recognize and select the correct template during email composition.
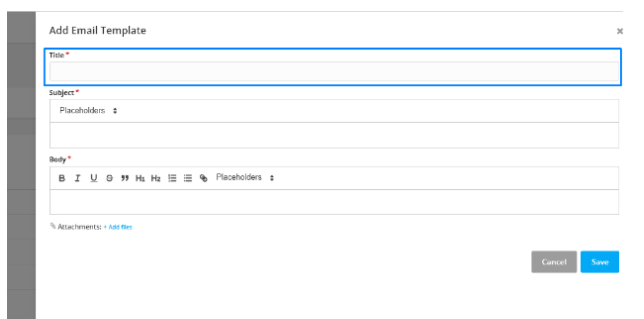
The title helps you and your team quickly recognize and select the correct template during email composition.
Add a subject line for the email. This will appear as the subject when the email is sent.
Example:
Your Offer Letter Has Been Received – Next Steps
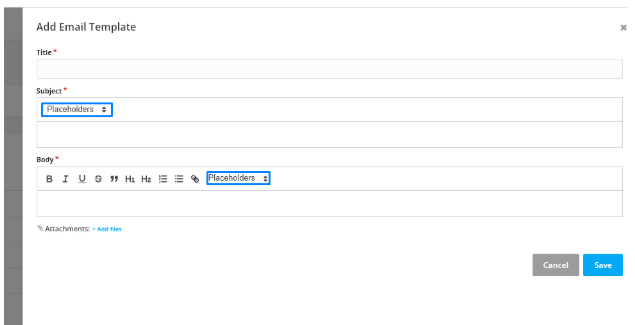
Agentcis supports placeholders that automatically pull information from the system and insert it into the email.
Examples of placeholders:
{Client First Name}
{Client Date of Birth}
{Client Visa Expiry Date}
{Client Assignee Name}
{Company Name}
These ensure your emails remain personalized and professional without manual data entry.
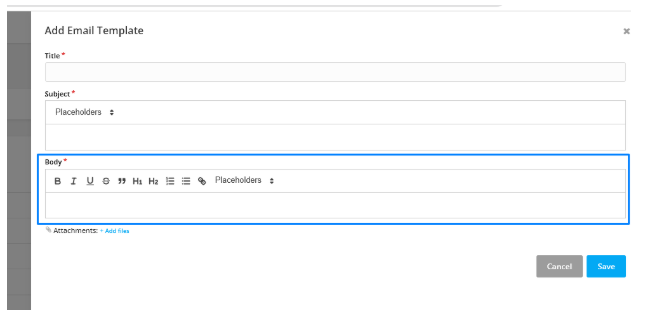
Enter the main content of the email in the Body section. You can also include placeholders here.
Example:
Hi {Client First Name},
We’ve received your offer letter for {Client Nation Name}. Please review the attached documents and let us know if you have any questions.
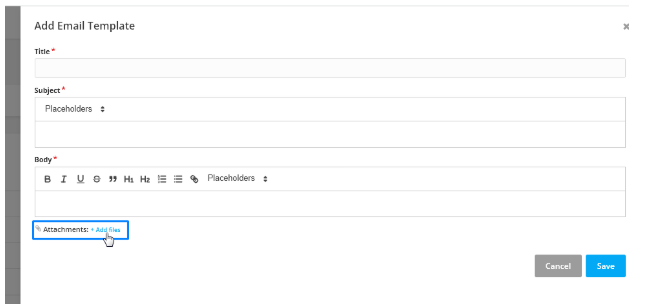
If the email should include attachments (like a visa checklist or welcome PDF), click “Add Files” to upload them directly to the template.
Use this for documents that stay the same across all recipients, like standard checklists or policy guides.
Click Save to finalize and store your template.
Once created, your templates will be available anytime you compose an email from:
Contact Profiles
Application Pages
Partner Profiles
Conversation Tabs
Or directly from the email icon on the top bar
This lets you reuse your best content over and over—without copying, pasting, or rewriting.