Agentcis allows you to schedule meetings with your clients or partners and notifies them via email once the appointment is confirmed. This helps ensure that everyone involved is informed and prepared ahead of time.
Step-by-Step Guide to Adding an Appointment
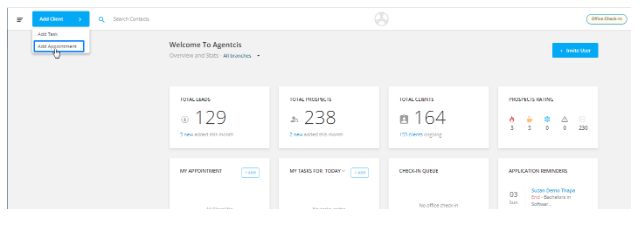
To quickly add an appointment, click the drop-down menu beside the client icon in the top navigation bar of your Agentcis dashboard.

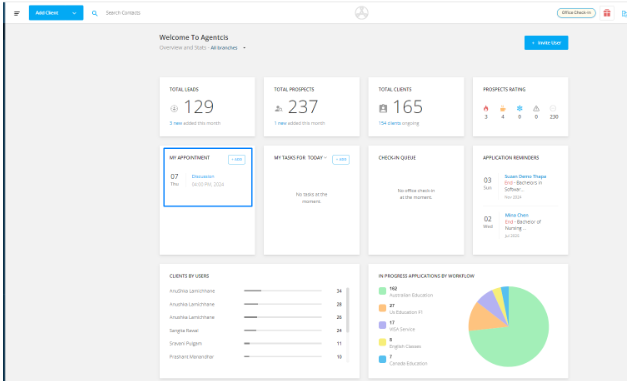
Note: Appointments can also be created from the Dashboard or from within the Client or Partner detail pages.

Choose Add Appointment from the dropdown options.
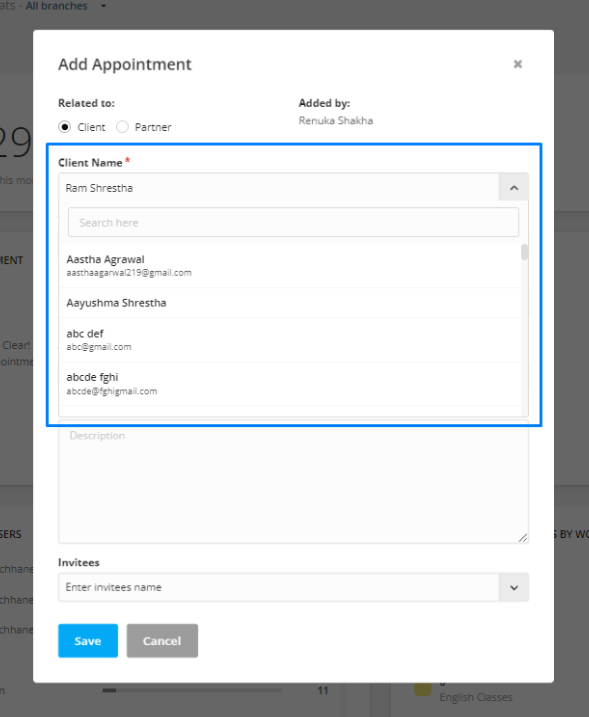
Select whether the appointment is for a Client or a Partner.
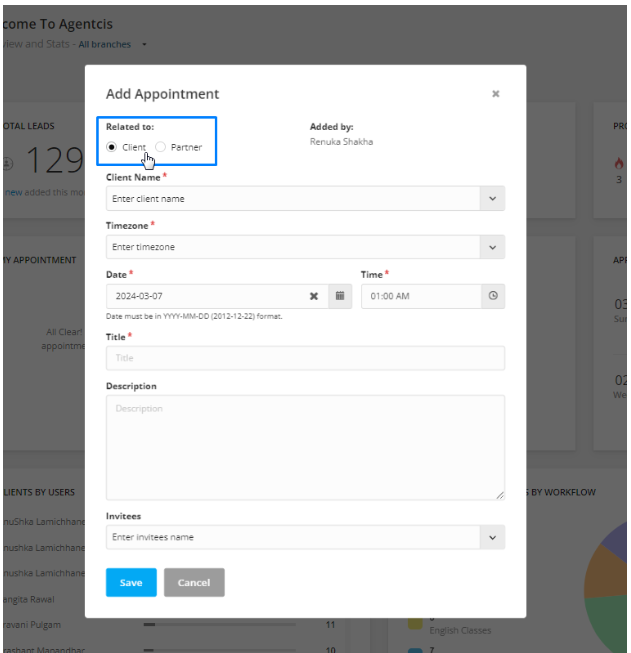
Choose the specific client or partner you are scheduling the meeting with.
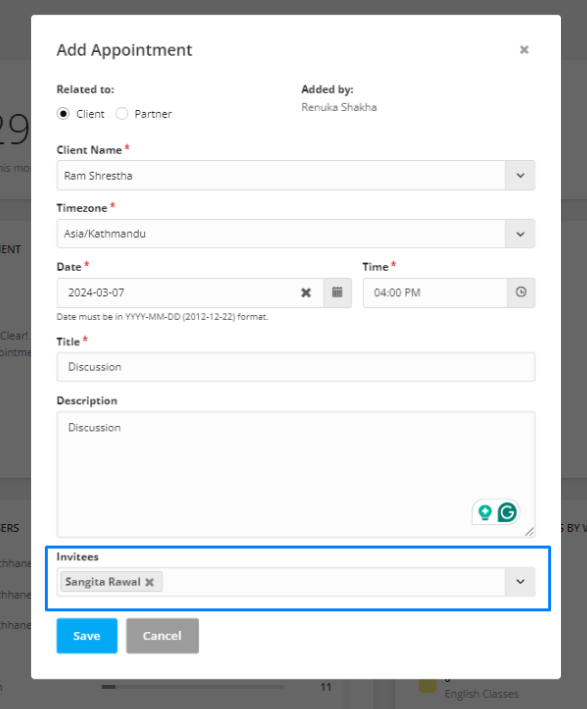
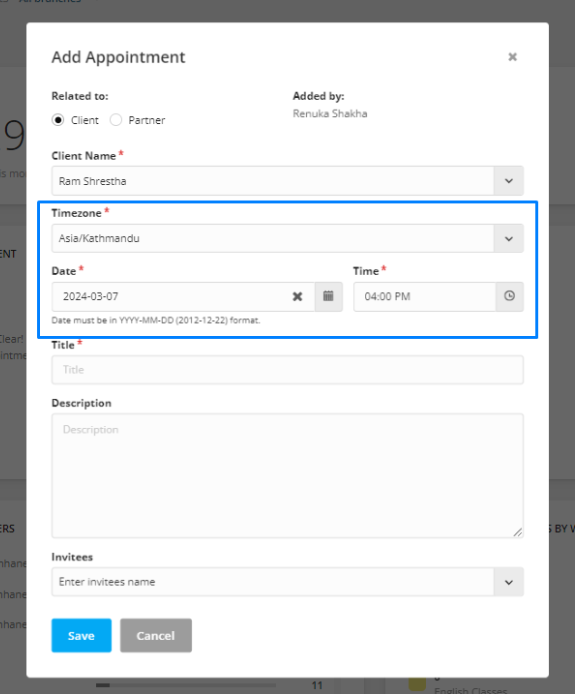
Choose your timezone, and then set the appointment date and time.
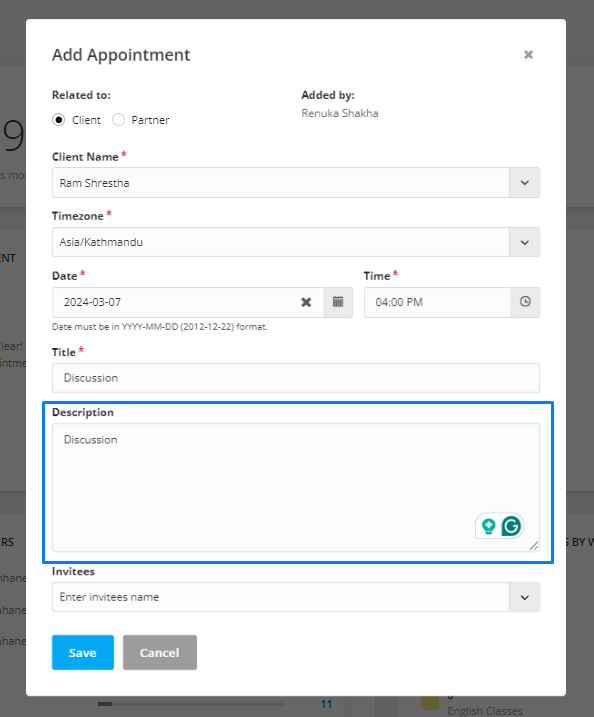
Give your appointment a clear title that reflects its purpose (e.g., "Initial Consultation" or "Document Review").

You can include a brief description of the meeting agenda for additional context.
If needed, you can invite your team members by selecting their names under the Invitees section.
Everyone selected — including the client or partner — will receive an email notification with the appointment details.