Providing timely quotations to your prospects and leads not only reflects your professionalism but also positions you as an efficient and trustworthy counsellor. It shows your clients that you are organized, responsive, and easy to do business with. Agentcis simplifies this process by allowing you to send multiple product quotations directly to your clients, ensuring clear and effective communication.
In this guide, we’ll walk you through the steps to create a quotation using Agentcis.
From the side menu in your Agentcis dashboard, click on “Quotation”. This will take you to the Quotation module where you can manage all client quotations.
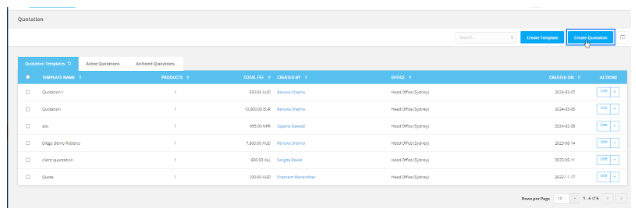
Once inside the Quotation module, click the “Create Quotation” button located at the top-right corner of the screen.
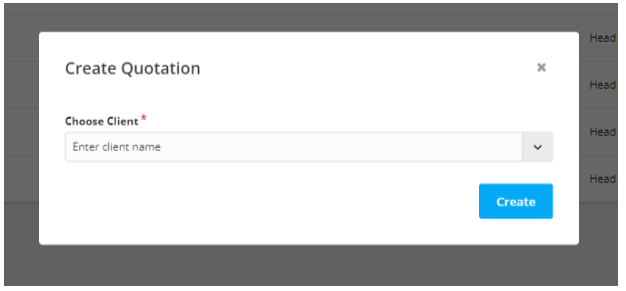
A new window will appear prompting you to choose a client for whom the quotation is being created.
Note: The contact must already be saved in Agentcis in order to create a quotation for them.
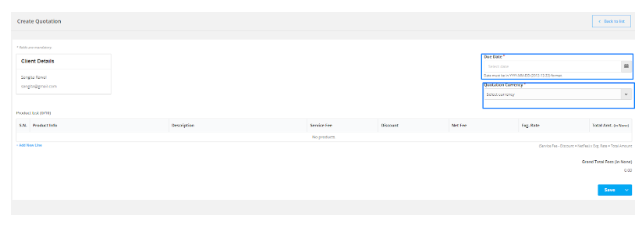
Next, you’ll need to fill in essential details:
Due Date: Specify when the quotation is due.
Quotation Currency: Select the currency in which you wish to send the quotation.
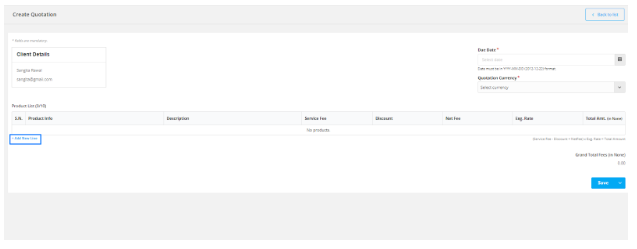
Click on “Add a new line” to begin adding services. This allows you to build out the quotation with multiple products and services.
A new window will open where you can select:
Workflow
Partner
Product
Partner’s Branch
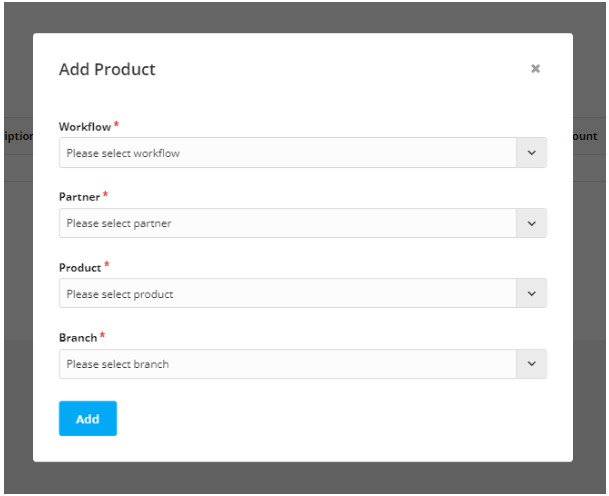
You can add multiple products and customize the offering for each client.
Note: The information in the product list is fully editable. You can update:
Product Description
Service Fee
Discount
Exchange Rate
This ensures your quotation is tailored to the client’s specific needs.
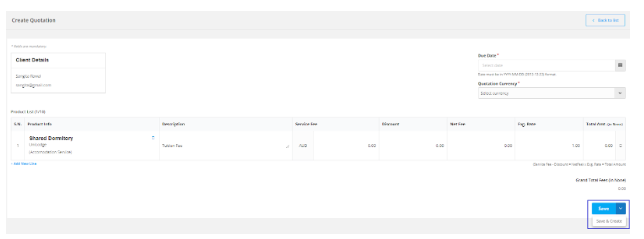
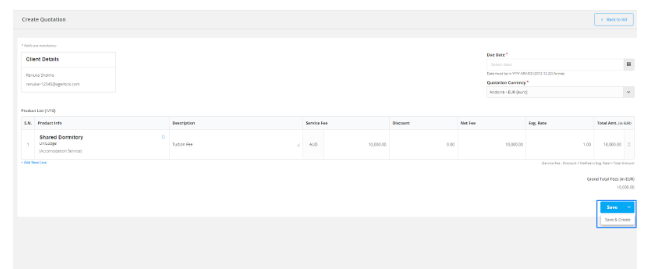
Once all the details are filled in, click “Save” to add the quotation to your Active Quotations list.
Alternatively, you can click “Save & Create” from the dropdown menu to save the current quotation and immediately begin creating a new one.