Version 5.3.2
Product and Fee
In this enhancement, product fees are supercharged with features. It is now possible to select the revenue type whether it's generated from client or partner while adding or editing the product.
You can categorize product fees based on country of residence and also add multiple fees for each of them. Fees are also very extensible now as you can set instalments of commissions or payments.
To select the revenue type while adding the new product, follow the given steps.
Step 1 - Select the product option from add button on top info bar.

Step 2 - Add product name.

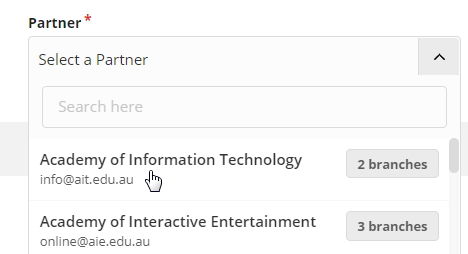
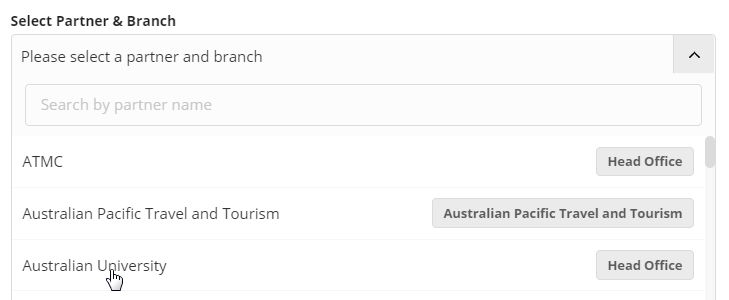
Step 3 - Select the partner form list.
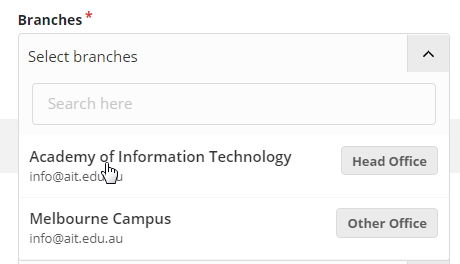
Step 4- Select partners branch.
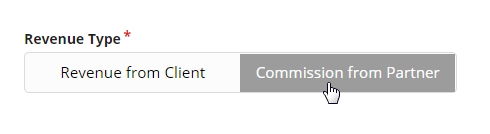
Step 5 - Select revenue type.
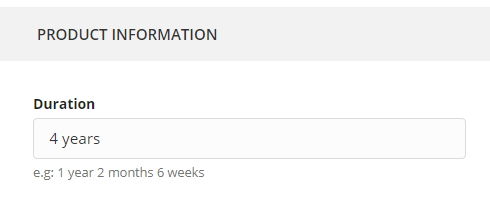
Step 6 - Add product duration.
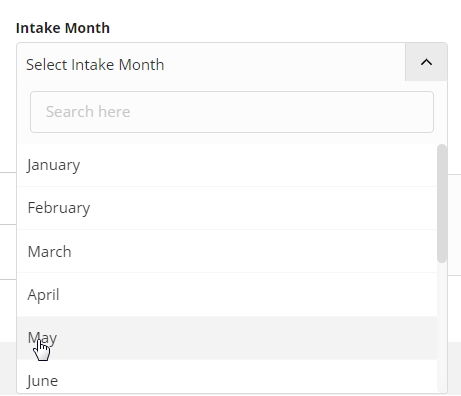
Step 7 - Select the intake time, if it is a university or institution.
Step 8 - You can also add product description and notes.

Step 9- Save the product.

To add product fee, follow the given steps.
Step 1 - Go to the products detail page.
Step 2 - Select Fee tab.

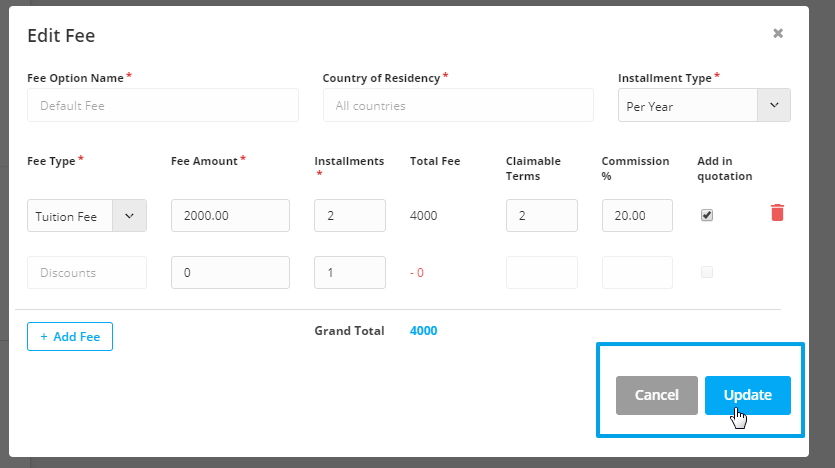
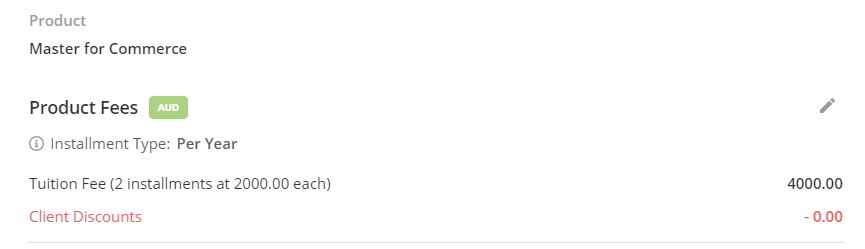
Step 3 - If no country of residence is selected, the fee will be set as the default fee as shown in the image below.

Step 4 - Select the Add button to add a new product fee and create fee pop - up will open.

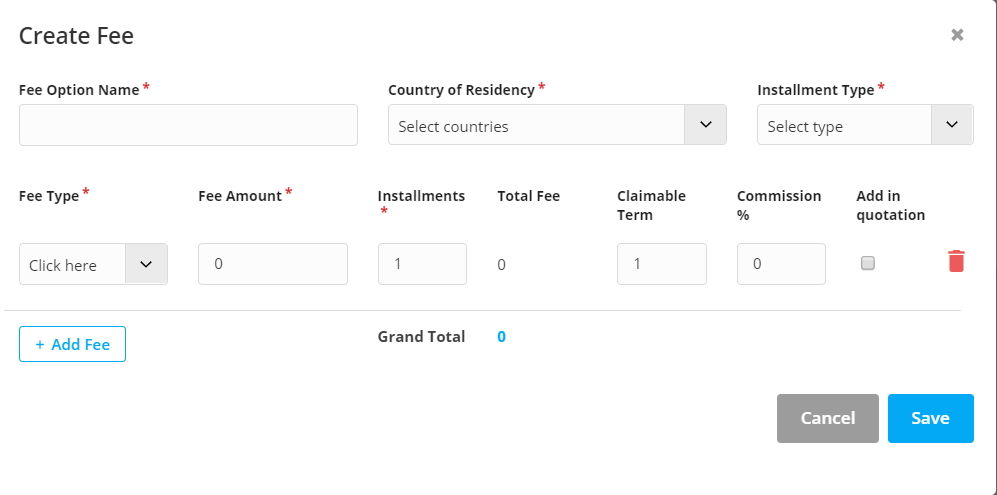
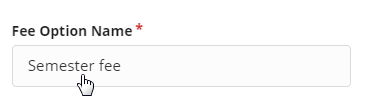
Step 5 - Now, give the fee option name.
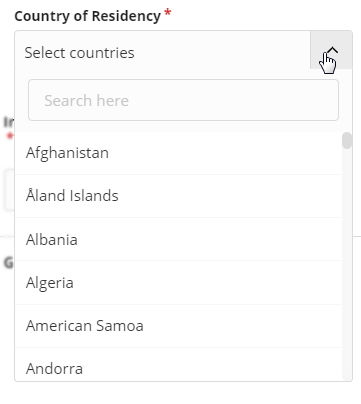
Step 6 - Select the country of residency.
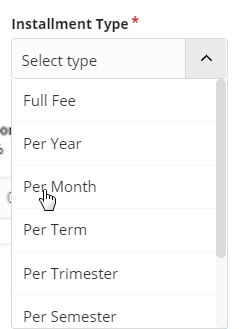
Step 7 - Select the instalment type.
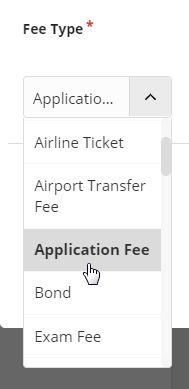
Step 8 - Select the fee type.
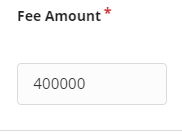
Step 9 - Enter the fee amount.
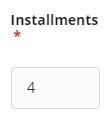
Step 10 - Select the number of instalment.
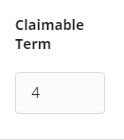
Step 11 - Add claimable term.
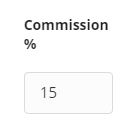
Step 12 - Add commission percentage if you have previously selected a commission as revenue type.
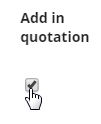
Step 13 - Check on add-in quotation to autofill in quotations.
Step 14 - Click on the delete button to delete the fee details.

Step 15 - If you have more fee details to add, click on "Add Fee" button.

Step 16 - Now, save the product fee.
All new Interested service
Agentcis has enhanced Interested Service section and made it more flexible.
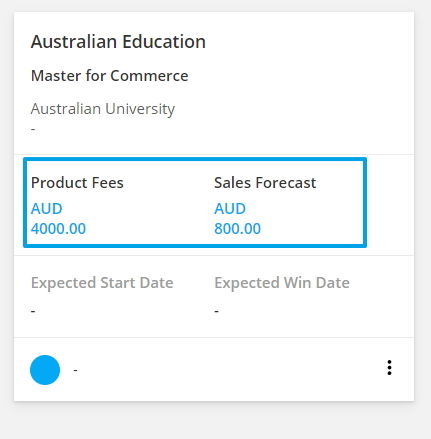
Details like sales forecast and product fees are automatically generated while adding interested services which are also editable from the same page.
To create interested service, follow the given steps.
Step 1 - Go to interested service tab from the contacts detail page.

Step 2 - Click on "Add button".
Step 3 - On the Add Interested service pop-up, Select the workflow.

Step 4 -Select Partner with its branch
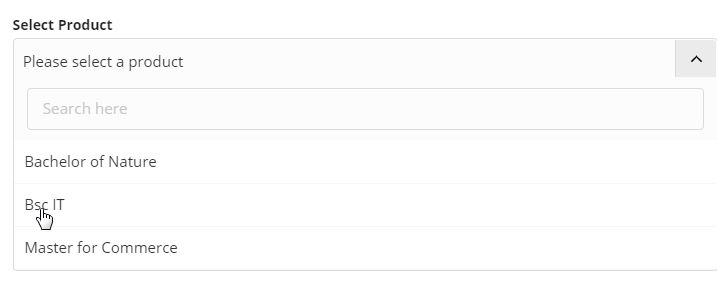
Step 5 - Select the product.
Step 6 - Select the start and end date.

Step 7 - Now, save the interested service.

Here, you can see, Product fee and Sales Forecast is automatically added in Interested Service
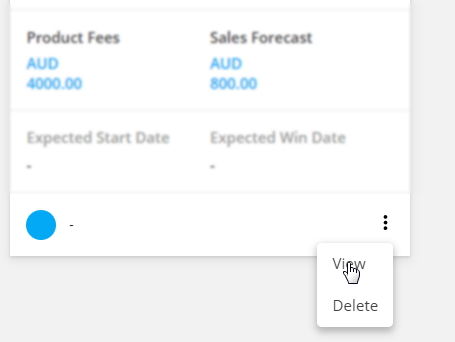
You can also edit sales forecast and product fee directly from interested service.
Step 1 - Click on the action button and select "View."
Step 2 - The side drawer will open as shown in the image below.
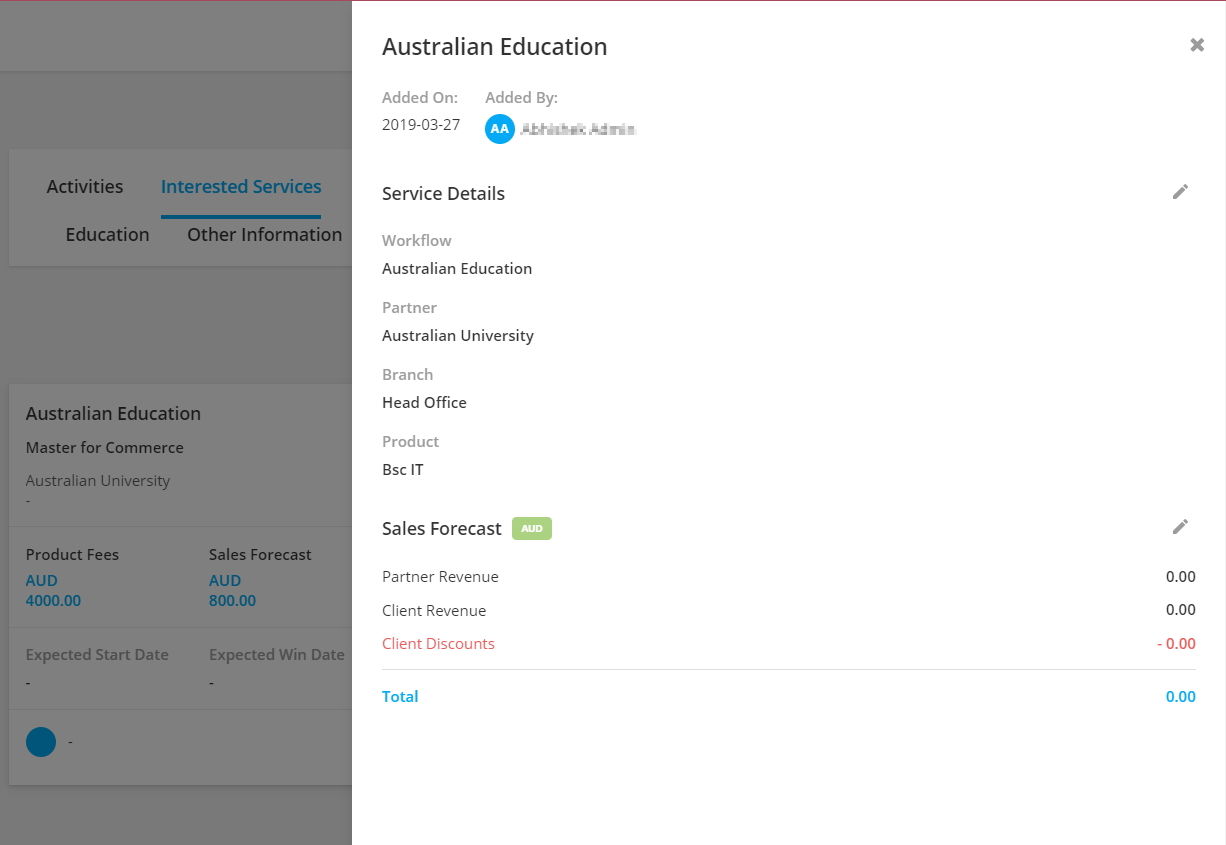
Step 3 - Click on the "Edit" button on the corner of the respective category.
Step 4 - Make changes and update.