

Version 5.8.2- R1
Client Portal
The Client Portal feature enabled your client to follow up with their application and add their personal details to the system by themselves. This feature also provides transparency to clients when it comes to managing their personal information and application. Overall, It helps your client connect with you.
To enable the client portal for your clients, follow the given steps.
Step 1 – Open the client’s detail page
Step 2 – You can see the Yes and No switch to enable the clients’ portal option on the client's detail section, as shown in the image below. Select the Yes option.
Step 3 – Your client will then receive an email containing Link to the portal, Username, and Password to login into the portal.
Step 4 – Now, they can edit their personal details, and stay updated with their application progress.
Quickly access your favorite lead form.
Less browsing and quick access. You don’t have to go to a whole new page to access your favorite lead form, it is now located on the top info bar and is directly accessible from any part of Agentcis. No need for hassling around the pages.
To add your favorite lead form in the quick lead form list, follow the given steps.
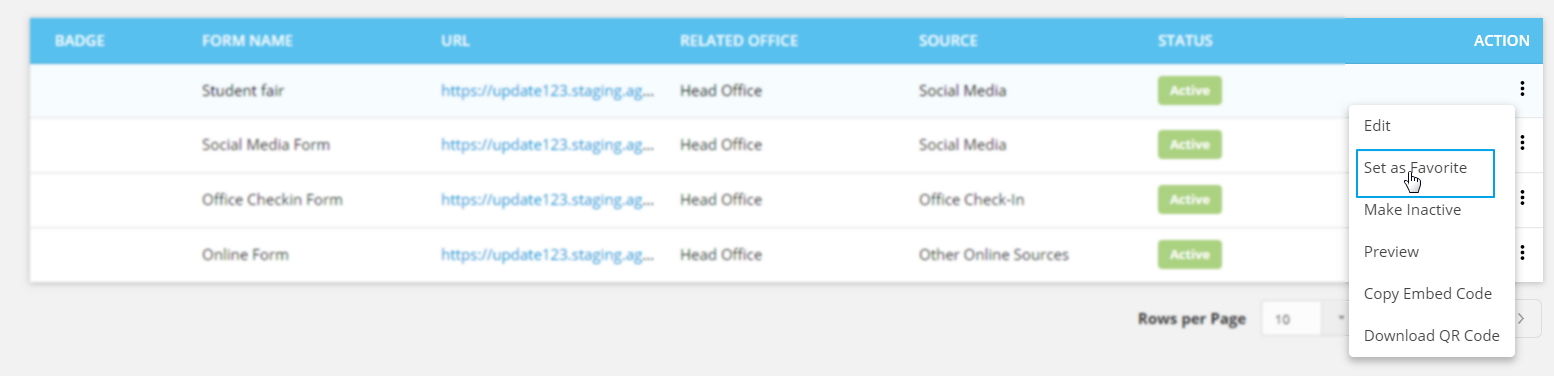
Step 1 – Click on the manage button which will open the lead form page.
Step 2 – Now, click on the Action button from the list view and select the set favorite option.
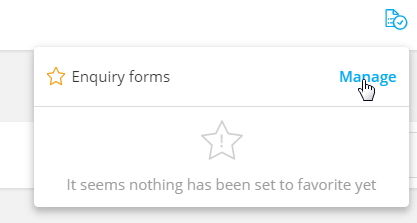
Step 3 - You can see your favorite lead form on the top info bar.
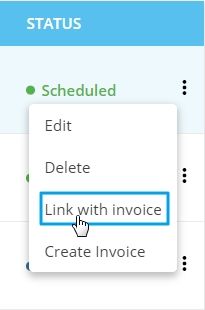
Step 2 - Click on the action button and select the Link Invoice option.
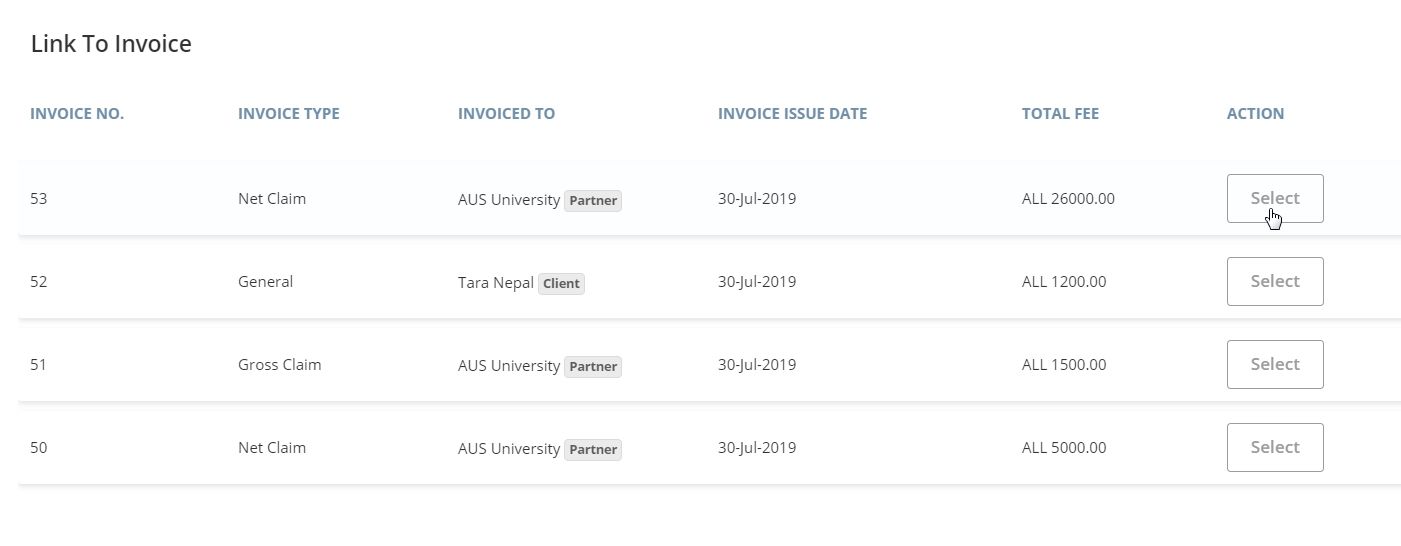
Step 3 - Select the invoice.
Create the Non -claimable invoice.
You can now create an invoice for the Non- claimable payment schedules from the Application.
