Keeping track of which documents to upload at every stage of a workflow can be time-consuming - especially when managing multiple workflows.
To make this easier, Agentcis offers a Document Checklist feature. This allows users to create a checklist for each stage, so it’s clear what documents are needed and when to upload them.
Before creating a checklist, you’ll first need to set up Document Types. Please go through this link to know about Document Types:
Document Type for Document Checklist
Create document checklists for clear and systematic collection of your client's documents

The following permission is required to add the document checklist.

Step 1: Go to Setting and click on Workflow Settings.

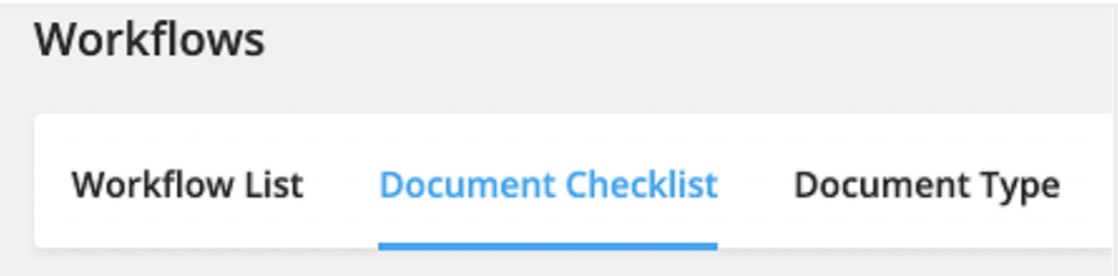
Step 2: Click on the Document Checklist Tab.
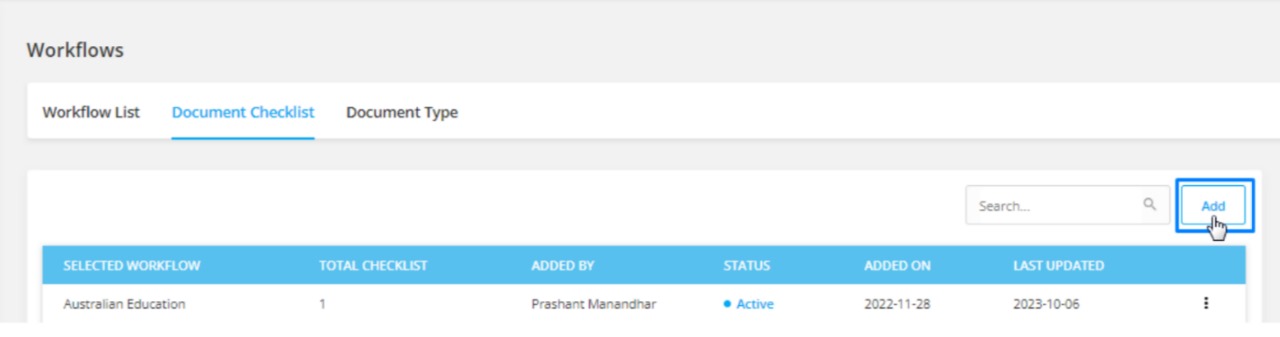
Step 3: Click on the add button.
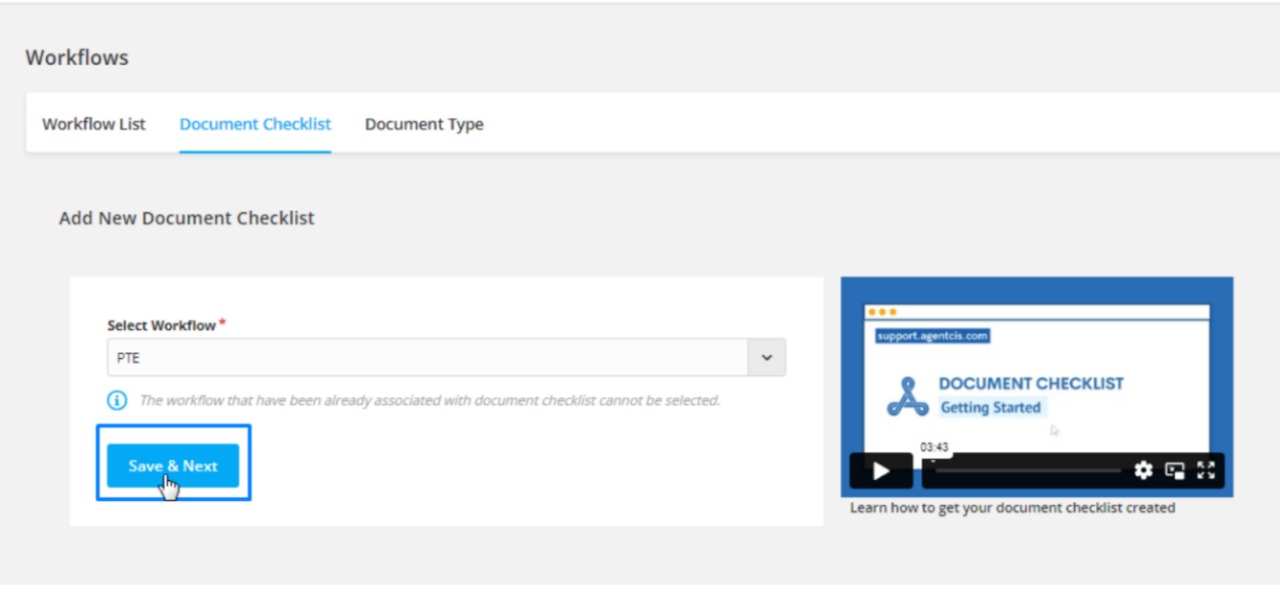
Step 4: Select the workflow you want to associate with the checklist. Already associated workflows can not be selected.

Step 5: Click on save and next
Step 6: Create your document checklist based on your selected workflow stages.
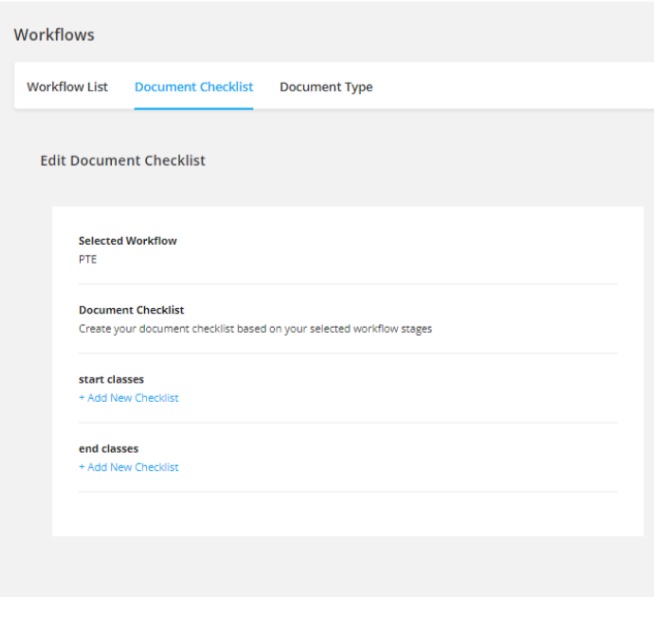
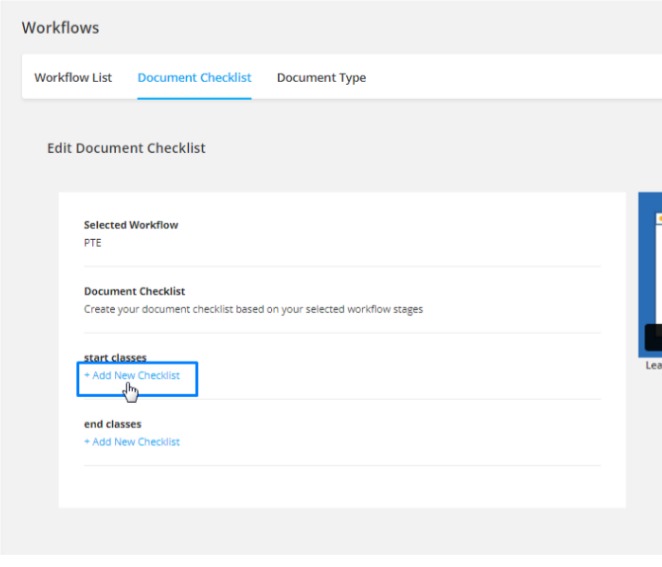
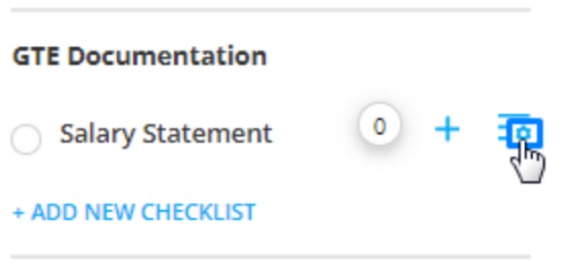
Step 7: Click on the add new checklist button on the workflow stage where ever the document is necessary.
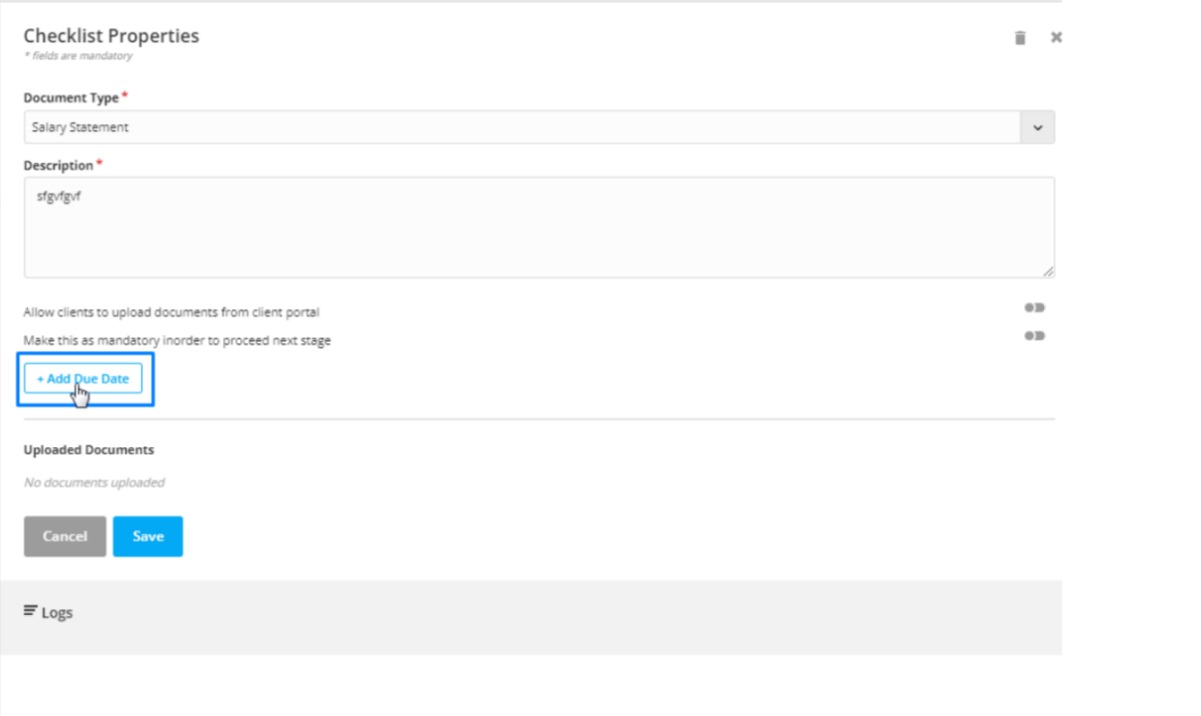
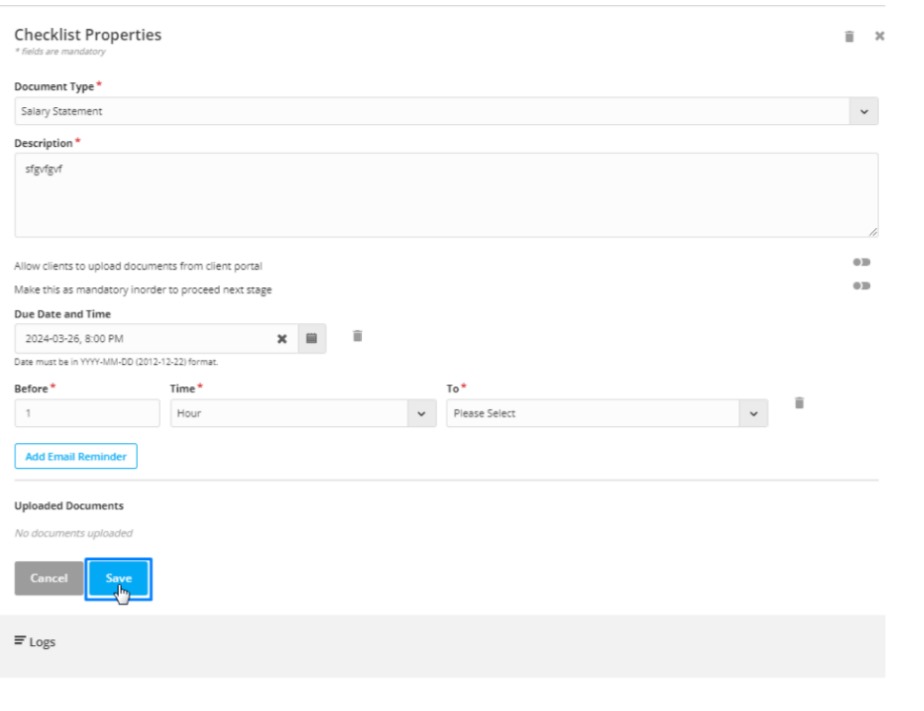
Step 8: A pop-up will appear on the right side. Select the necessary Document Type from the drop-down list along with the description of the document.

Step 9: Select all partners if you want to apply the checklist to all the partners associated with the workflow. Or you can choose the select partner option which will allow you to select specific partners to whom the checklist will apply. You can select multiple partners associated with the workflow.
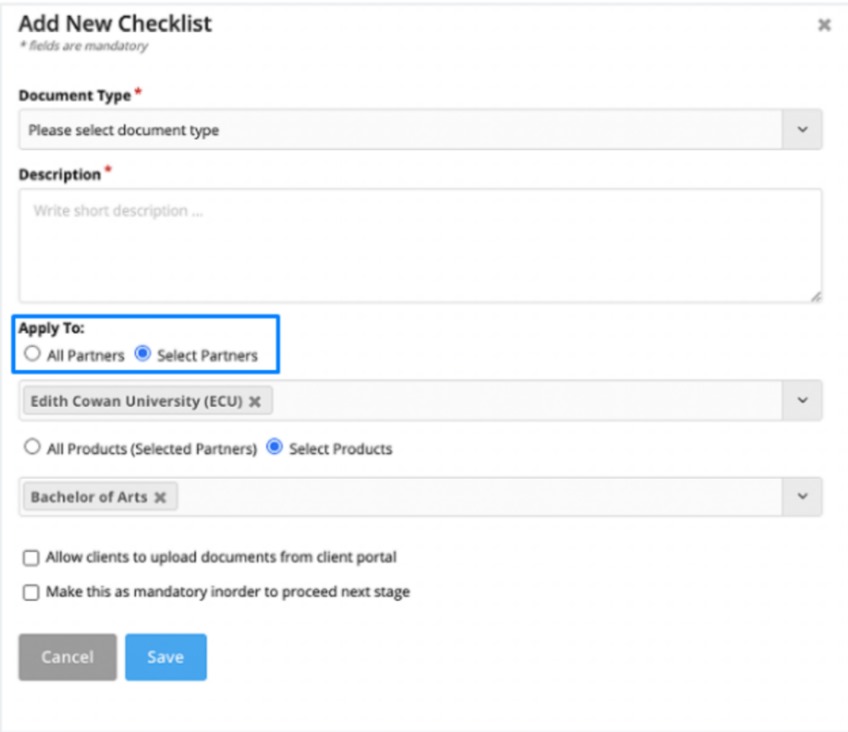
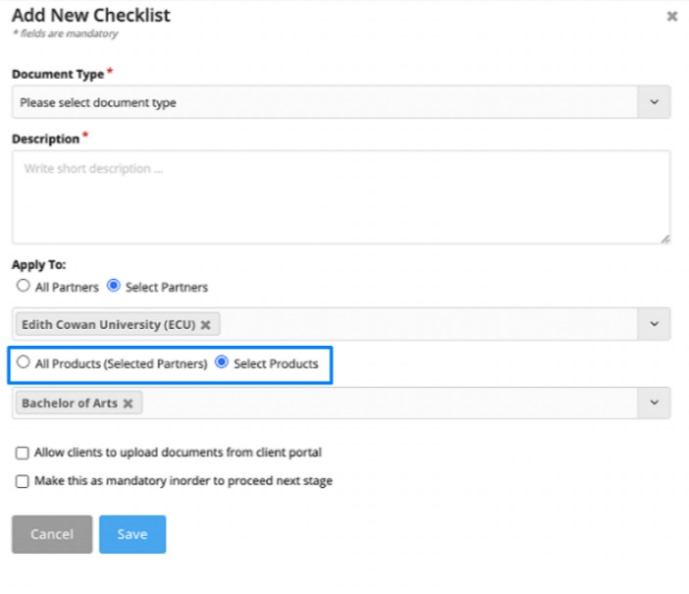
Step 10: Select all products if you want to apply the checklist to all the products associated with the partners. Or you can choose the select product option which will allow you to select specific products to which the checklist will apply. You can select multiple products associated with the partner.
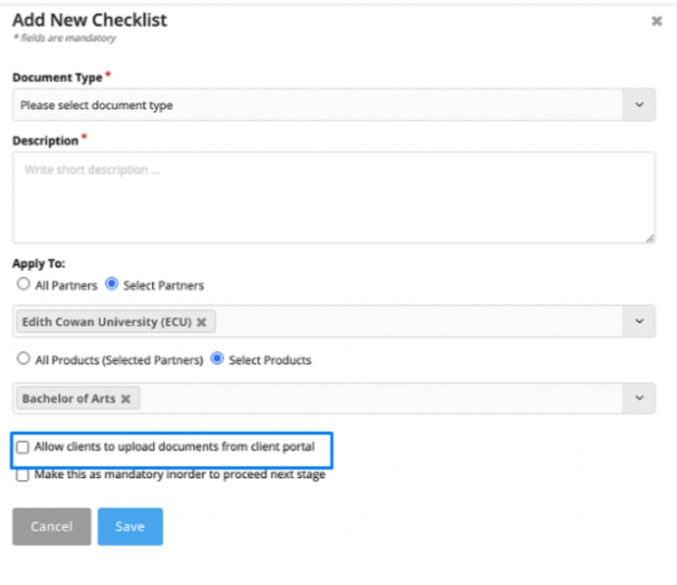
Step 11: You check the “Allow clients to upload documents from client portal” if you want to give permission to your clients to upload the documents directly to the client portal.
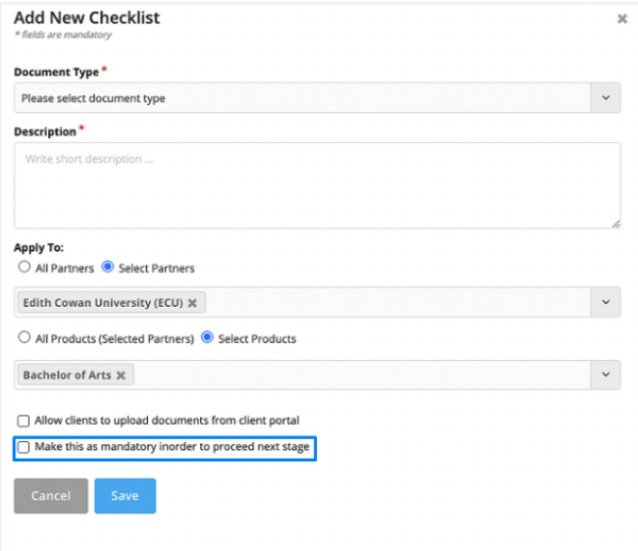
Step 12: You can check the “Make this as mandatory in order to proceed to the next stage” if this is a mandatory document.
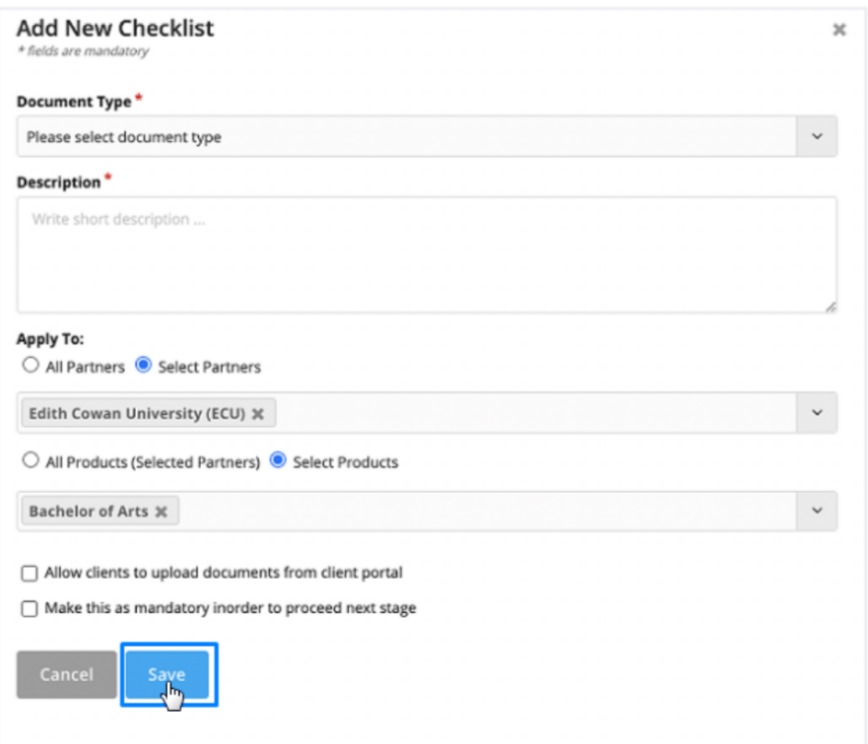
Step 13: Click on the Save button. You can add multiple document checklists for each of the workflow stages.
Step 14: You can repeat steps 6 to 13 for all the other workflow stages as per your requirement.
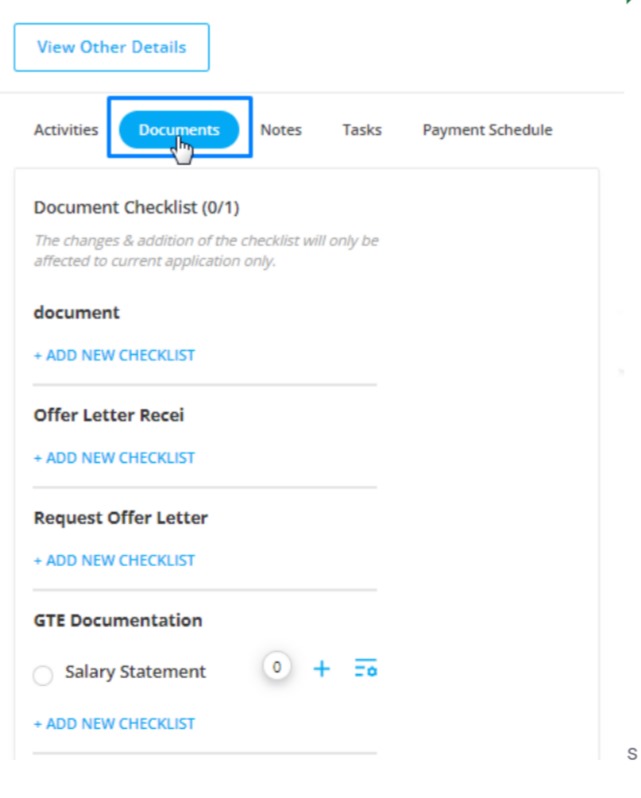
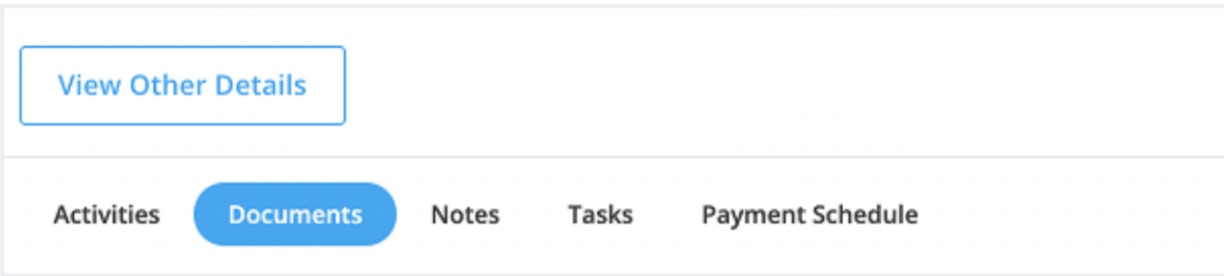
Step 1: Go to the application detail page and click on the Documents sub-tab.
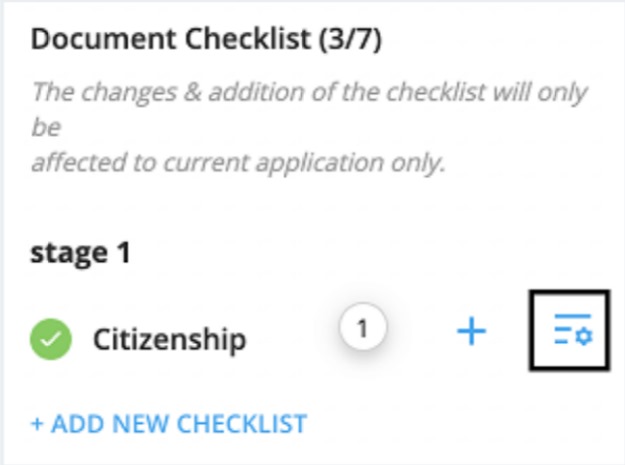
Step 2: Click on the Properties icon of the checklist.
Step 3: In this drawer click on the +Add Due Date button.
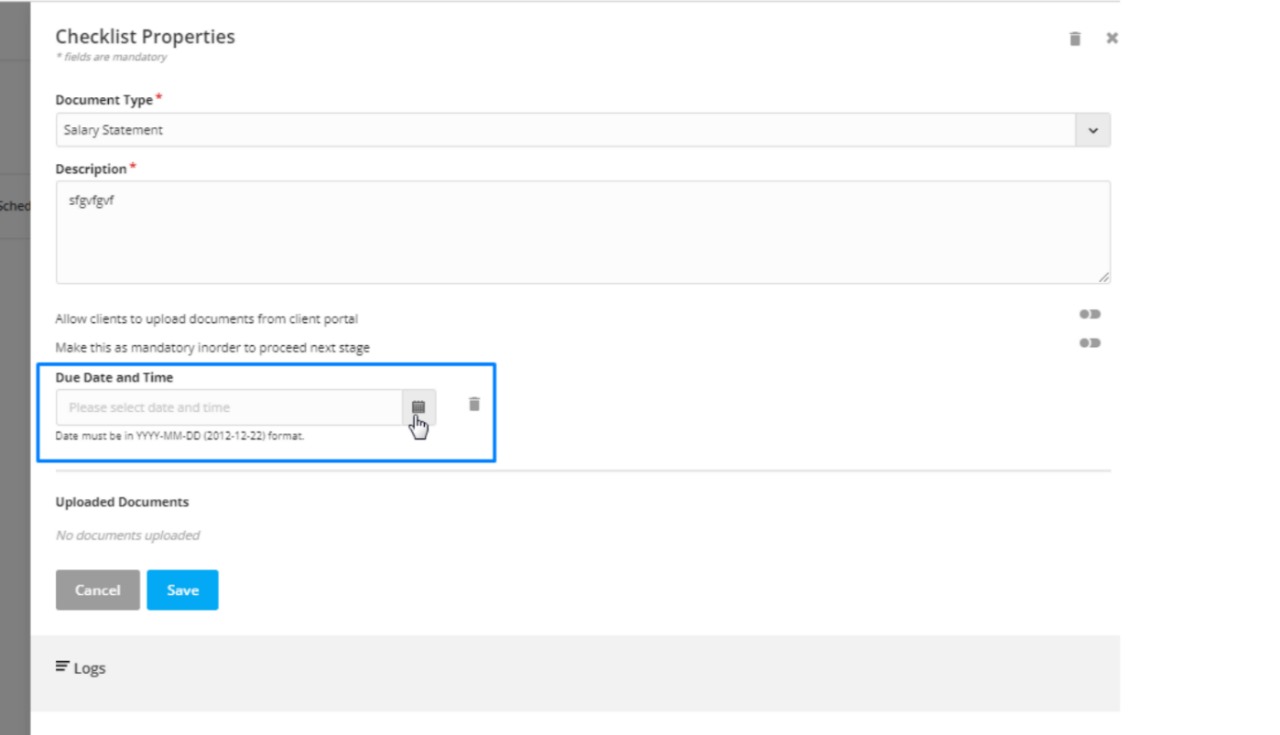
Step 4: Add the due date and the due time.
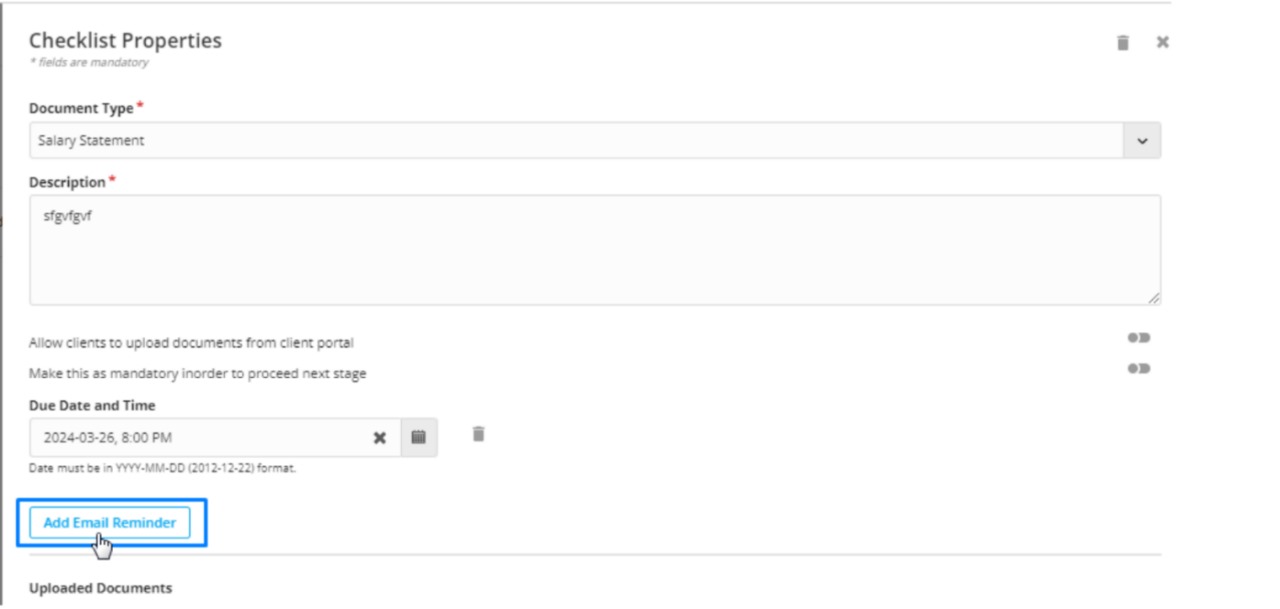
Step 5: Once you set the date and time, you will get the option to set the reminder. Click on the +Add Email Reminder button to set a reminder for the user.
Step 6: Select when the reminder is to be sent. Enter a time period before the due time arrives.

Step 7: Select who should get the reminder email.
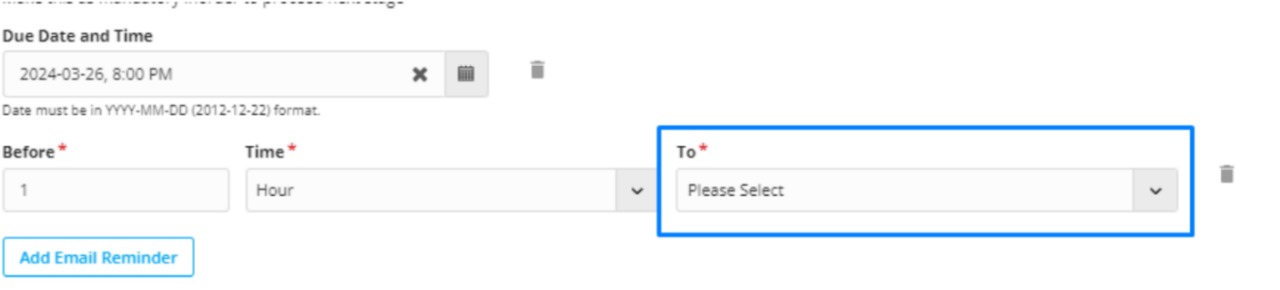
Step 8: Click on Save.
Clients can now upload documents directly, which reduces manual work for you and your counselors.
You will receive a notification whenever a client uploads a document.
To upload documents from the client portal dashboard:
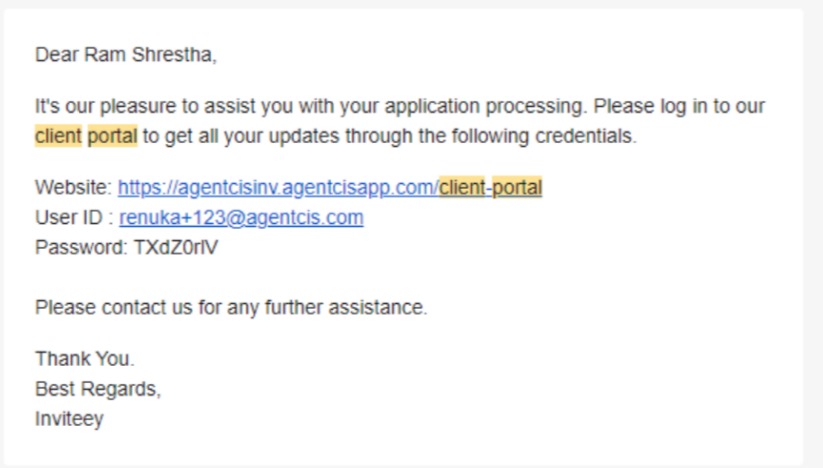
Step 1: The client should log in to the portal using the credentials they receive in the client portal activation email.
Step 2: In their client portal Dashboard, they can see their applications and their process.

Step 3: If their current applications need any documents to be uploaded, they can see it in the dashboard and upload the document. They can also see the due dates of the upload.
The clients can see all their recently uploaded documents on the right side. They can download the documents as well.
Step 1: The client should log in to the portal using the credentials they receive in the client portal activation email.
Step 2: Go to the Applications tab
Step 3: Each of their applications will be listed here in the cards view.
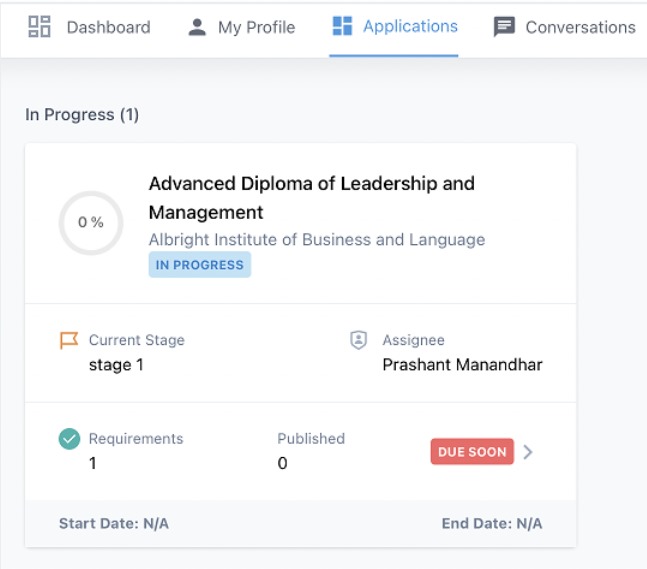
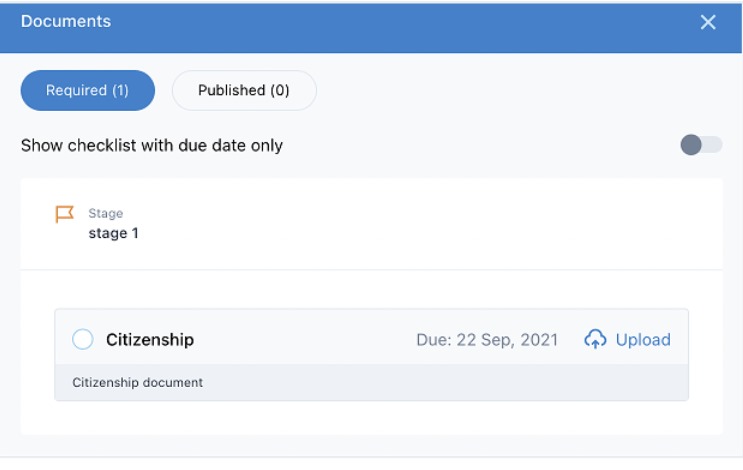
Step 4: Click on the “Required” option. The “Required” option shows the number of documents that are remaining to be uploaded.
Step 5: The drawer will show which documents are to be uploaded. Click on the Upload button on the side of the checklist.
Step 6: Upload the document.
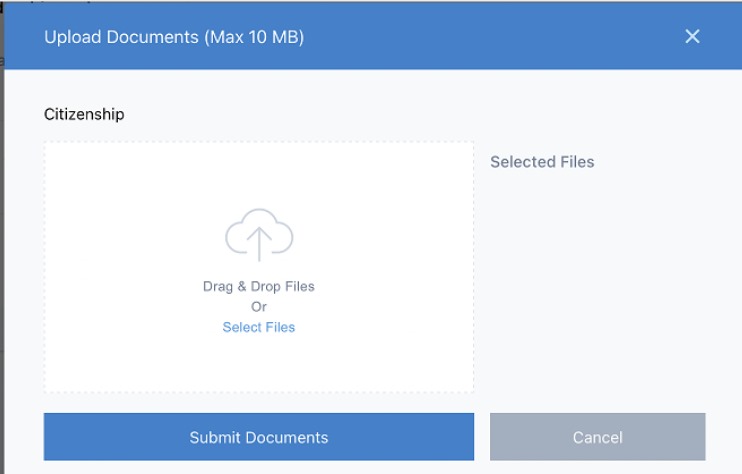
Step 7: Click on Submit Documents.
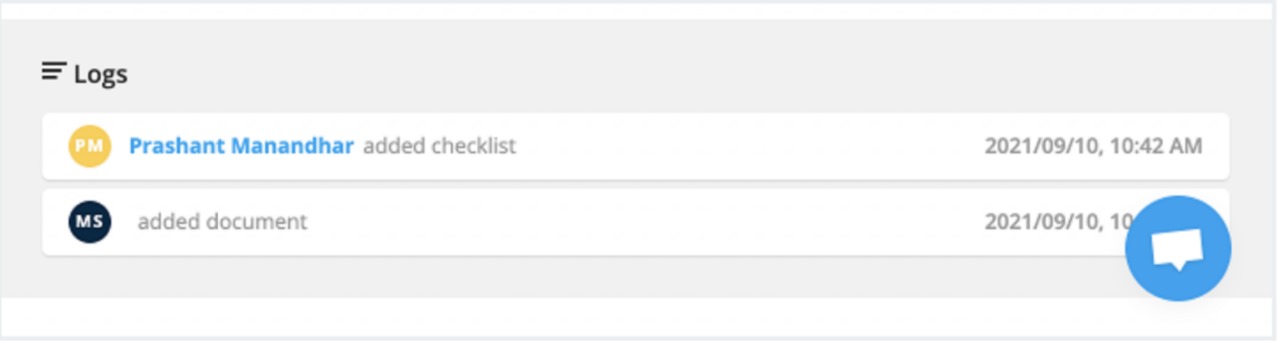
To get a log of the documents uploaded by the client through the client portal:
Step 1: Go to the application detail page and click on the Documents sub-tab.

Step 2: Click on the Properties icon of the checklist.
Step 3: The bottom of this drawer has a log of all the documents that have been uploaded by the client.