In Agentcis, partners refer to institutions such as universities, colleges, insurance providers, or training institutes that you work with to offer services to your clients. Adding partners correctly ensures smooth workflow management, accurate documentation, and proper invoicing.
This guide walks you through the steps to manually add a partner in Agentcis.
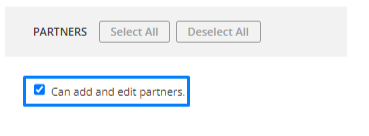
Make sure you have the necessary user permissions to add a partner in the system. If you're unsure about your access level, please contact your Admin user.
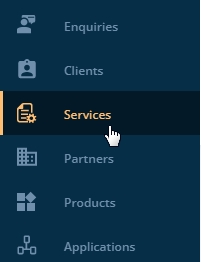
From the Dashboard, select the "Services" section from the left-hand navigation menu.
From the top right section of the page, click on Add New option.

To add a partner manually, click on Add New Partner.
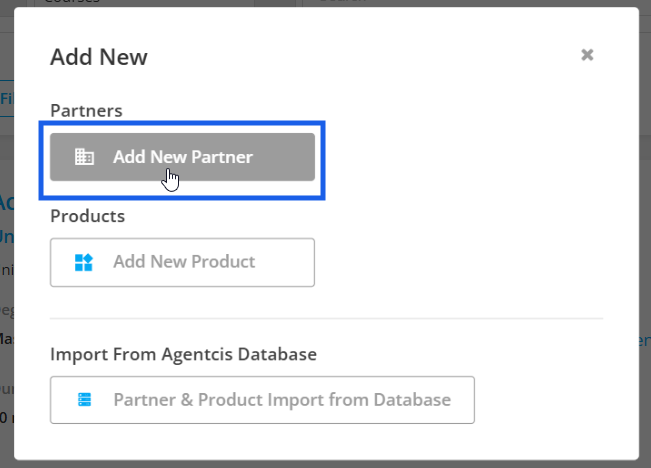
To add a manual product associated with a partner, click on Add new Product. For more info, you can visit this link:
Adding Product
Adding a single product in Agentcis
To import partner & product from Agentcis database. click on the third option. For reference, please visit this link:
Importing Partner and Product from Agentcis database.
How to import Partners and Products from Agentcis master database?
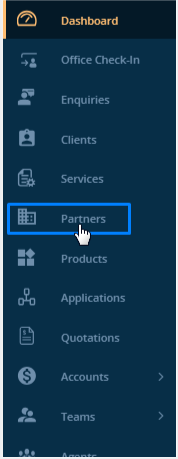
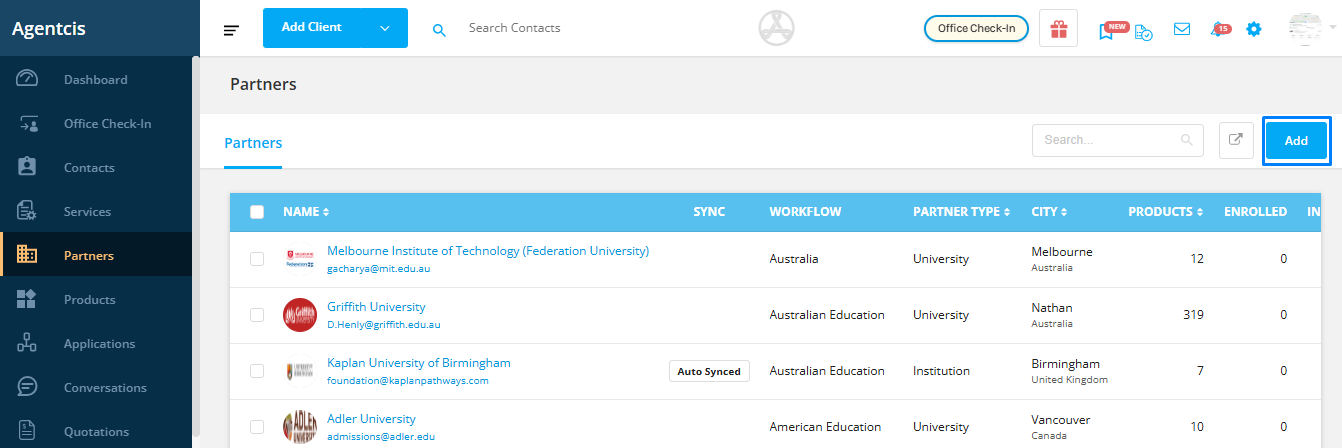
Or, the Partners can also be added from the Partner’s section from the left side bar.
Click the “Add” button at the top right to start entering a new partner's details.
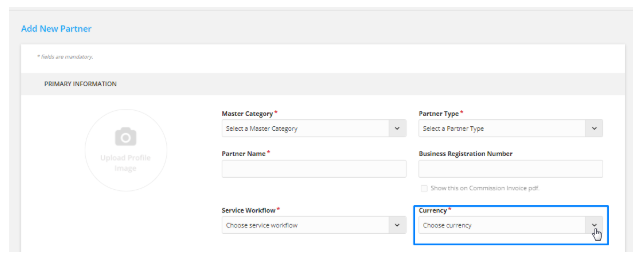
Choose the appropriate Master Category to classify the type of partner you are adding. This helps in organizing partners and their services effectively.
Education – Universities, colleges, language schools, or training institutes.
Example: Australian Demo University, Global College of Management
Insurance – Providers offering student health insurance, travel insurance, or other policies.
Example: Bupa, Allianz Global Assistance
Visa & Migration – Registered migration agents or legal entities offering visa consultancy.
Example: VisaWorld Consultants, Australia Migration Services
Skill Assessment – Organizations assessing qualifications and experience for skilled migration.
Example: VETASSESS, Engineers Australia
Legal & Court – Legal firms or advisors offering court representation, appeals, or legal consultations.
Example: Legal Aid Partners, Migration Appeals Board
RPL Assessment – Recognition of Prior Learning providers assessing skills and issuing certifications.
Example: RPL Express, Skills Certified Australia
Other Services – Any partner that doesn't fall into the above categories but offers relevant services.
Example: Document Translation Services, Airport Pickup Agencies

Note: Selecting the correct category ensures partners are filtered properly in searches and reports.
Select the specific Partner Type that falls under the chosen master category, such as:
University
College
Training Institute
Insurance Provider
Example: Select University for "Australian Demo University".

Add the official name of the partner.
Example: Australian Demo University

Enter the Business Registration Number of the partner. This can be useful when generating invoices or legal documents.
✅ Optional: If you’d like this number to appear on invoices, select the checkbox labeled
“Show business registration number in the invoice.”
Example: ABN: 987654321

Choose the Workflows that the partner's applications will follow. This defines the steps for application processing, such as documentation, payments, and status updates.
To learn more about workflows, please visit the following link: https://support.agentcis.com/en/articles/103-workflow
Example: University Admission Workflow or Insurance Application Workflow

Choose the currency in which transactions with the partner will be recorded.
Example: AUD – Australian Dollar for Australian universities.
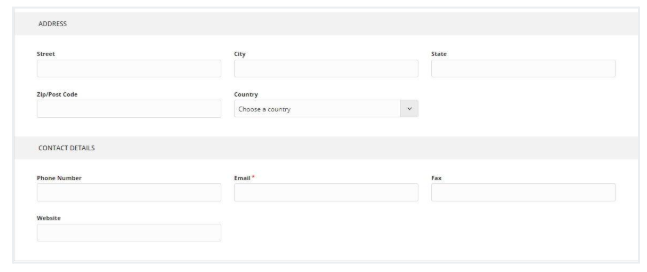
Fill in the partner’s physical address, email, and phone number.
Most universities and institutions have multiple campuses. You can add them as Branches under the main partner profile.
Example:
Main Campus – Sydney
Branch Campus – Melbourne
Branch Campus – Brisbane
This helps in tracking applications and communications with specific locations.

Alternatively, you can easily import partners directly from the Agentcis database. For a step-by-step guide on how to do this, please refer to the following link:
Importing Partner and Product from Agentcis Database
