Maintaining a standardized and well-structured system is essential for smooth business operations. In Agentcis, you can add multiple and unlimited branch offices, helping you manage different locations and assign users accordingly. Correctly setting up your offices also ensures accurate information appears on important documents like invoices.
Before you begin, please ensure you have the necessary permissions to add an office. If not, reach out to your system administrator.

Why It’s Important
Keeps your team structure organized
Ensures invoices reflect correct office contact details
Allows users to be assigned to specific locations
Supports performance tracking by office
Learn to add the office from the following link: https://support.agentcis.com/en/articles/157-adding-offices
Viewing office details helps you manage users and clients effectively. You can view the details added to the office and the users and clients associated to that office. For this follow the following steps:
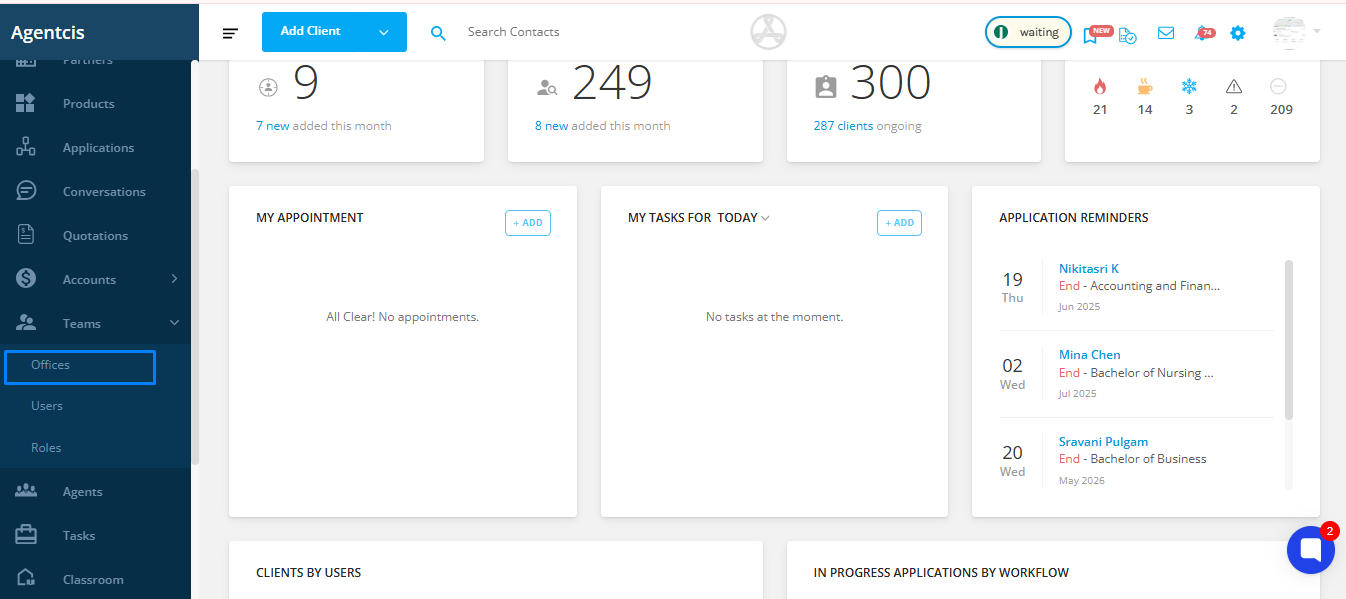
Step 1: Navigate to "Teams"
From the left-hand navigation bar, click on "Teams" to open the team management section.

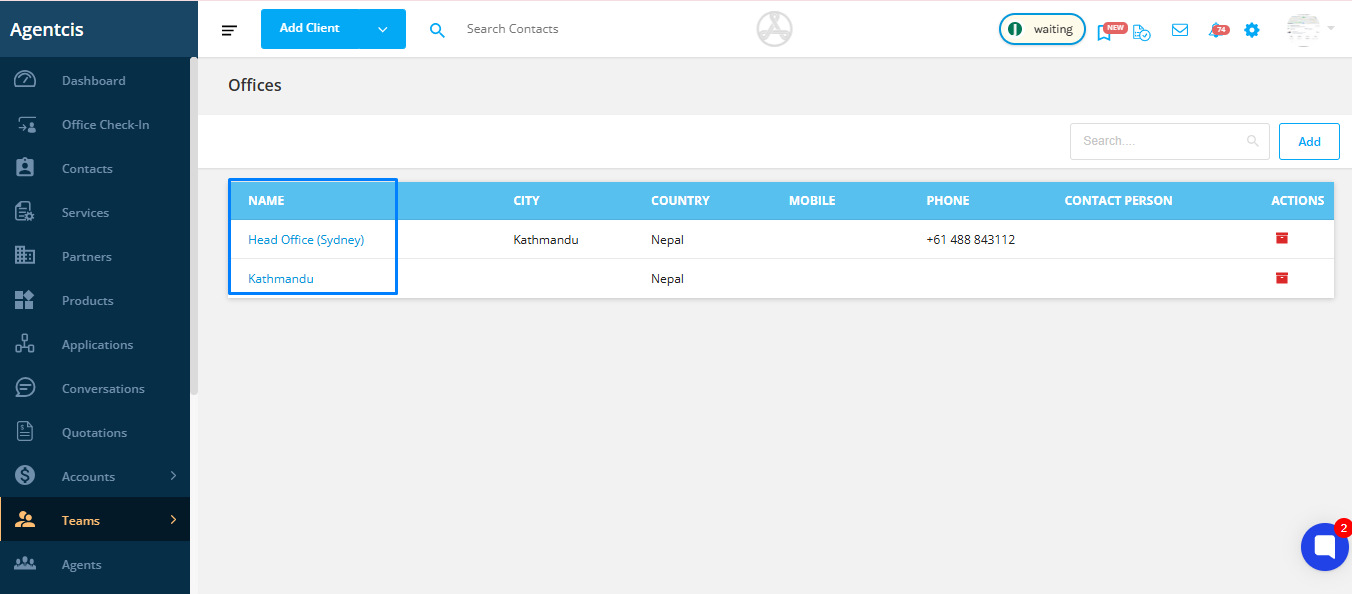
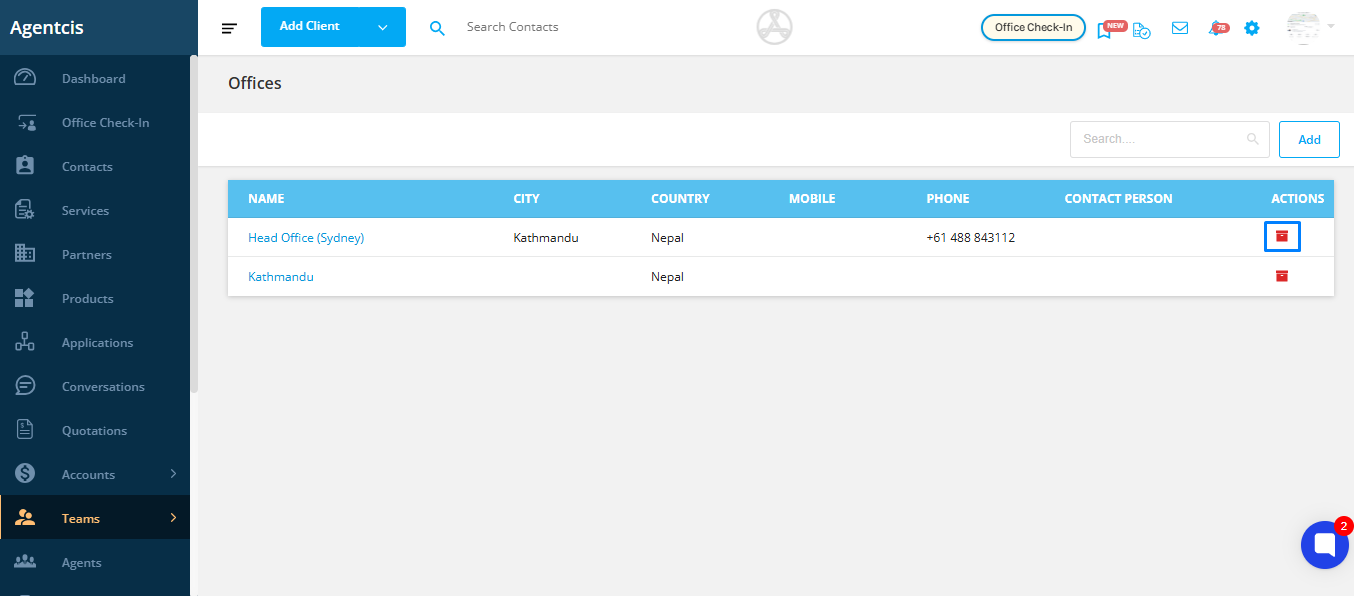
Step 2: Select "Offices"
Within the Teams module, click on "Offices". This section displays a list of all your existing branch offices.
Step 3: Select an Office
From the list, click on the name of the office you want to view. This will open the office details page.
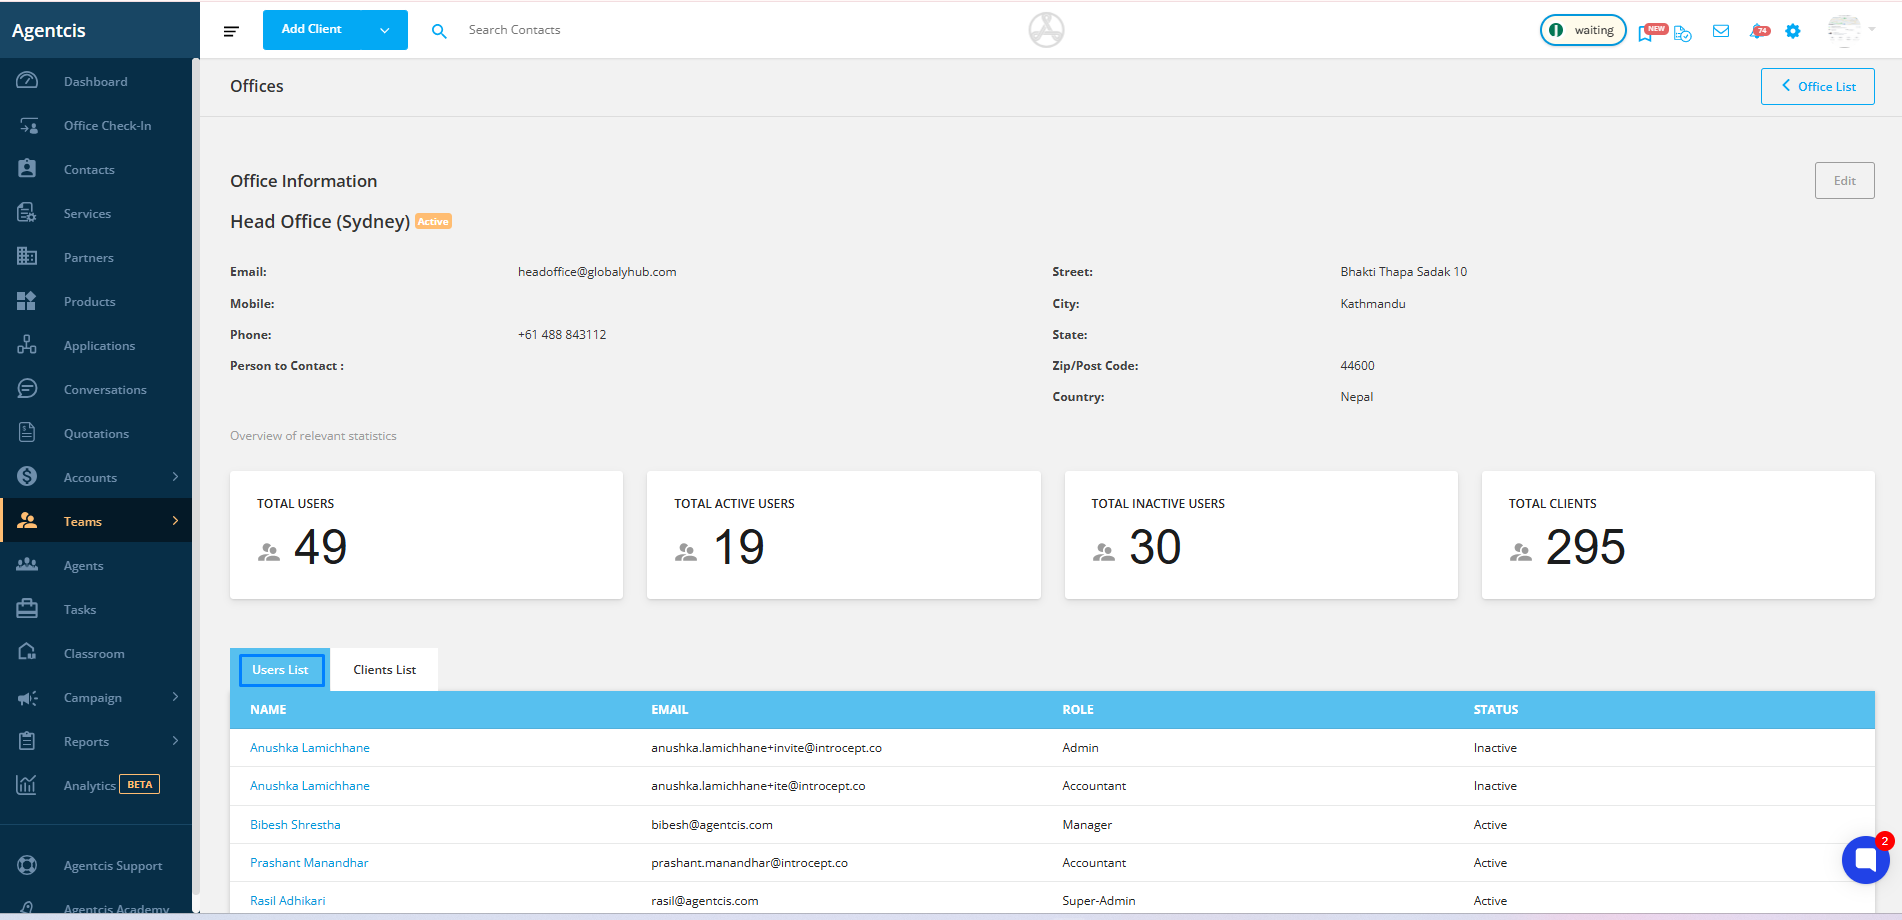
Step 4: View Office Details
To view the list of clients associated with the office, click on the Clients tab.
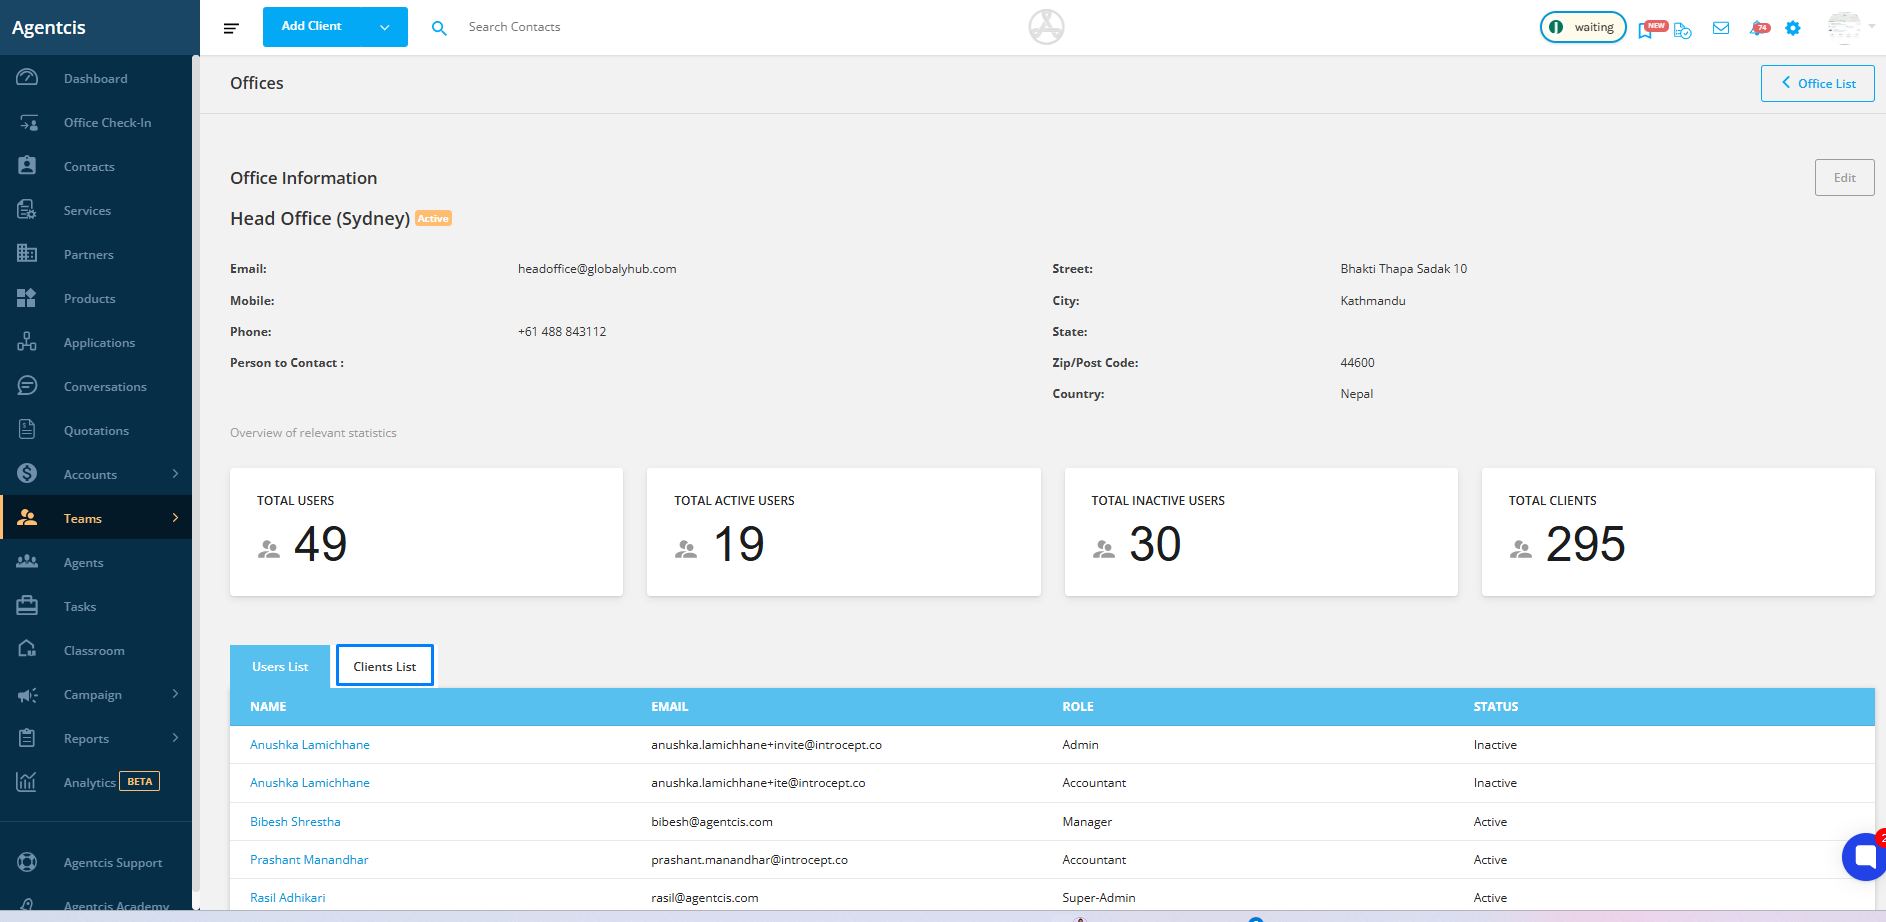
To view the users associated with the office, click on the Users tab.
Step 1: Archive an Office
Click on the Archive tab or button next to the office name.
Note: Archived offices are only visible to the owner and can be accessed from the Inactive list and retrieve them if needed.
