When a user is no longer working with your organization, you can inactivate their account to free up a user space for someone else.
This ensures that all their existing records (Clients, Applications, Tasks, and Appointments) are transferred to an active team member.
Before starting: Please ensure you have the required permissions to manage users before proceeding.
1. Please ensure you have the required permissions to manage users before proceeding.
If you wish to keep a record of the user’s data, it is recommended to extract reports of Applications, Tasks, and Appointments before inactivating the user.
This will help you retain a detailed history for reference.
The following link can guide you with the process of report generation: https://support.agentcis.com/en/articles/288-managing-filtering-and-exporting-reports
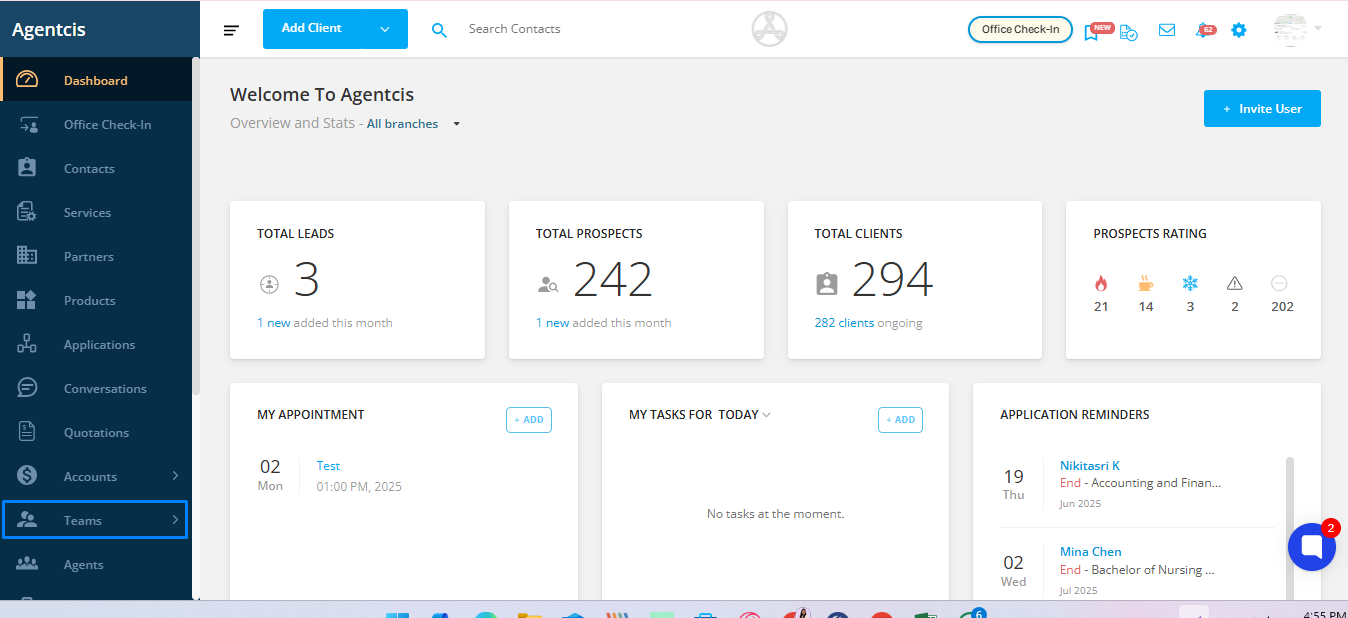
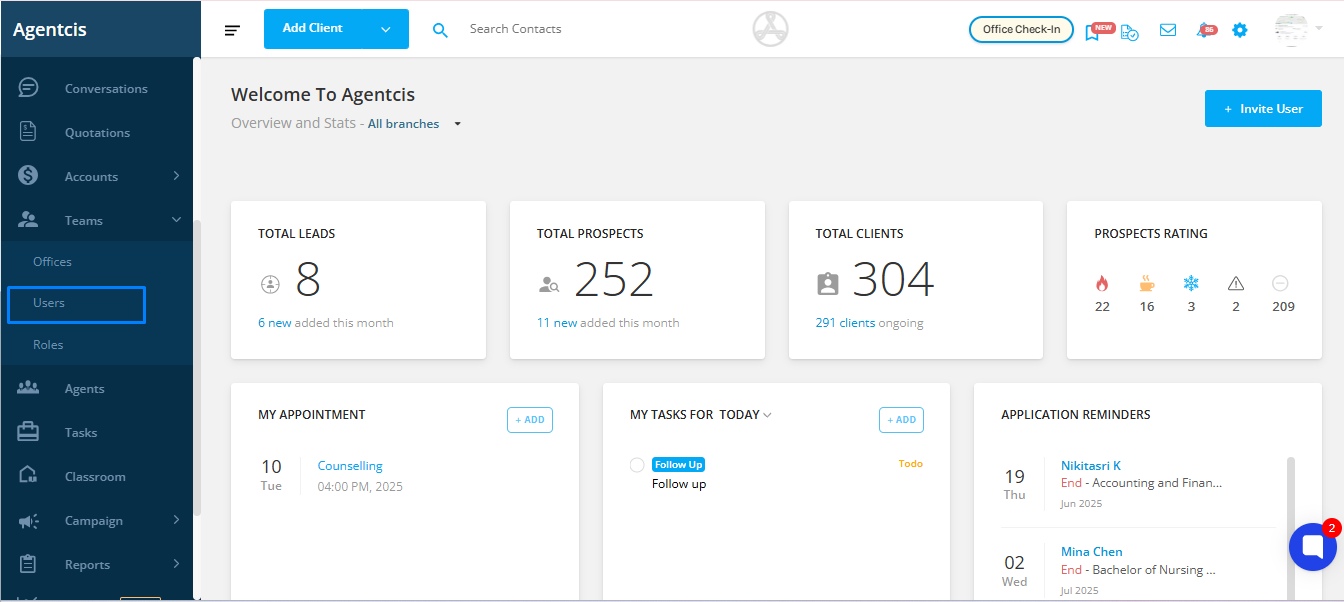
From the left-hand side navigation bar, click on Teams.
Under the Teams section, click on Users.
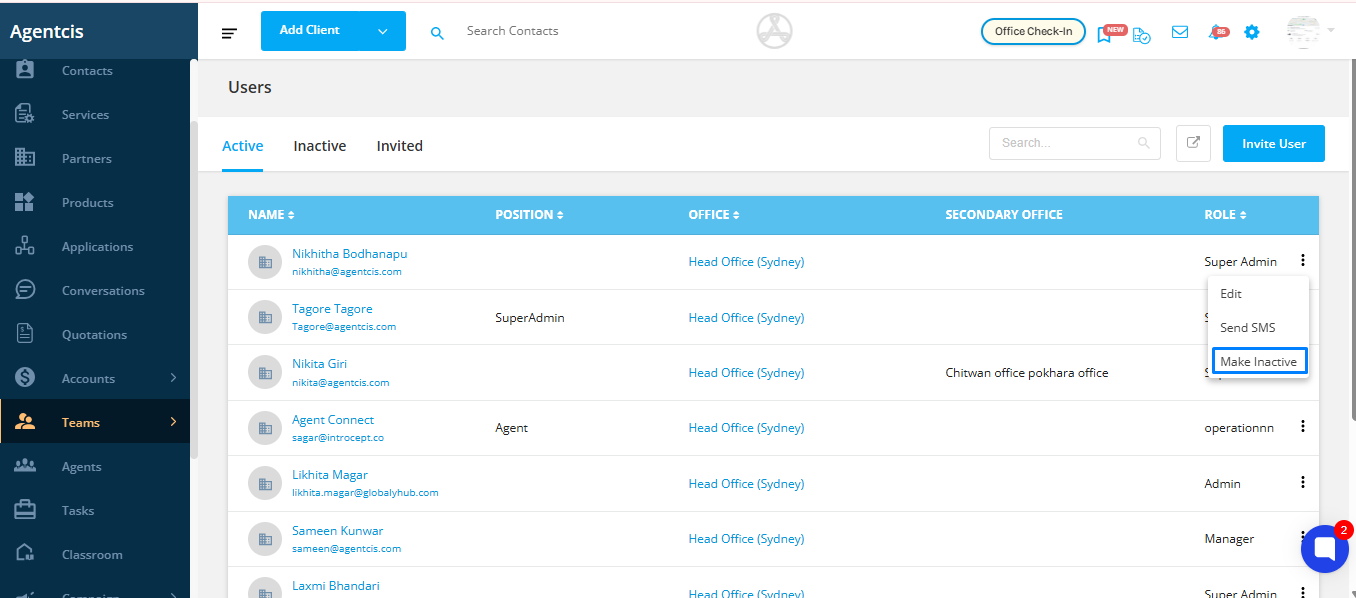
By default, the Active tab will be selected. You will see a list of all currently active users.
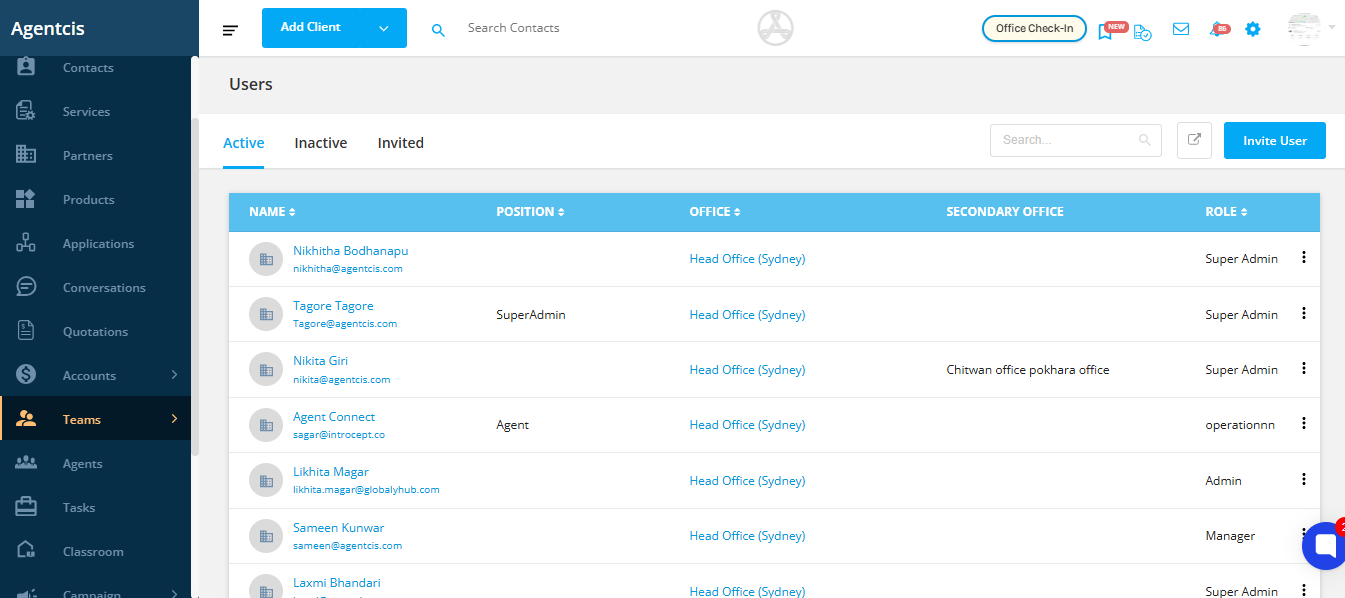
From the list of users, locate the user you want to inactivate. You can search the user with the name from the search bar as well on the top right corner.
Click on the three dots (⋮) located at the far right of the user’s row.

From the dropdown menu, click Make Inactive.
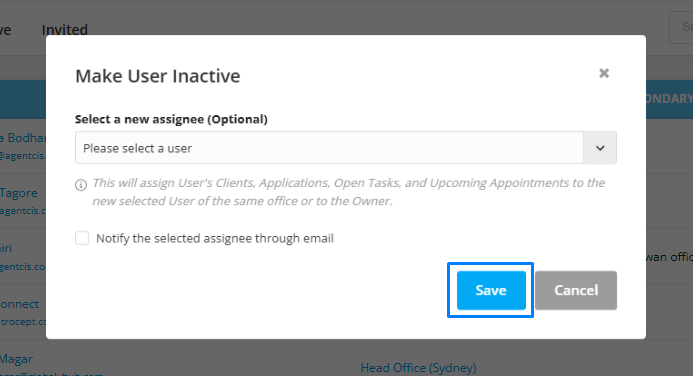
A pops up will appear asking you to select an active user to whom the following will be transferred:
Clients
Applications
Open Tasks
Upcoming Appointments
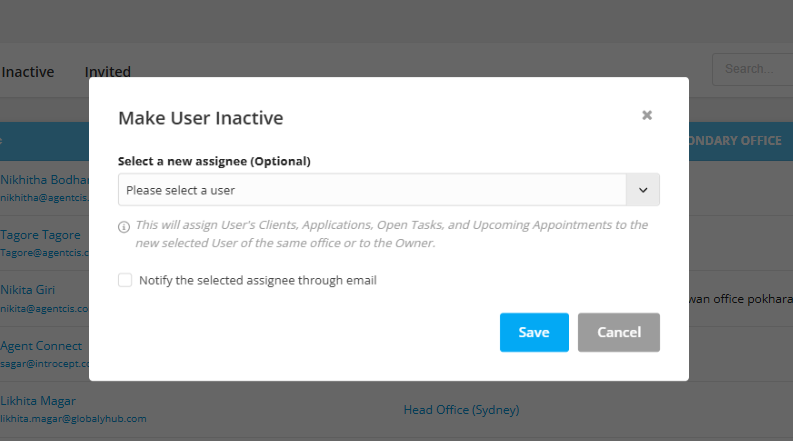
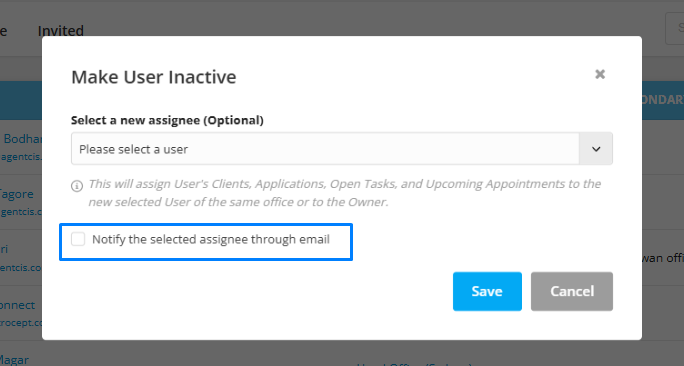
Tick the checkbox if you would like to notify the selected user via email about the data transfer.
Click Save to complete the inactivation process.