Logging into Agentcis Portal
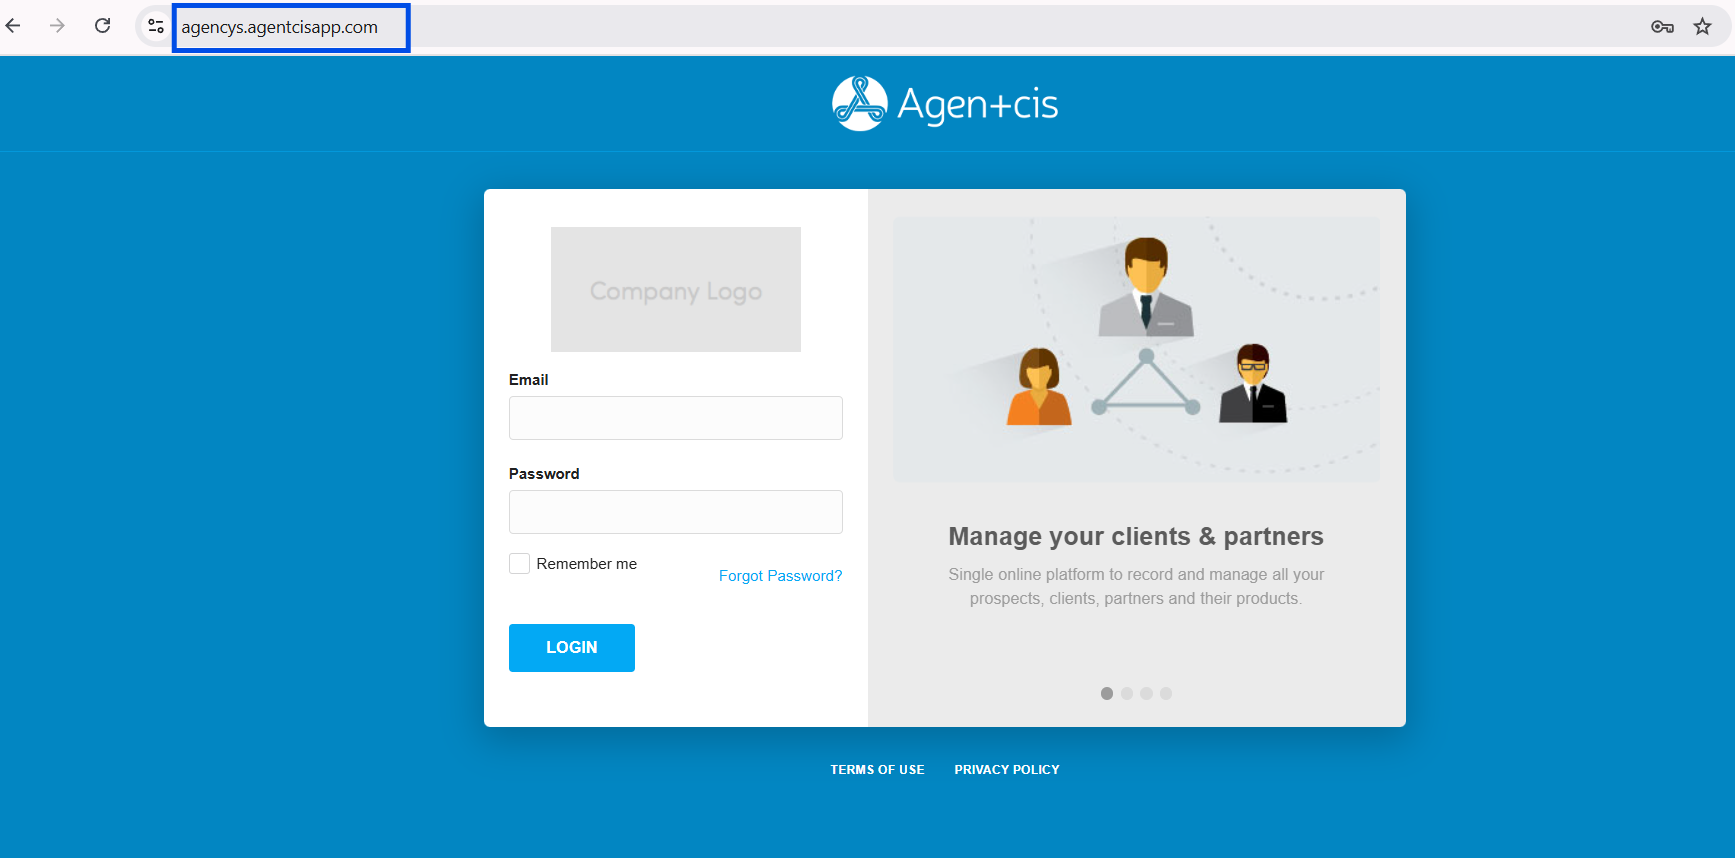
Agentcis enables access to the portal securely by the use of the dedicated subdomain assigned by your company followed by "agenciesapp.com." You can set your unique login account and password to enhance security measures and gain access to Agentcis. This approach ensures a more controlled and protected login experience within the Agentcis system.
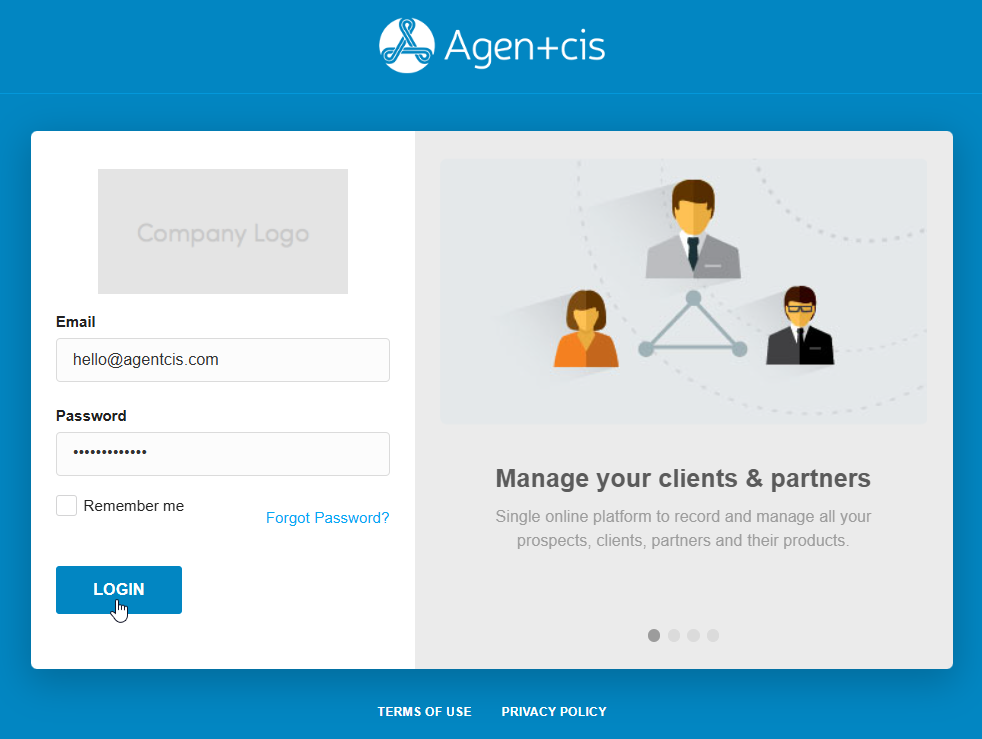
Once you accept the Agentcis invitation for your account, set up your password.
Step 1: To log in, go to your Agentcis login portal using your company subdomain followed by agentcisapp.com.
Note: With our Custom white labelling feature released, you can now replace Agentcis’s default domain (e.g. consultancy.agentcisapp.com ) with your own domain (e.g. crm.consultancy.com). To know more about this, please go through this link:
Domain White Labeling & Custom URL Branding
Domain white labeling allows you to use your own domain for our services instead of a generic one giving your brand look more professional.
Step 2: Then use your email and password to log in. Please bookmark this link in your browser for easy access in the future.
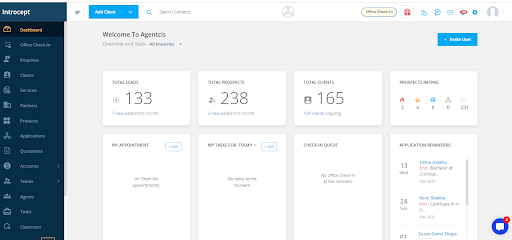
Step 3: You will now land on Agentcis Dashboard
First-time login into the system
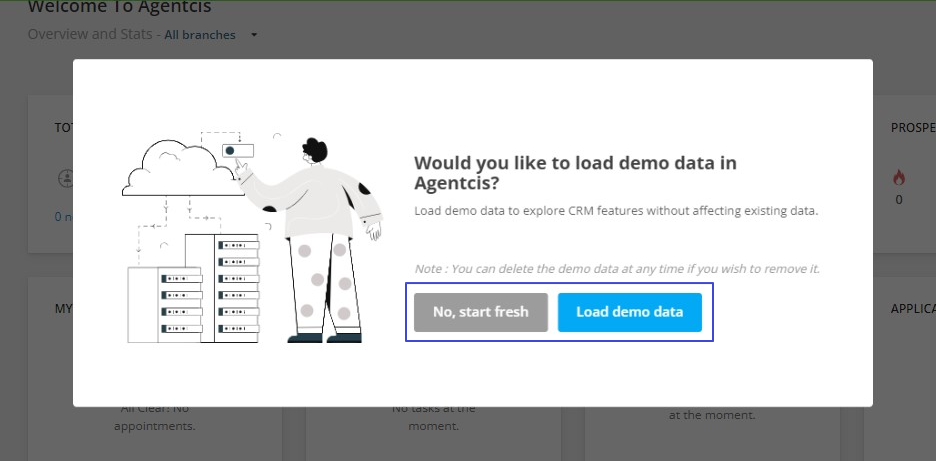
Note: Upon initial login to Agentcis, you will get pops up to set the time zone preferences and choose whether to load demo data. This streamlined process ensures accurate time tracking and allows users the option to explore the platform with or without preloaded demo information.
Agentcis have provided you with some demo data in various modules which are listed below. These demo data are integrated for you to see and understand how your original data are displayed in the system.
Follow the following steps if you are logging in to Agentcis initially
Step 1: Select the Next option.

Step 2: Set the Time zone.
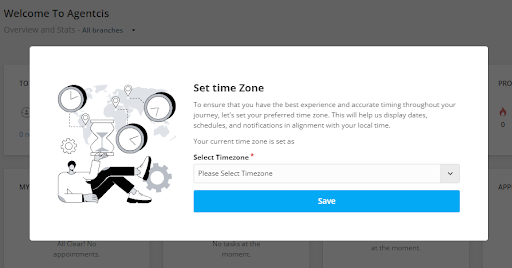
Step 3: To set the Time zone, select the Time zone from the drop-down.
Please note while setting the time zone search the option on the dropdown based on the city. For example: If you are located in Sydney, Australia, search the time zone as Sydney rather than Australia.

Step 4: Select the option “Load demo data” if you want to start with the demo data or select the option “No, start fresh” if you want to start without demo data.