Lead Forms in Agentcis are a simple and effective way to capture information from potential clients. These forms can be easily customized to suit your agency’s needs, helping you collect important details from enquiries. By using Lead Forms, you can streamline the process of turning leads into clients, making it easier to manage and follow up with them.
To create a lead form, please make sure you have the permission to create the lead form.

Lets now go through the process of creating lead form and managing the lead form.
Step 1: Select Settings from the top info bar.

Step 2: Select Lead Form from the list.
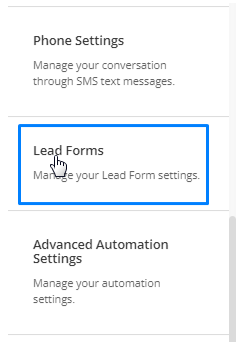
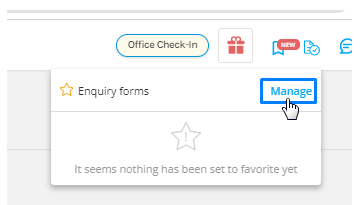
Or ,
Select the Favorite Enquiry Forms icon and then select Manage.

Step 3:On the lead form list page, click on the Add Lead Form button. Then you can create your customizable lead form to meet your requirement depending on the source.

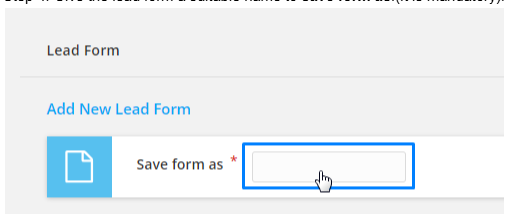
Step 4: Give the lead form a suitable name to save form as.(It is mandatory).When naming a Lead Form, make it clear and relevant to its purpose. You can base the name on the service, campaign, or target audience. For example:
Service-Based: "Study Abroad Inquiry Form"
Campaign-Based: "Education Fest Registration Form"
Target Audience-Based: "Undergraduate Course Inquiry Form"
General: "Client Inquiry Form"
A clear and descriptive name helps you easily track and manage leads.
Step 5: You can add a cover image in your form from the ADD COVER IMAGE section. The cover image of a lead form plays an important role in attracting attention and making the form more engaging. You can add your company logo or other relevant images like students, university or visa related visuals.

Step 6: Add a header to make your form look more professional. In the form header section you can add your company logo and the title of the form. You can also include header text which could be your address or contact information.

Step 7: Now, choose the fields you wish to have in your form. You can first select the system fields.
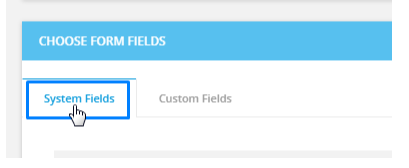
System Fields are those fields which are given by the agentcis system. These are the general fields that are mostly used by the education and migration agencies.
To select the field tick on the small square box next to it.

There are some mandatory fields in the system that are first name and last name which are already selected in the system.Similarly, you can select other fields as mandatory as well. Click on the asterisk sign beside them to make the field mandatory.

System fields in the first section are for filling in the Lead's Personal details. As mentioned before, First and Last name are mandatory in this section.
Then, we have Contact details in the second section.

Accordingly, there are various sections that contain system fields to choose from and they are Address details, Current Visa Information, Other details where you can enable a field for adding preferred Intake. We can include Interested Services, here one can select the Interested Workflow while filling up the form.
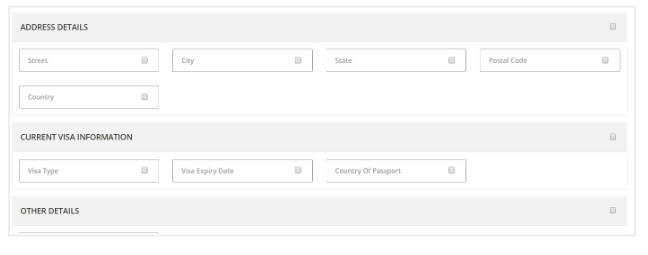
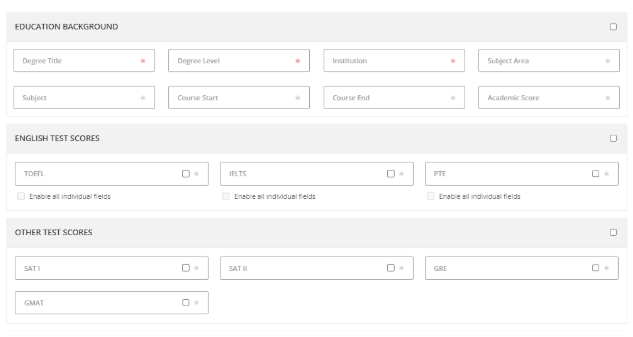
In further sections, you can select fields for adding Educational Background, English Test Scores, and Other Test Scores.
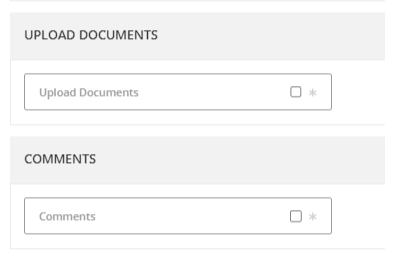
If you want your Leads to upload their documents from the lead form itself, you can select the Upload Documents field from the Upload document section and similarly select the Comments field if you want your leads to leaving important comments via the web lead form.
If the system fields are not enough then you can create a custom field as per your requirement. To learn about custom field and the process to create the custom field, follow the following link: https://support.agentcis.com/en/articles/215-creating-custom-field
Step 9 - Select the Office where you want the form to relate. After you select the office, reference sources associated with it will be listed. Select the Reference Source & Tag name from the source field.
Tags and Source help organize and manage leads for effective follow-up:
Tags categorize leads based on attributes like interests or priority (e.g., "Visa Assistance" or "Undergraduate Program"). This helps tailor your follow-ups.
Source indicates where the lead came from (e.g., website, social media, event), helping you understand which marketing efforts are most effective and allowing you to follow up accordingly.
Together, they streamline lead nurturing by enabling personalized and efficient communication.

Step 10 - Now, if you are complete with the setting, click on the Save button to save the web form.
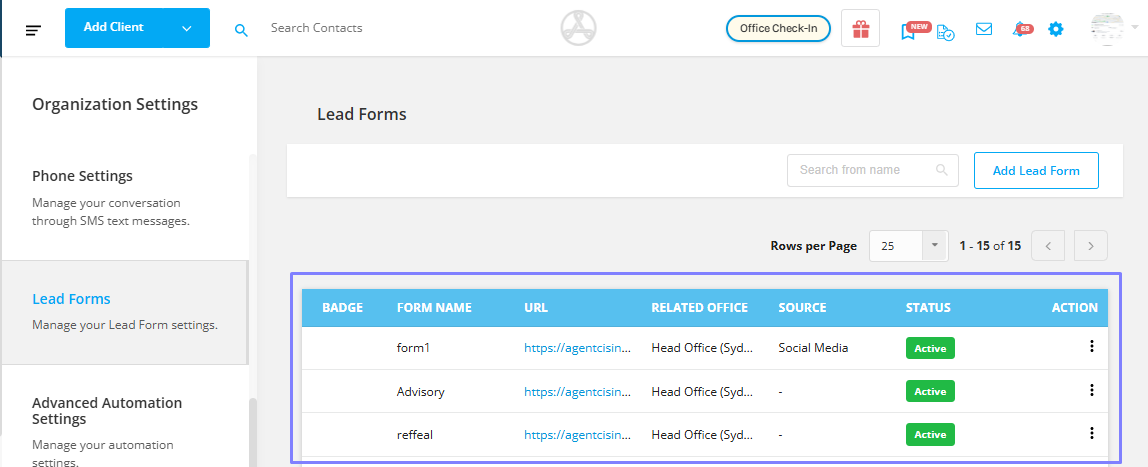
Step 11- Your Lead Form will be listed in the Lead form list view.
Learn the process of sharing the lead form for effective lead acquisition from the following link: https://support.agentcis.com/en/articles/218-how-to-share-a-lead-form