Classroom feature in Agentcis helps to manage classes such as IELTS, PTE, TOEFL, GRE, and SAT in your consultancy by creating different sessions, enroll students into them in accordance with the quota requirements, number of seats available, and number of courses per day, track student attendance, and manage the tutors for the sessions.
To get started with the classroom management feature, you will have to first create a session for your classroom. This session will include the Start date and end date of your class session along with the assigned tutors for the session. You can add new sessions by following these steps.
Before that, please make sure you have the permission to do so


Step 1: Go to the Classroom option from the left side navigation bar.

Step 2: Click on to Add New Session Button to create a new session.

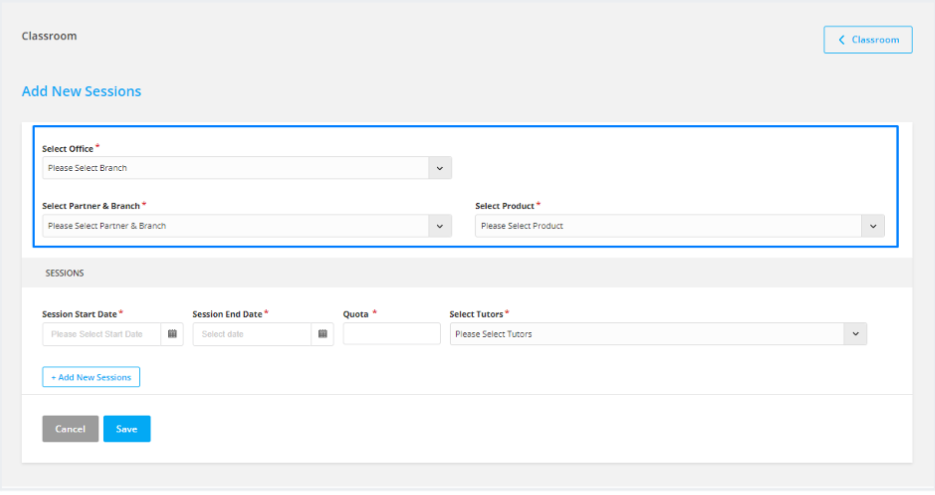
Step 3: Select the Office, Partner, Branch, and Product.

Step 4: Add the session information, Start and End Date, Classroom Quota, and the tutors for the classroom.

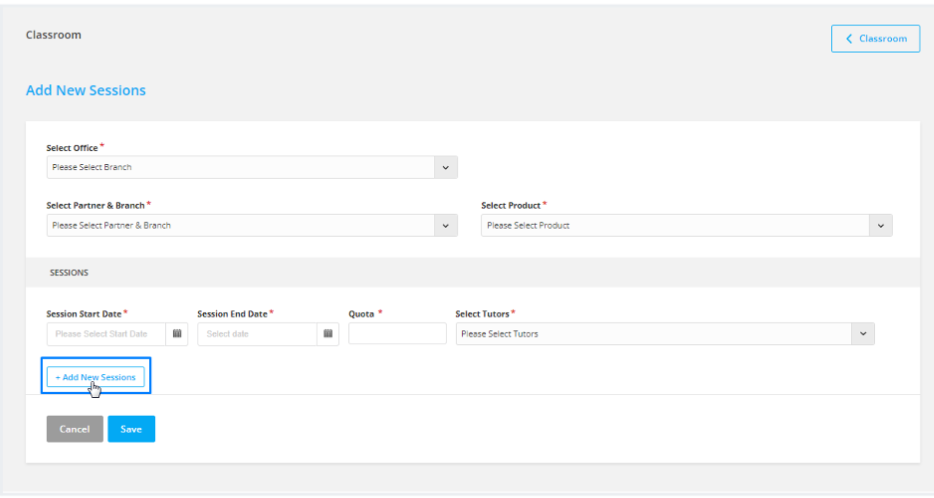
Step 5: You can also add new sessions for the classroom by clicking on the Add New Sessions button. Click on the save button to create classroom sessions.

Note: Sessions can be created with the same start and end date under the same product and partner. For this create more sessions as sessions A, B and so on at the same time for the same product.
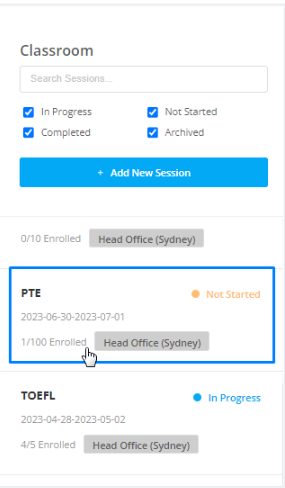
Step 6. The sessions created will be visible on the list view of the classroom module along with the status.

Learn how to start the created classroom session from the following link: https://support.agentcis.com/en/articles/308-starting-a-new-session