Assigning multiple leads at once can significantly improve efficiency, saving time and ensuring better lead management. Agentcis allows you to assign leads in bulk, streamlining the distribution process among team members.
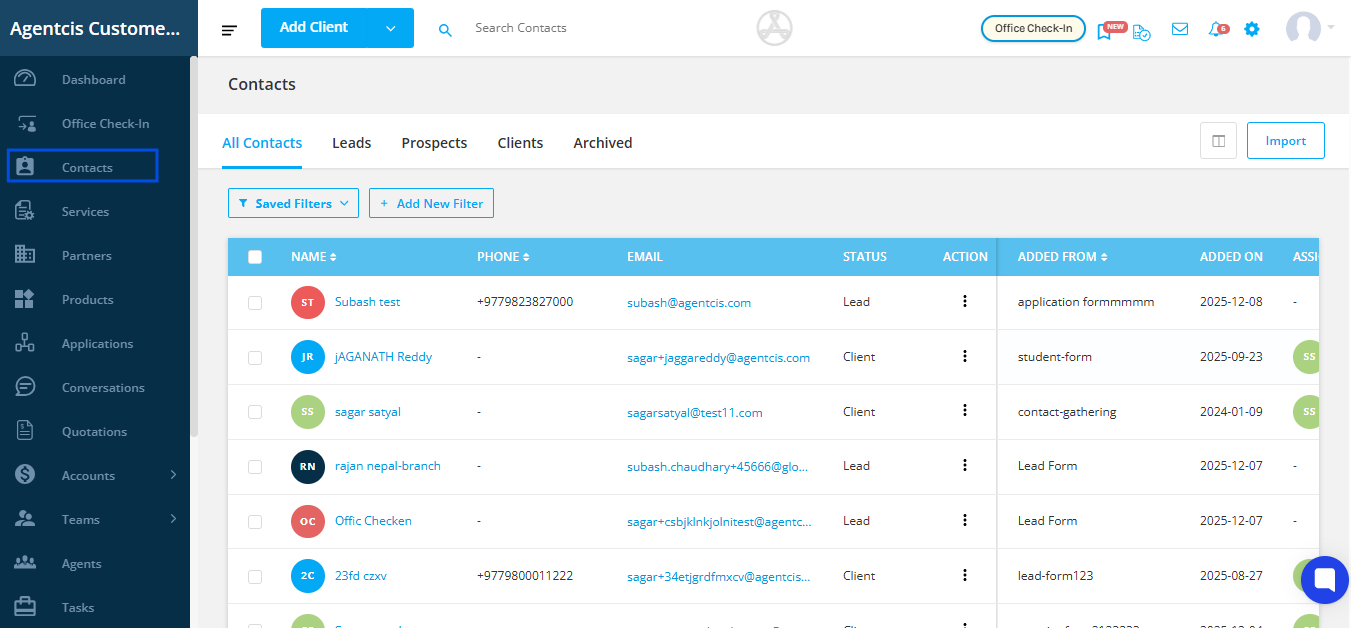
Step 1: Select Contacts from the side navigation bar.
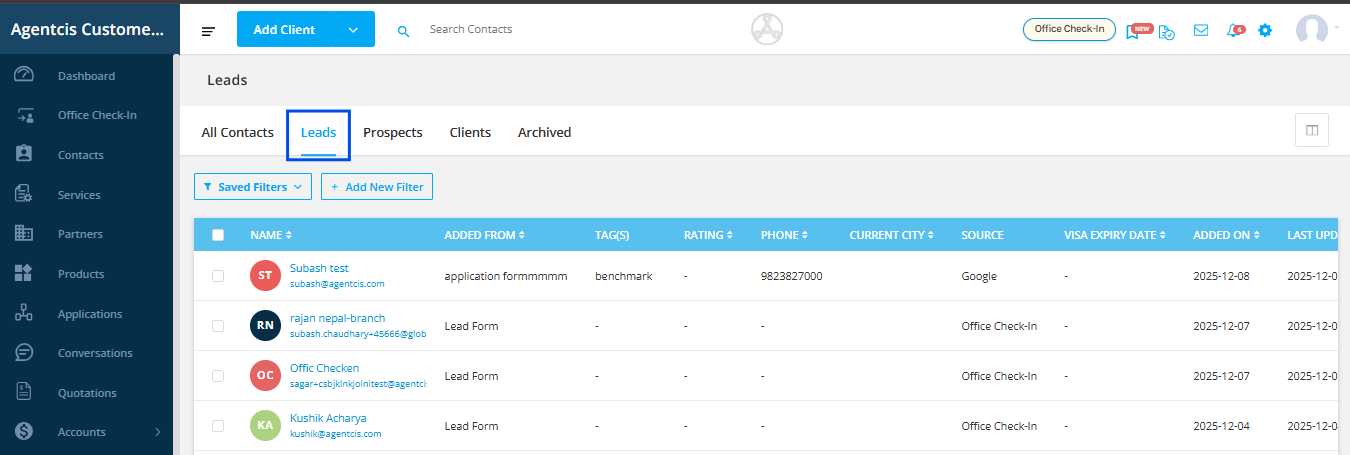
Step 2. Select Leads
Step 3: If you want to learn to apply certain filter to get the list of the particular enquiries, follow the link: https://support.agentcis.com/en/articles/348-filtering-and-viewing-specific-clients
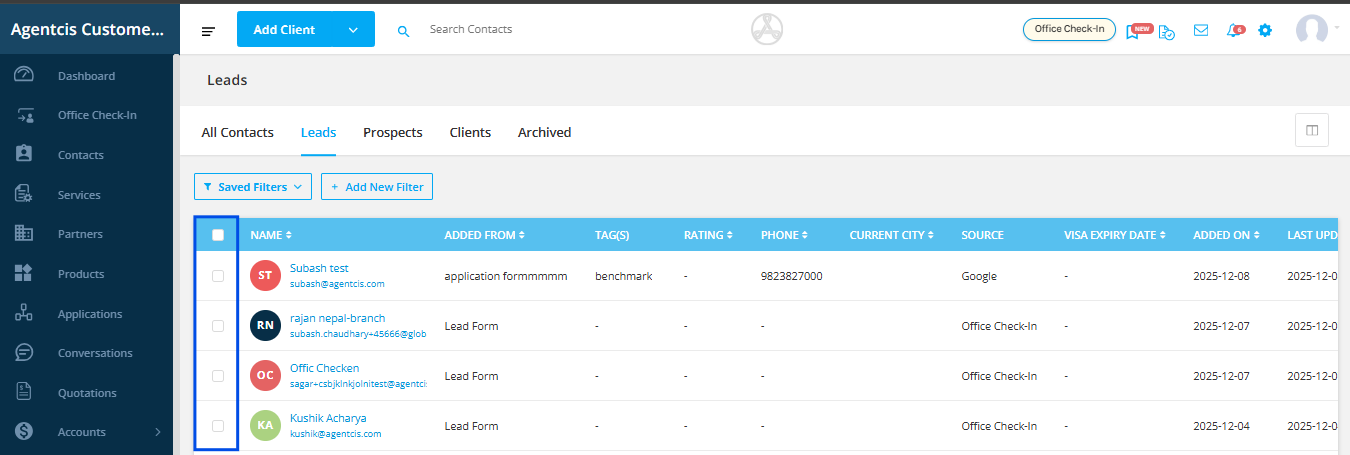
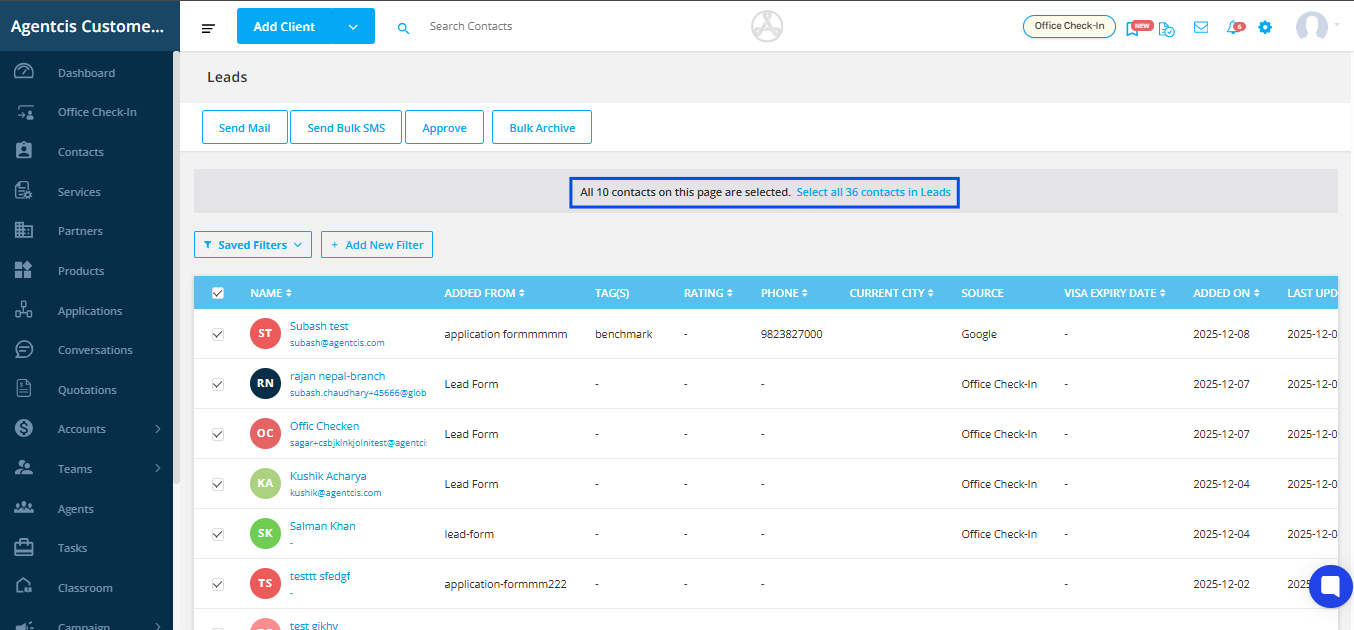
Step 4: Click on the checkbox to select the leads.
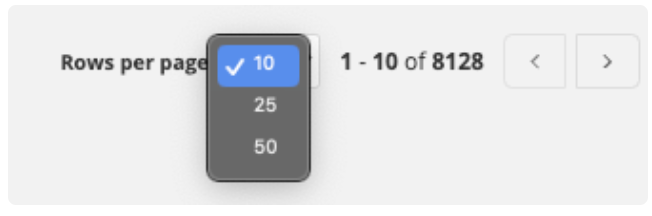
Note: The initial list will only show 10 rows of data by default. You can change this by selecting Rows per page according to your requirements. The max rows per page is 50.
If you want to select all the leads then click on the “Select all contacts in leads” option
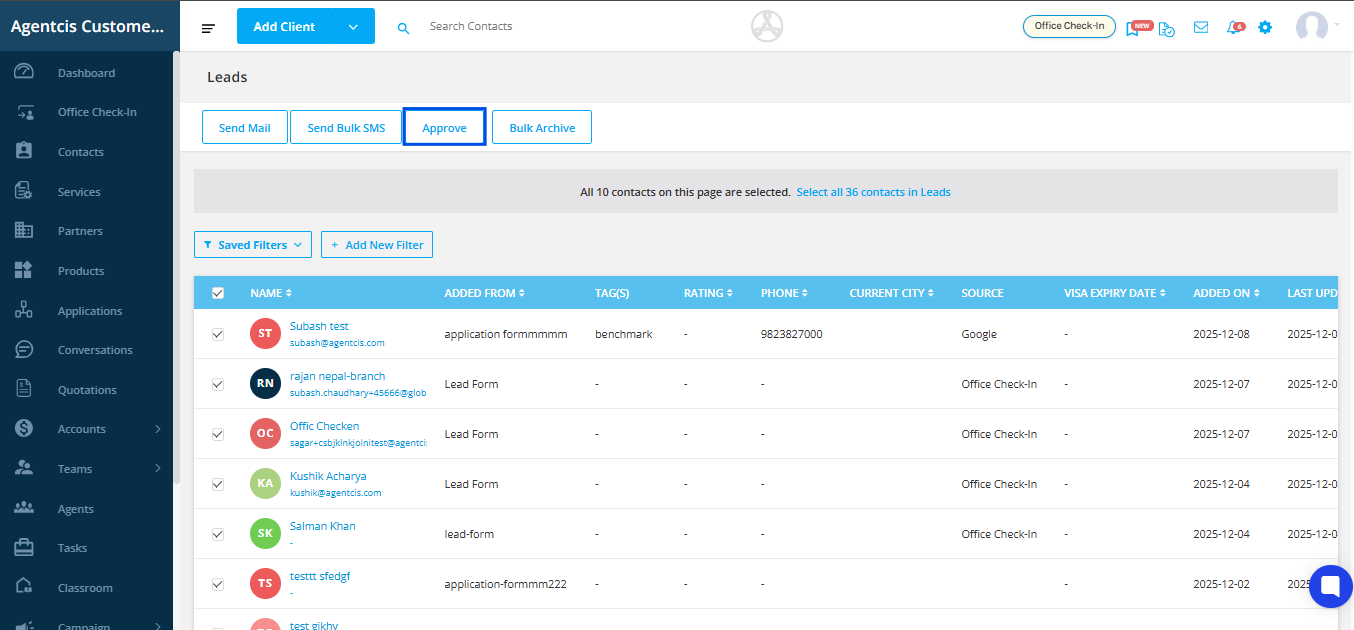
Step 5: Select the tab Approve from the top left corner.
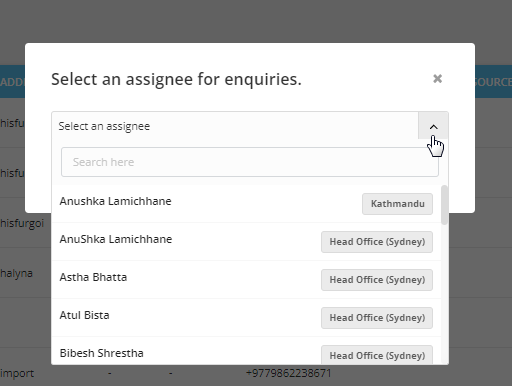
Step 6: Select the assignee from the dropdown to whom you will assign the leads.
Step 7: Select Approve Tab once you select the assignee.
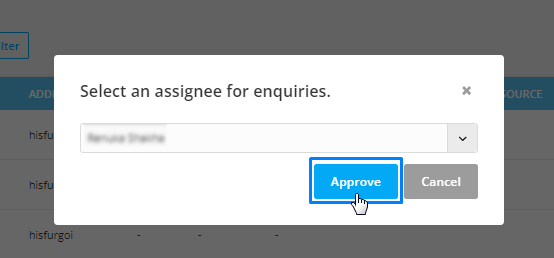
The leads are now assigned to the assignee and converted to the prospects and will be listed in the prospects tab.
