In Agentcis, you can easily assign a user to multiple clients at once, making your work faster and more convenient. Instead of adding clients one by one, the bulk assign feature lets you do it all in one go, saving you time and effort.
To assign clients in bulk, make sure you have the following permissions:

Then, follow these steps:
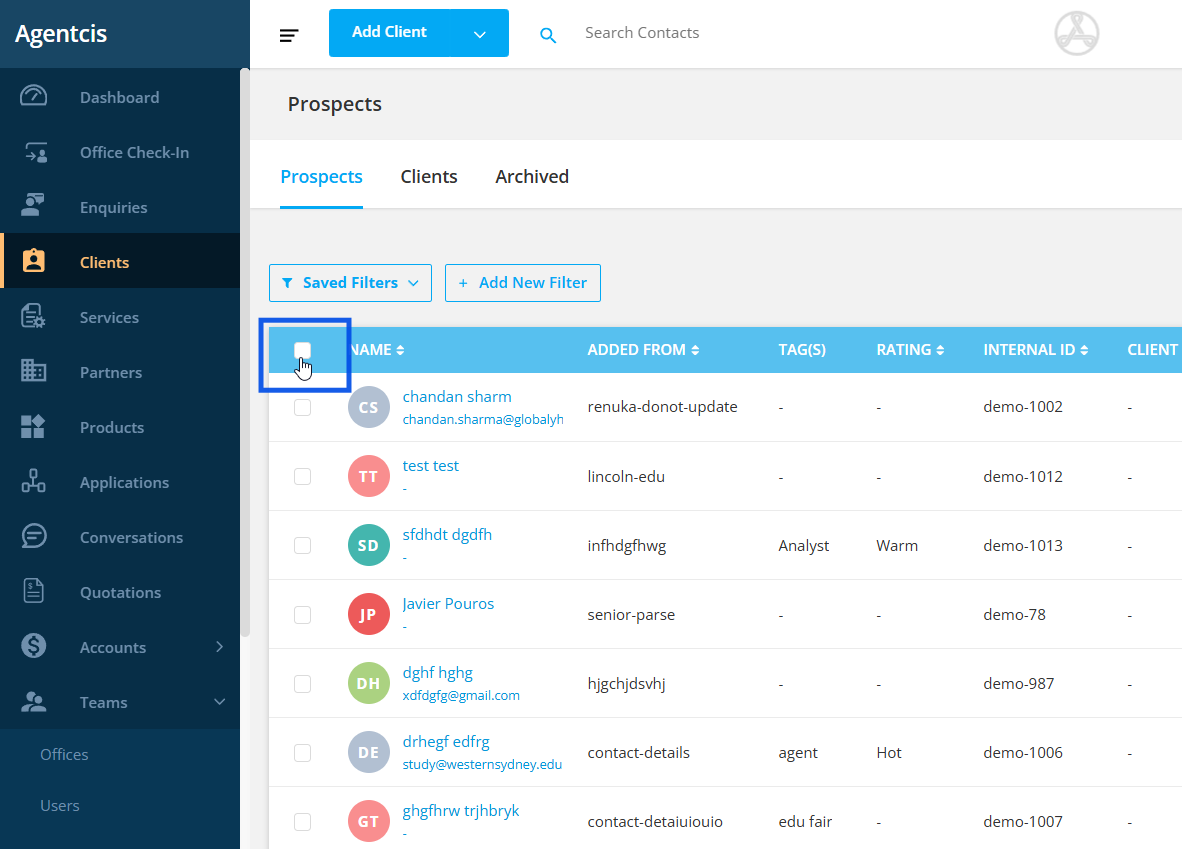
Step 1: Go to “Clients” from the left-side navigation bar.

Step 2: If you want to assign all clients of the office then click on this check box.
But if you need to assign a user to certain clients, you can use filters to find and select them easily. This way, you have more control over who gets assigned. To learn more about using filters, check out this link: https://support.agentcis.com/en/articles/348-filtering-and-viewing-specific-clients
Note: Once you apply the filters, you’ll get a list of just the clients you need, making it easier to assign them.
Step 3: Click on the checkbox to select all the clients. Or, you can also select respective clients individually.
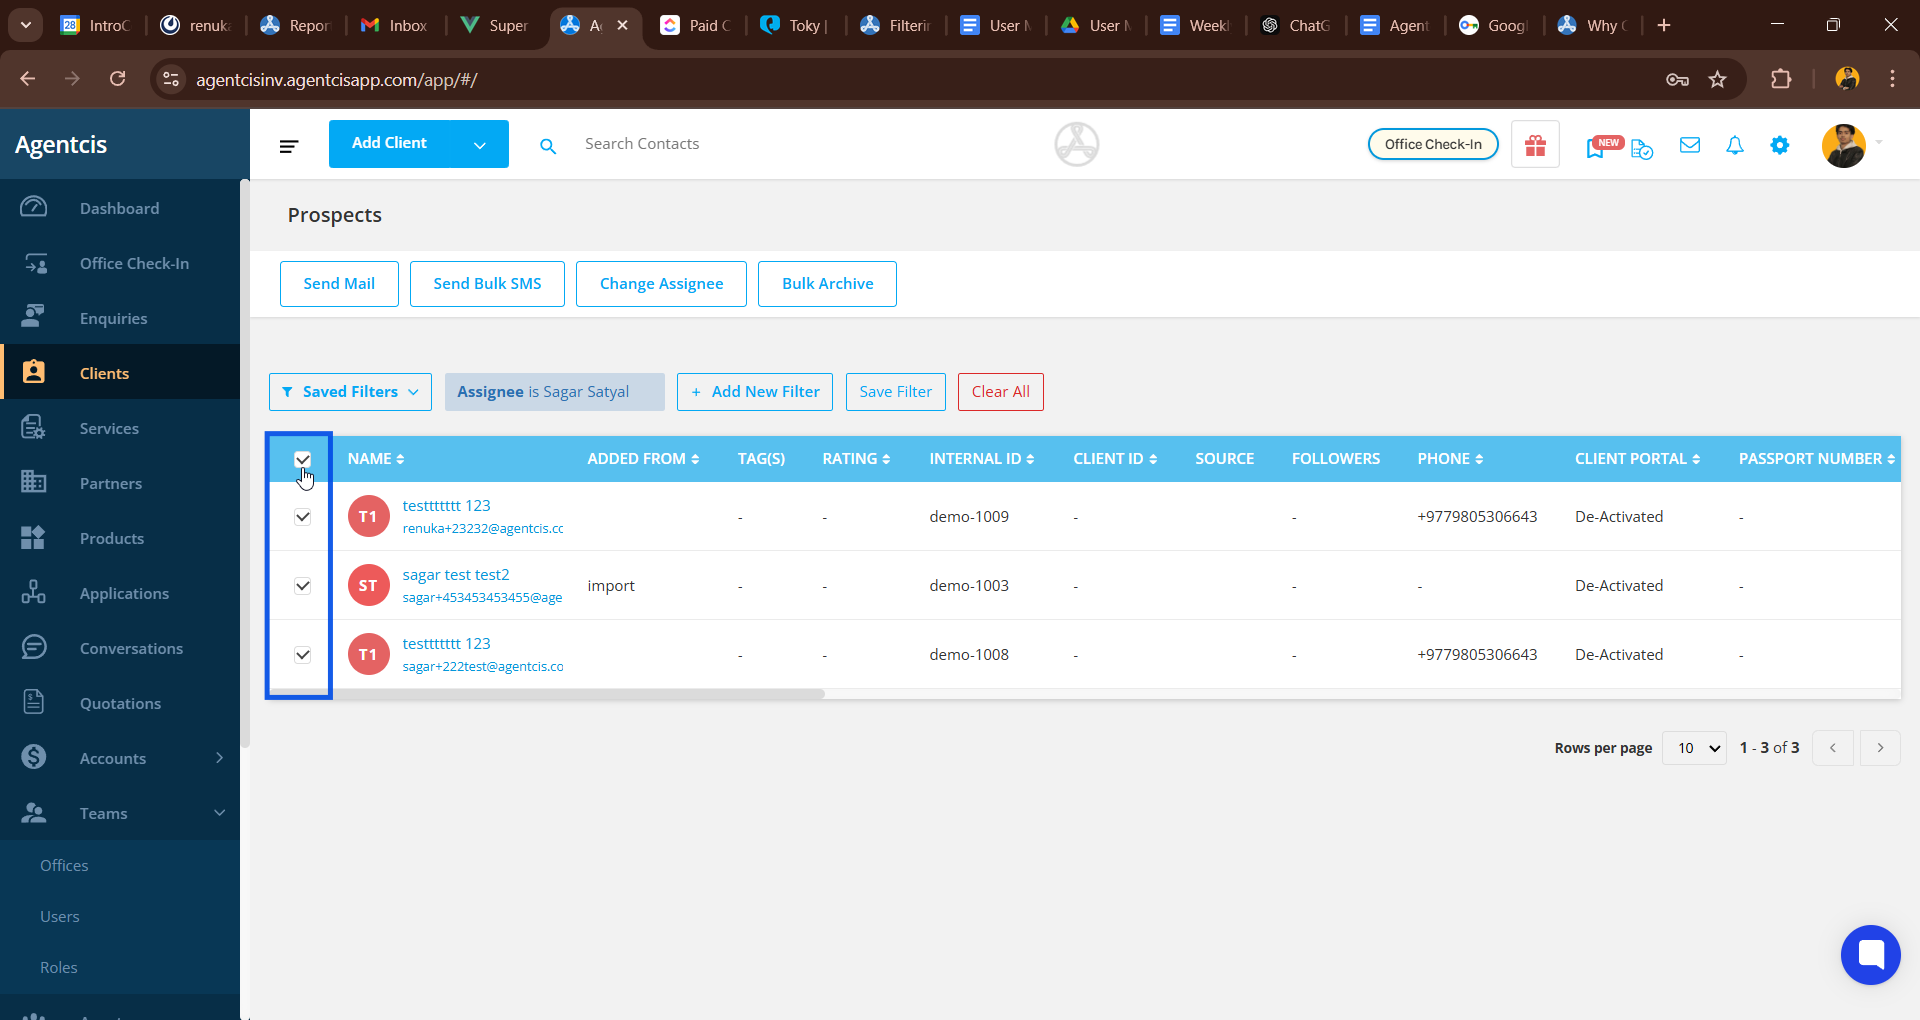
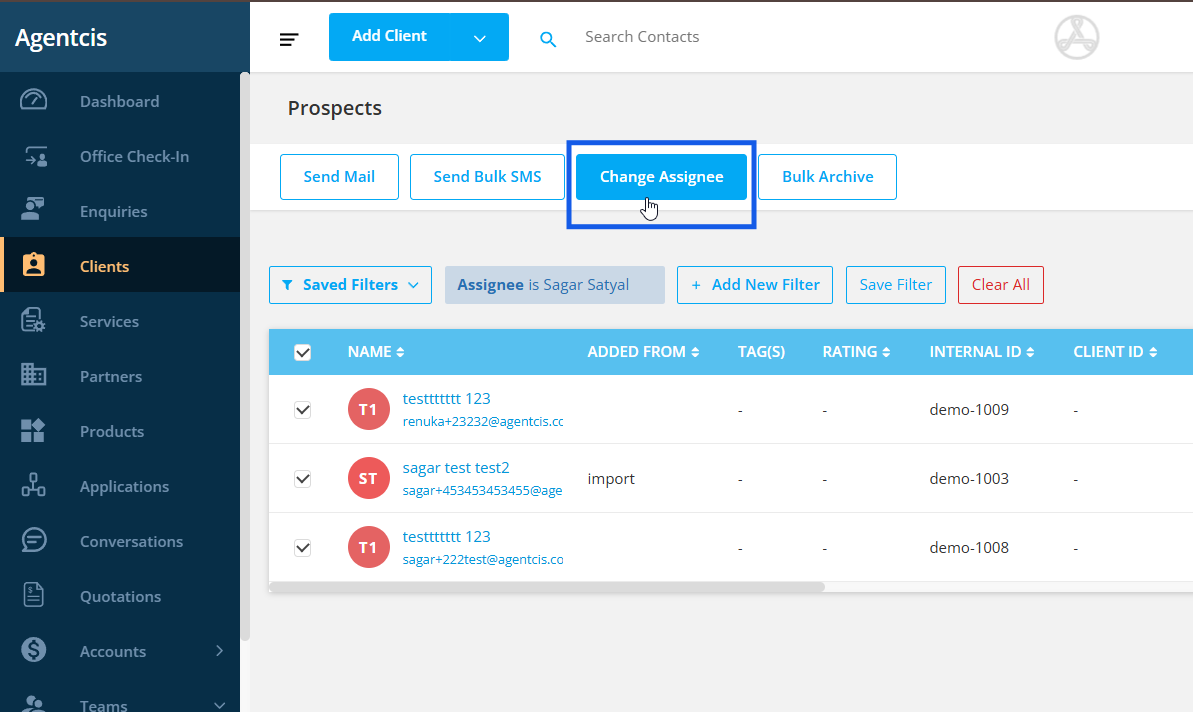
Once you select the checkbox/checkboxes, Change Assignee option will be visible at the top.
Step 4: Select on the “Change Assignee” option.
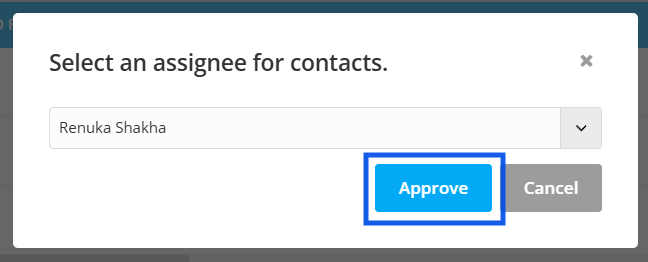
Step 5: Select an assignee from the dropdown list.

Step 6: Click on Approve.
You will receive this popup message at the top of your page.