The new Contacts module combines Enquiries, Prospects, and Clients into one place, making it easier to manage and track them. This removes the need to switch between tabs, saving time and improving efficiency. With all contacts in one location, businesses can organize communication, follow-ups, and conversions more effectively.
With in the contact module you will be able to find the following options.
1. All contacts
2. Enquiries
3. Prospects
4. Clients
5. Archived
Learn more about the contacts from the following link: https://support.agentcis.com/en/articles/32-understanding-contacts
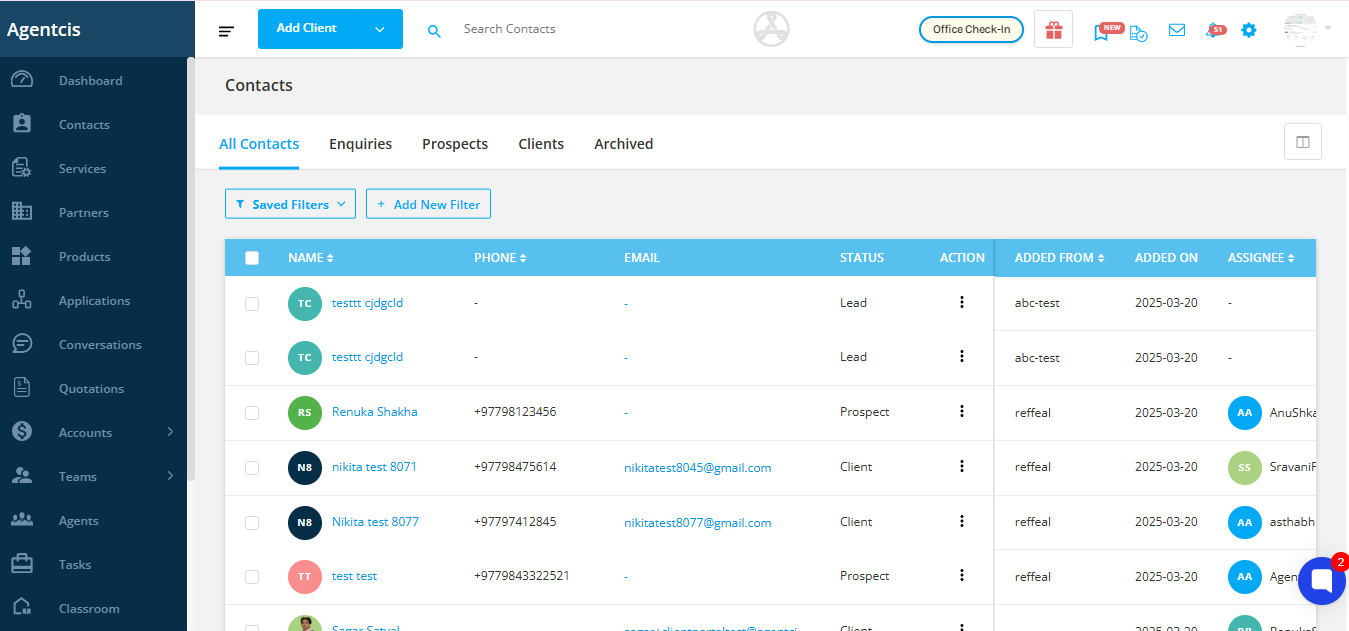
Contact listing Page is now more organized, customizable, and easy to manage. With the latest update on the Contacts Listing page, it is easier for you to:
1. Re-arrange Columns the way you want.
2. Quick and Easy Action
3. Easy Filters
4. Import Action
Follow the following steps for the actions on the listing page.
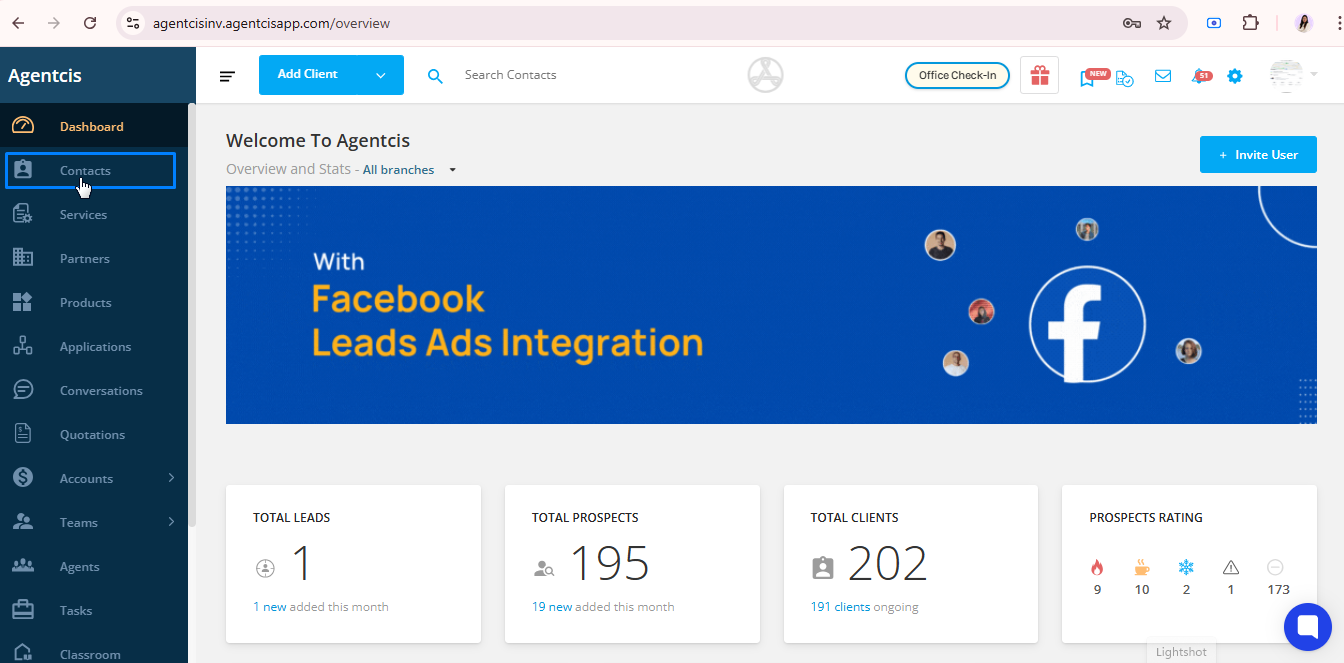
Step 1: Select Contacts from the side navigation bar.
Step 2: Select All contacts
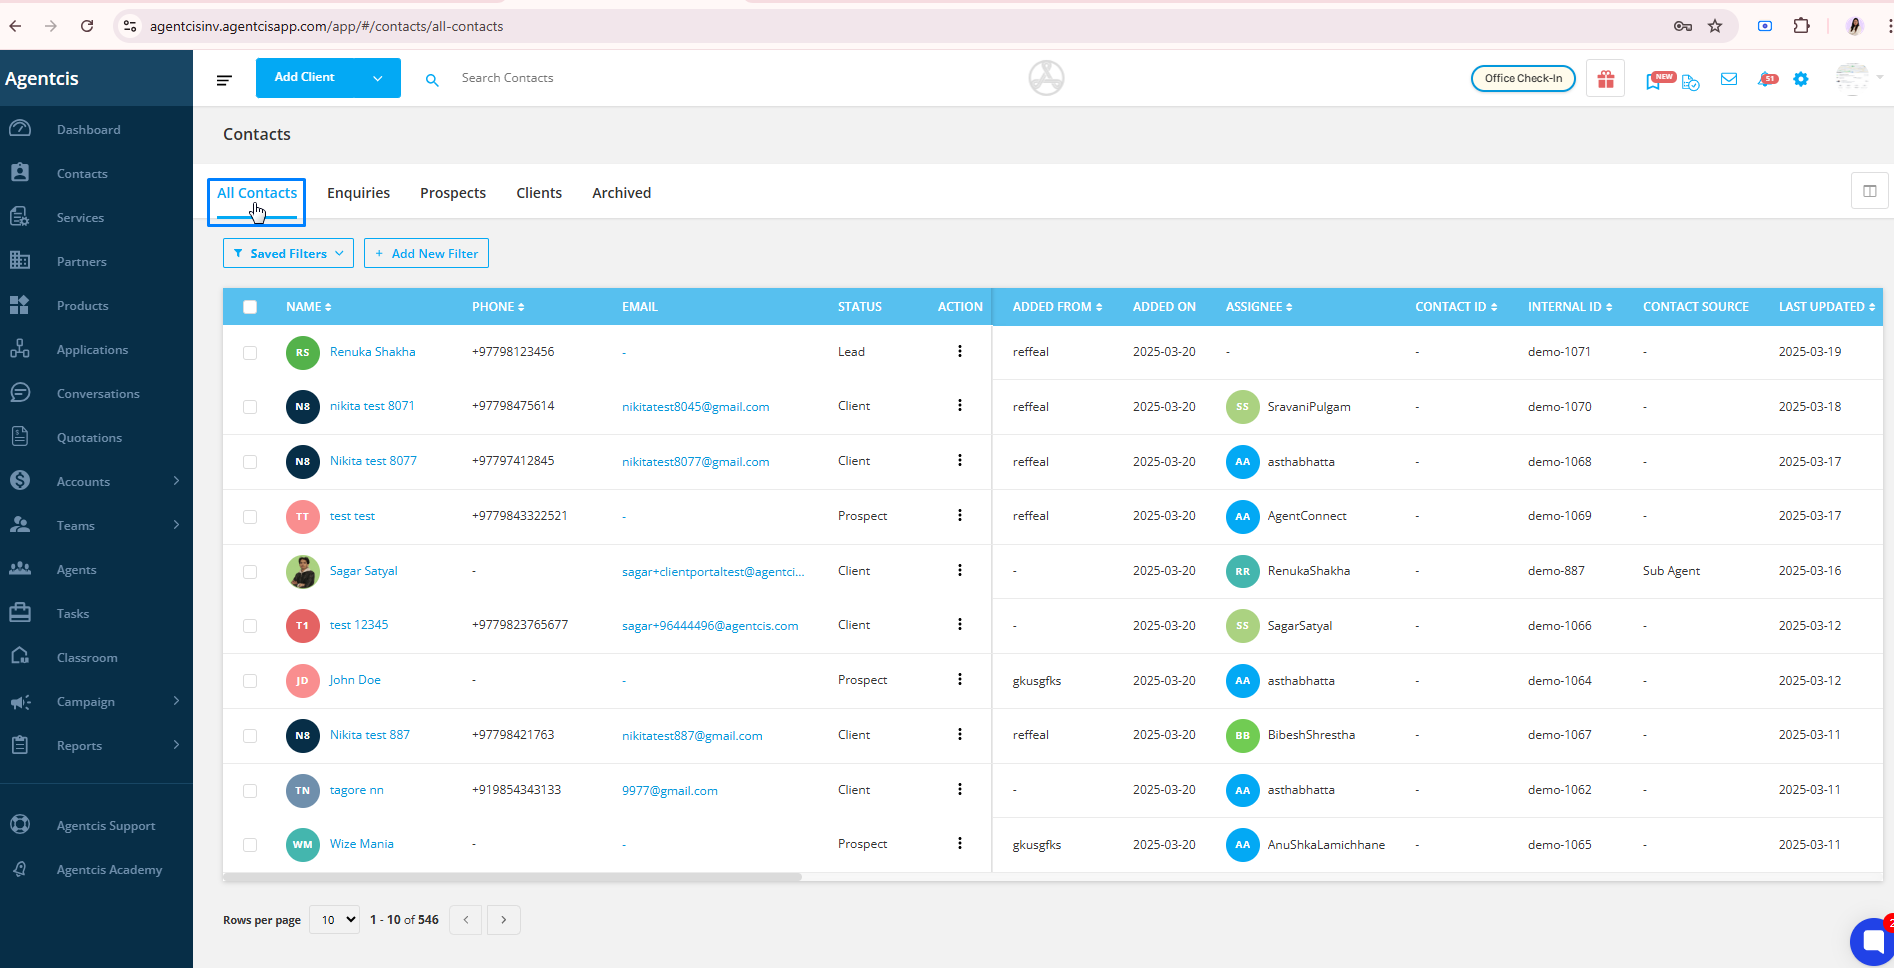
Step 3: You can select the columns to be displayed in the list. For this click on the “Display Filter” icon.

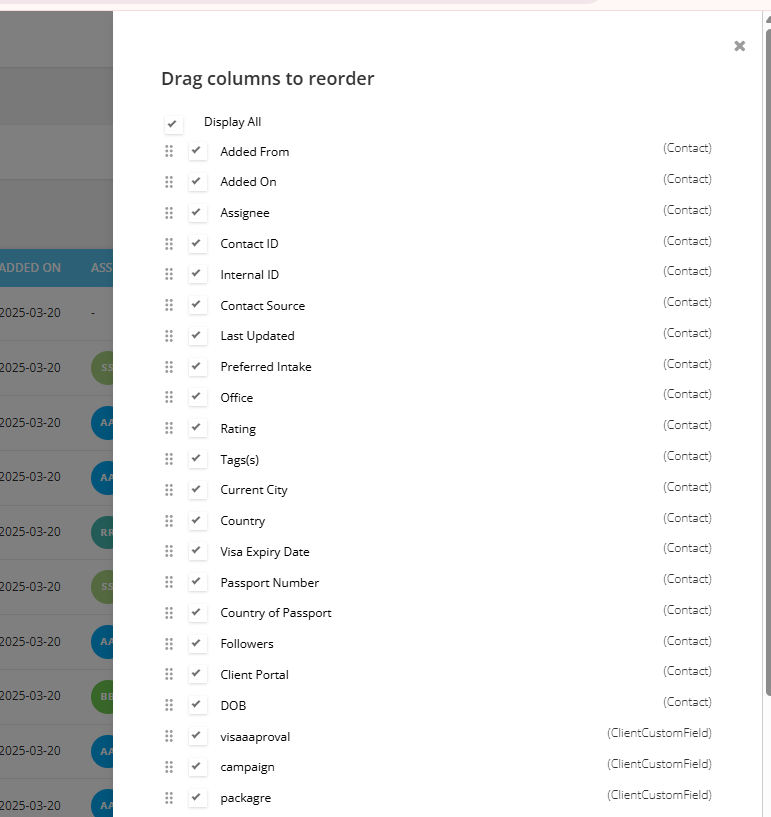
Note: The first four columns which is(Name, Phone, Email, Status) can not be controlled for the display.
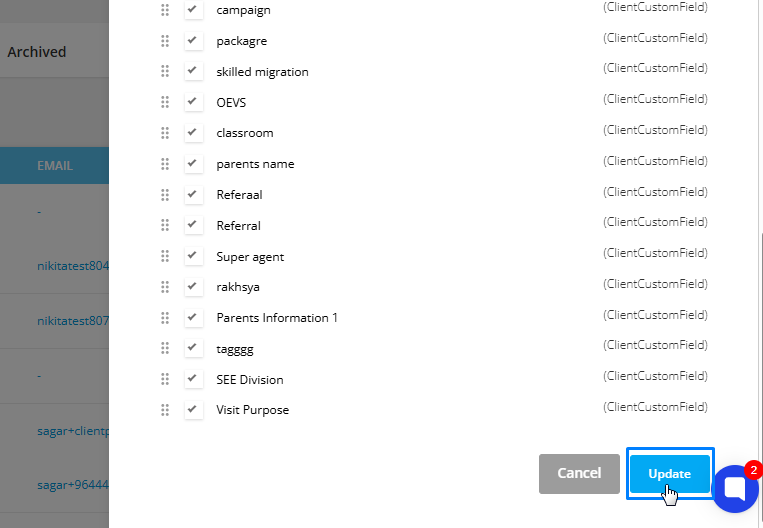
Step 4: Use the New drag and drop feature inside the Display Filter to rearrange the columns in the way you want in the list. For this click on the dots icon then drag and drop to the place you want.
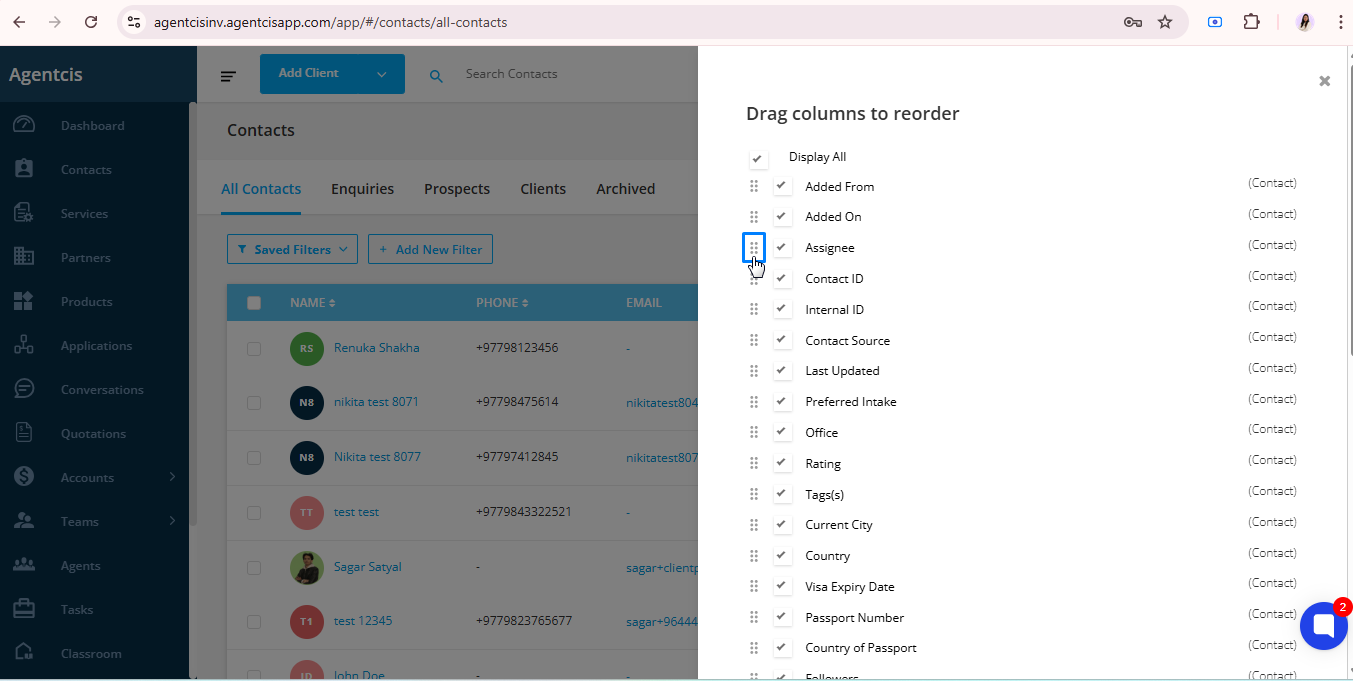
Step 5: Once complete click on update.
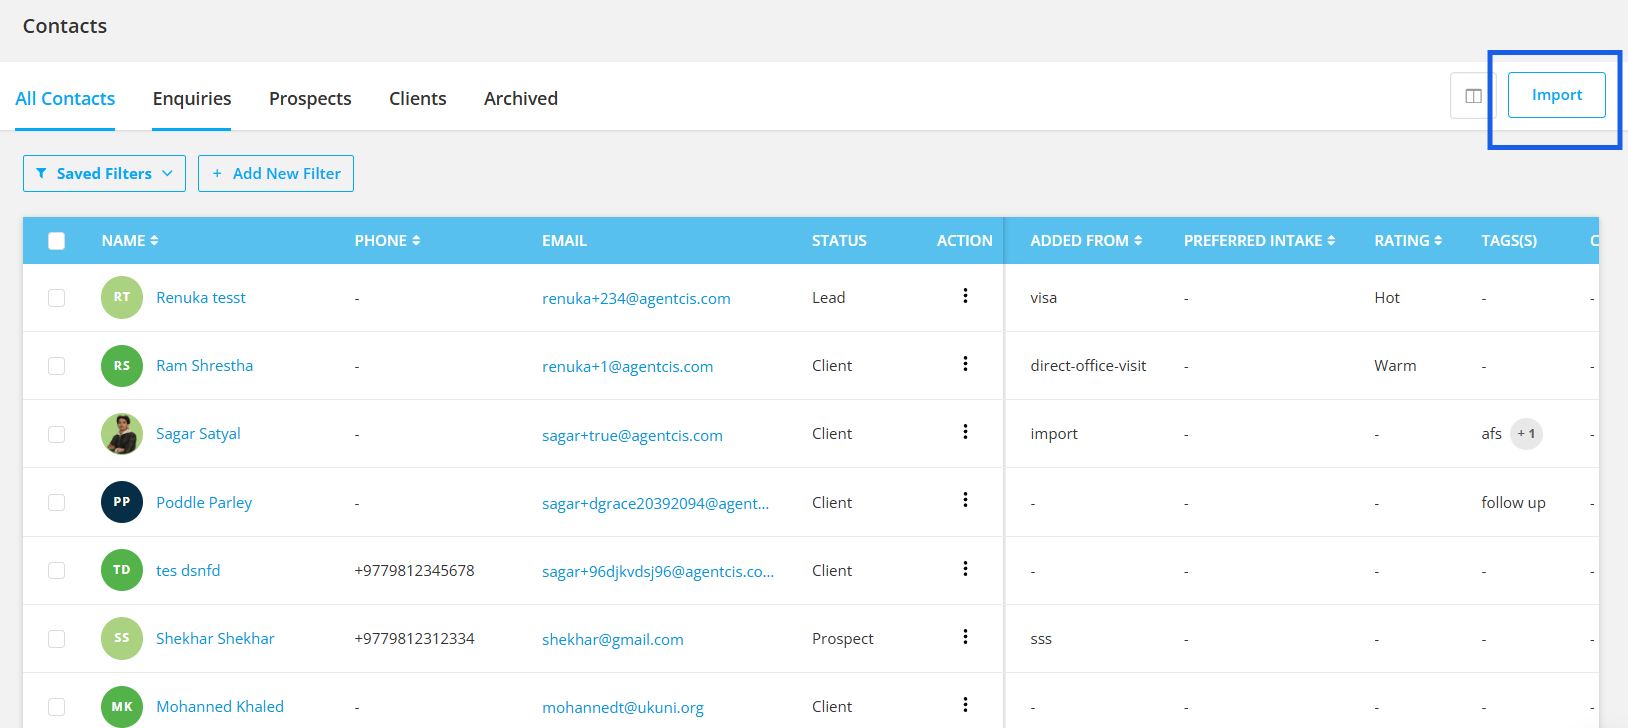
A new enhancement has been introduced to streamline contact management — users can now import contacts directly from the Contacts Listing Page. With the addition of an import toggle located at the top right corner of the page, the process has become significantly more convenient.
This feature eliminates the need to navigate to Settings > Data Import, allowing users to initiate contact imports with just a few clicks, right where they're already managing their contacts.
Now, whether you're adding a handful of new entries or bulk importing a contact list, everything can be done faster and more intuitively — all from the Contacts Listing Page.
For more info regarding the Contact Import, please go through this article:
Advanced Contact Import
Learn how to import contacts in bulk
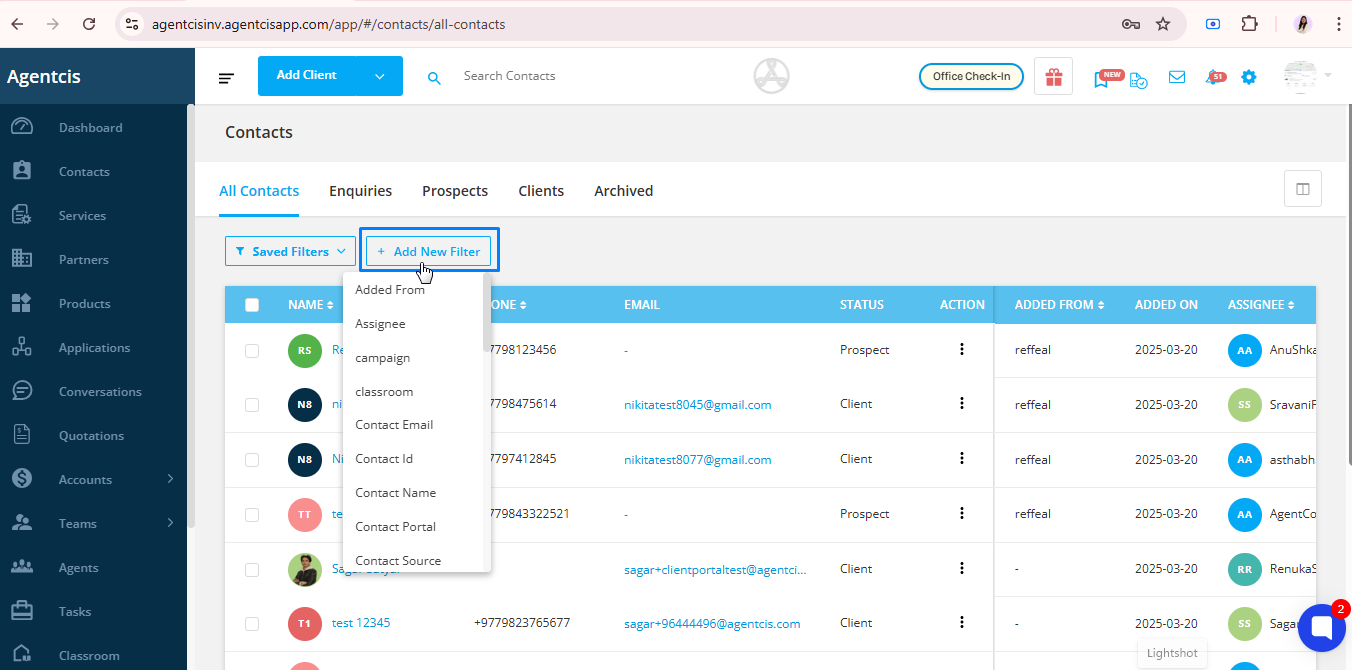
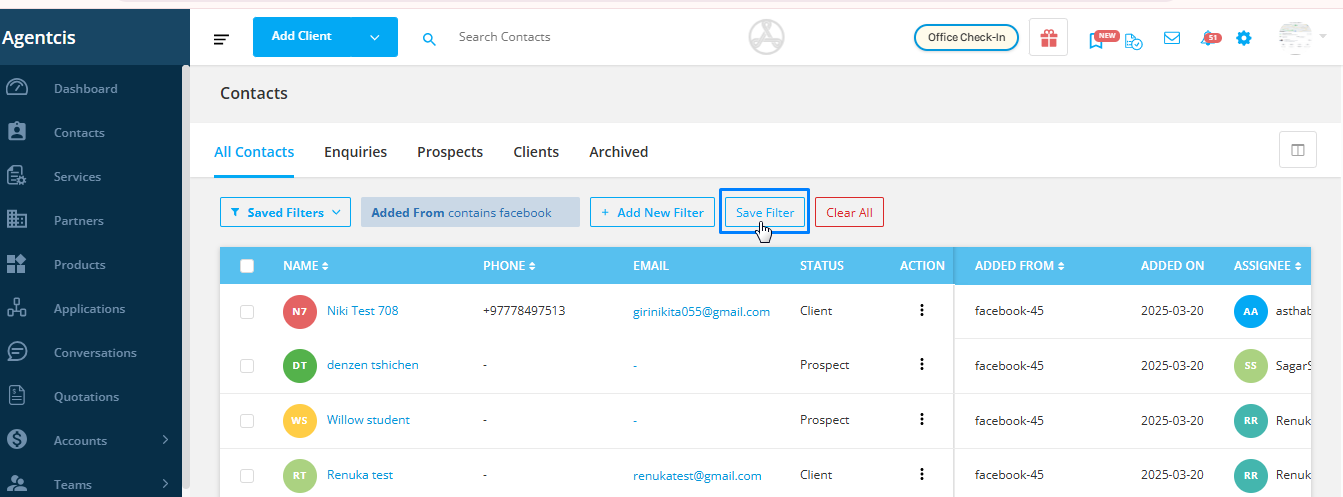
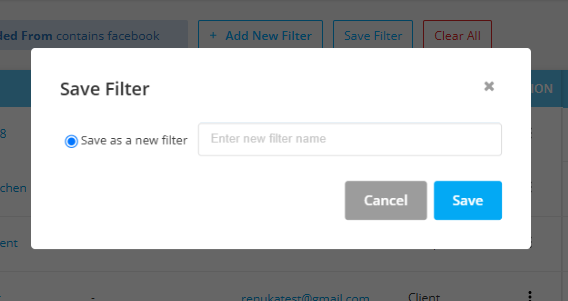
To filter the contacts based on a particular field, select add "New Filter" and select the required filter from the drop-down list.