In Agentcis, you can add notes and manage them by sorting based on created date, last modified date, or alphabetically by title (A–Z or Z–A). This makes it easier to quickly find the information you need—whether you want to review the most recent updates, revisit older records, or organize notes in a structured way for better clarity and efficiency.
Learn how to add notes from the following link: https://support.agentcis.com/en/articles/91-adding-notes
Follow the following steps to sort the notes
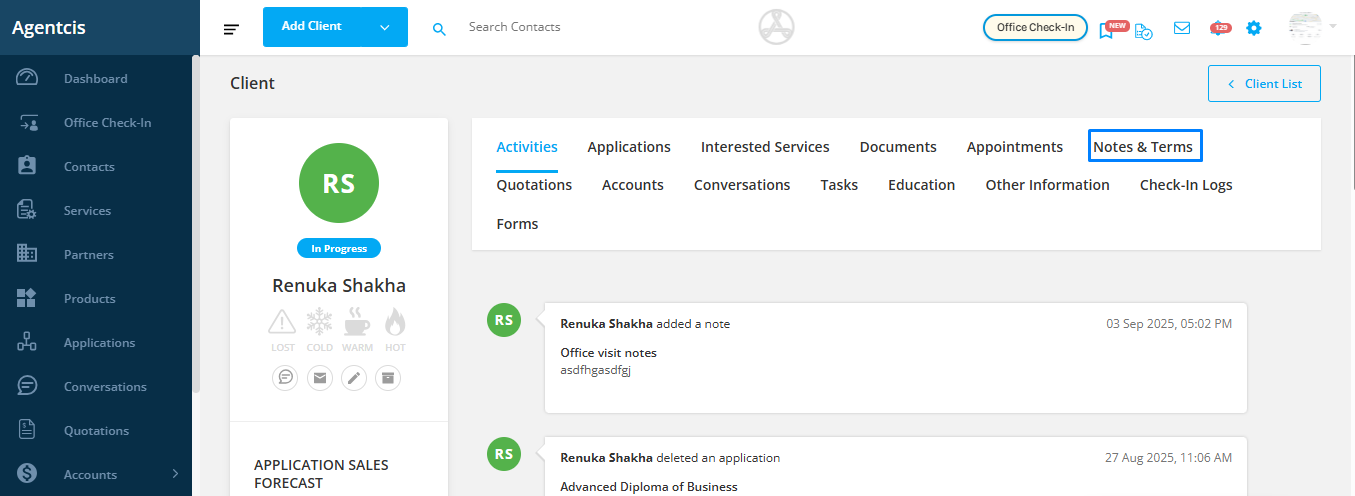
Step 1: Access the Notes & Terms Tab
Go to the contact profile.
Click on the “Notes & Terms” tab.
All your notes for that particular contact will be stored here in one place, making them easy to access and manage.
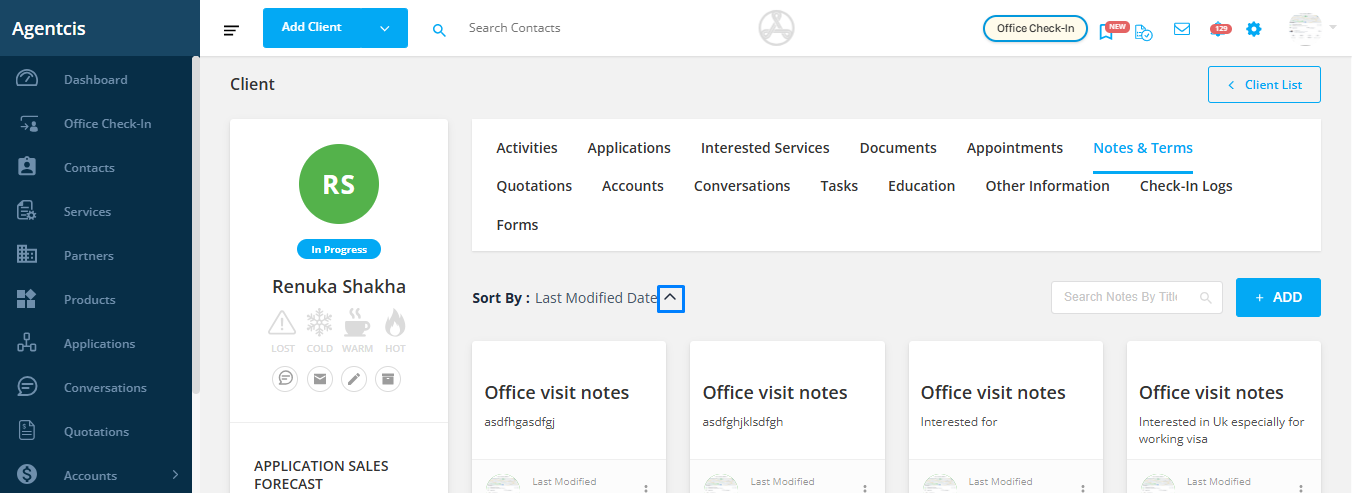
Step 2: Click on the Dropdown option Beside “Sort By”
Locate the Sort By option and click on the arrow next to it.
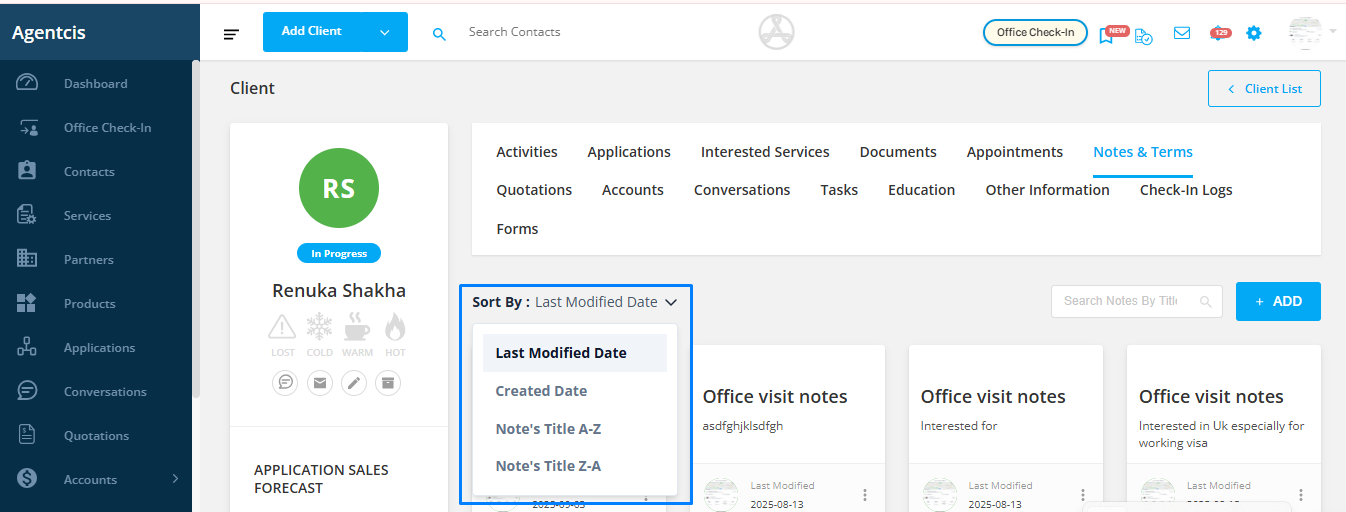
Step 3: Choose a Sorting Option from the Dropdown
The following sorting options are available:
Last Modified Date
Shows the notes with the most recent changes at the top.
Example: If you updated a note today, it will appear above a note created last week but not modified recently.
Last Created Date
Lists the notes based on when they were originally created, with the newest at the top.
Example: A note created yesterday will appear above one created a month ago, regardless of edits.
Note Title A–Z
Sorts notes alphabetically from A to Z by their title.
Example: Application Details will appear before Visa Update.
Note Title Z–A
Sorts notes alphabetically from Z to A by their title.
Example: Visa Update will appear before Application Details.