Products are the actual services or offerings provided by the institutions, colleges, visa provider and so on. They can include:
Academic courses (e.g., Bachelor of Nursing, Diploma in IT)
Visa subclasses (e.g., Student Visa Subclass 500)
Rental services (e.g., student housing)
Insurance policies (e.g., Overseas Student Health Cover)
Adding a product in the system is a simple process, but it's important to ensure you have the required permission before proceeding. If you're unsure, please check with your system administrator.

You can add products in the system in two ways:
Manual Entry – Add each product individually by filling out a product form. Ideal for adding custom or unique offerings.
Import from Agentcis Database – Quickly pull product data from the Agentcis database if the product already exists there. This saves time and ensures accuracy.
To learn how to import Partners and Products from the Agentcis database, refer to the following guide: https://support.agentcis.com/en/articles/152-importing-partner-and-product-from-agentcis-database
From the system’s main dashboard, navigate to the "Product" section. This is available in the left-hand navigation menu.

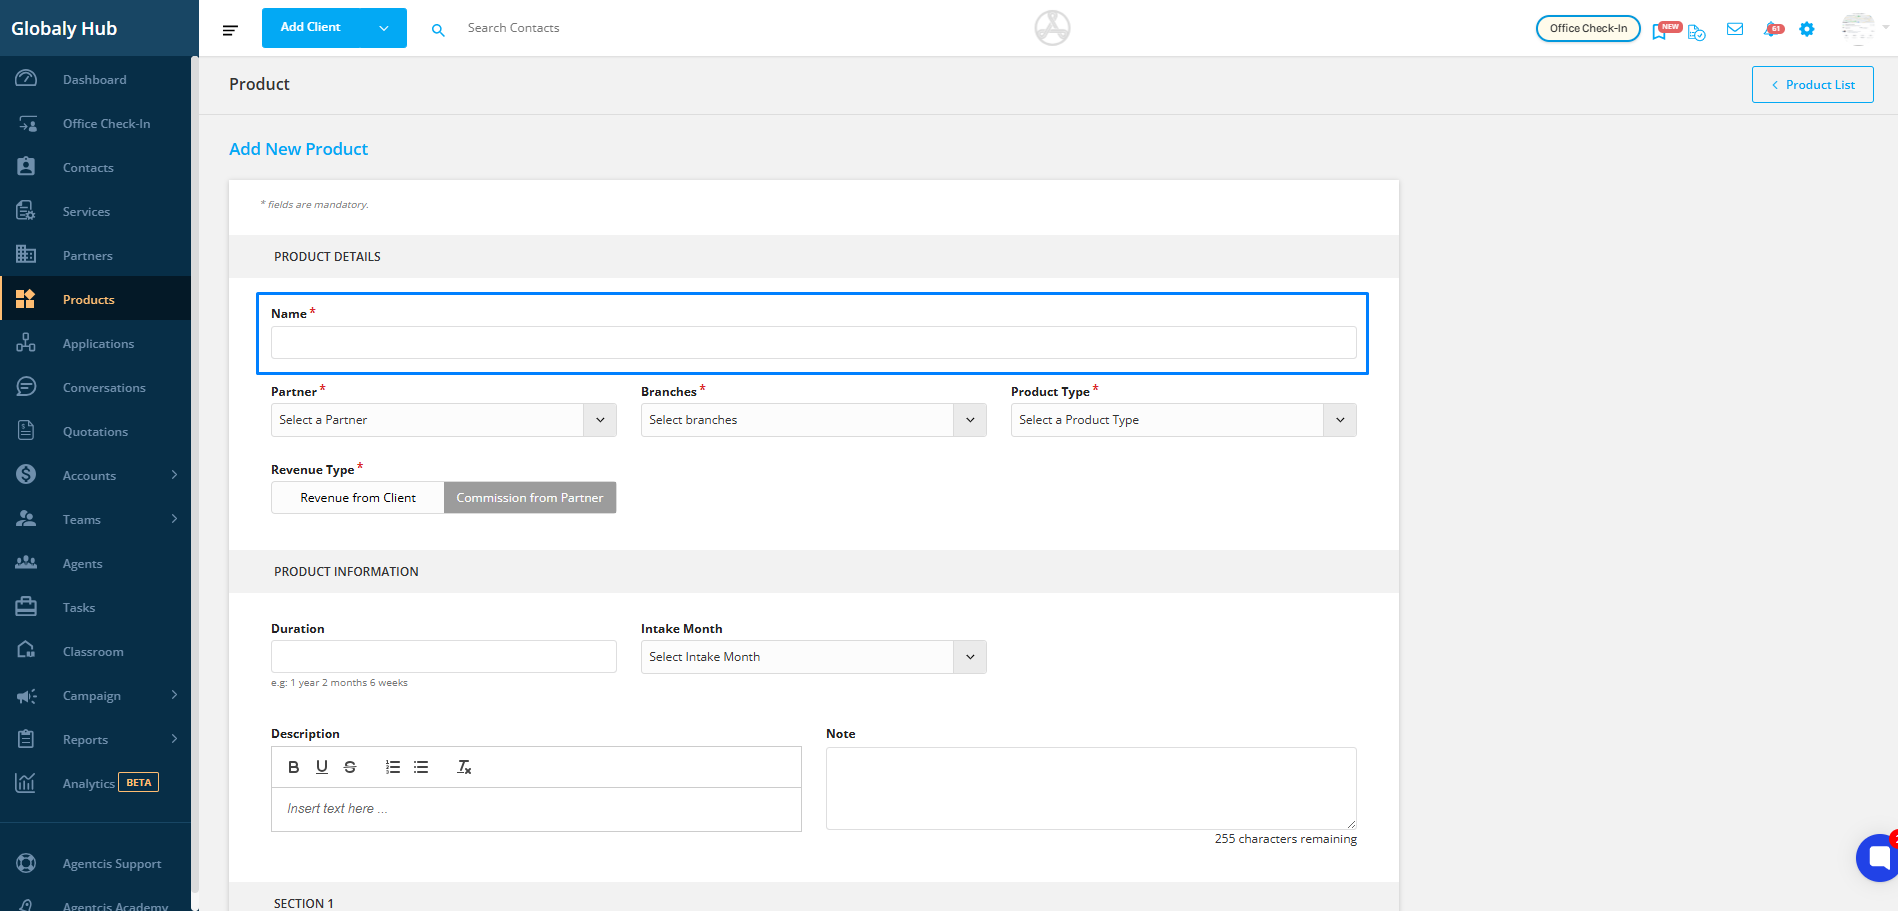
On the product listing page, click the “Add” button on the top right corner. This opens the form to create a new product.

Provide the official name of the product. Use a clear and consistent name that matches how your organization usually names products
Example:
Bachelor of Business Administration – University of Sydney
IELTS Preparation – 8 Weeks
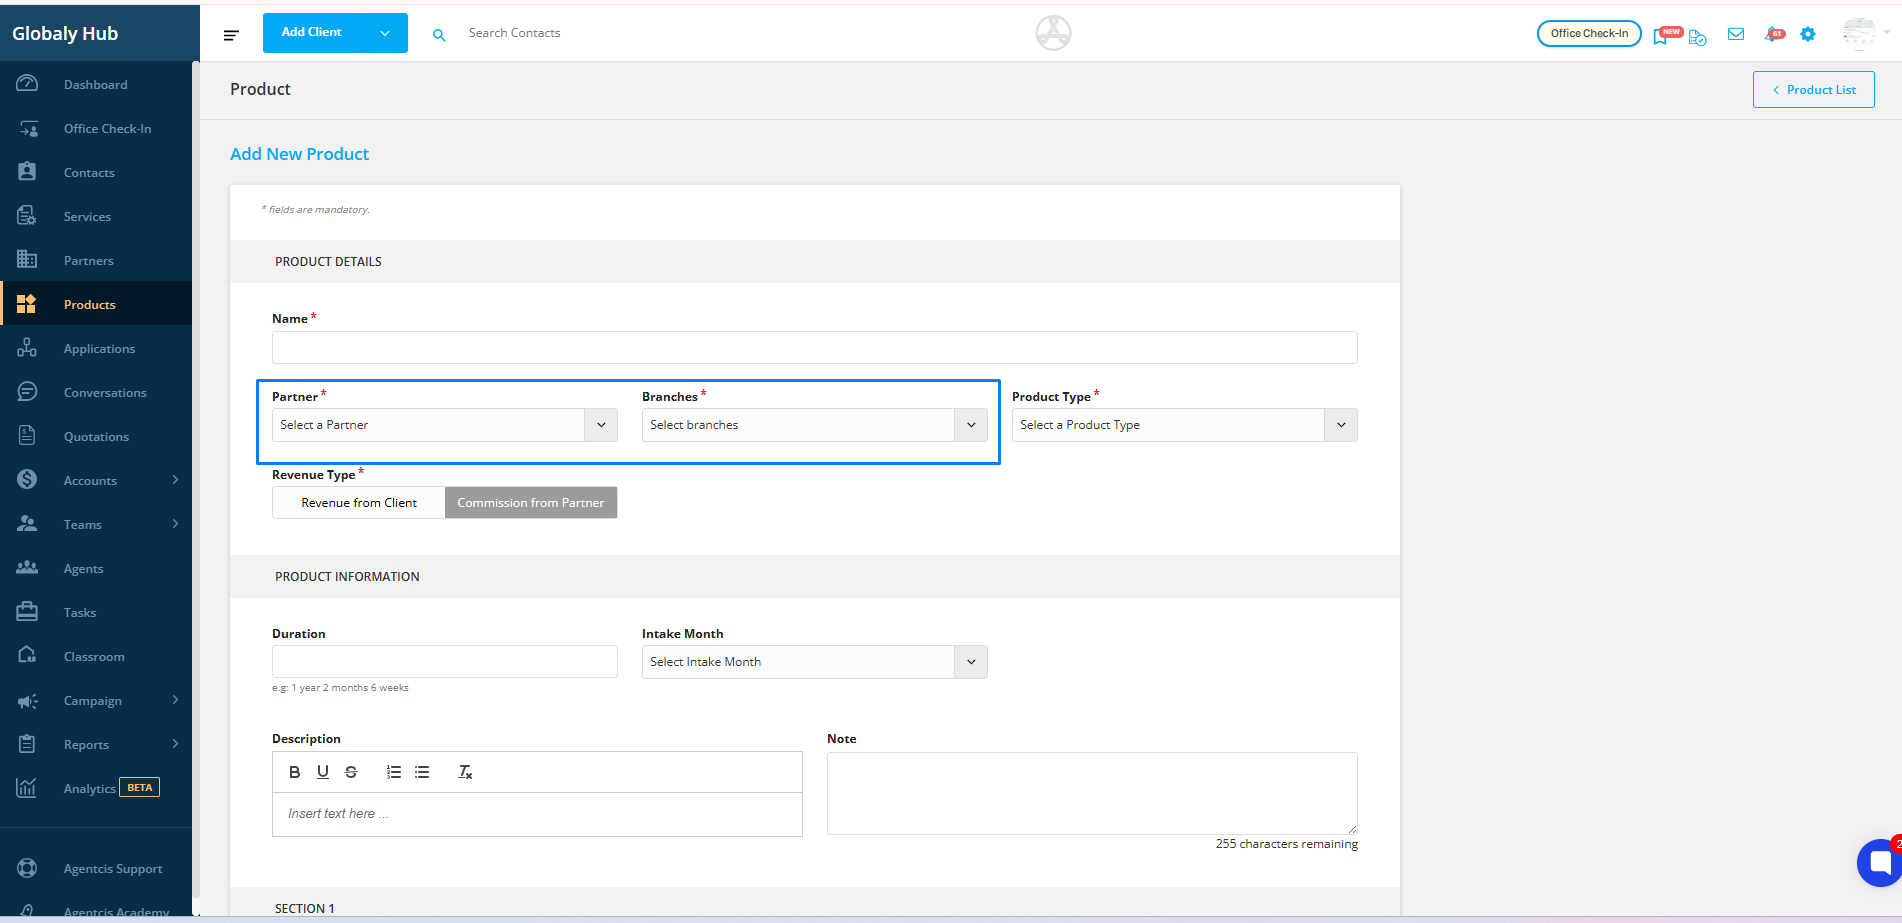
Choose the Partner offering the product and link the relevant Branch(es) where it's available.
Example:
If the product is offered by University of Sydney, select this partner and choose the branch as Sydney Campus.
Select the appropriate Product Type from the available options. This helps in organizing and filtering products later.
Examples:
Course
Test Preparation
Migration Service
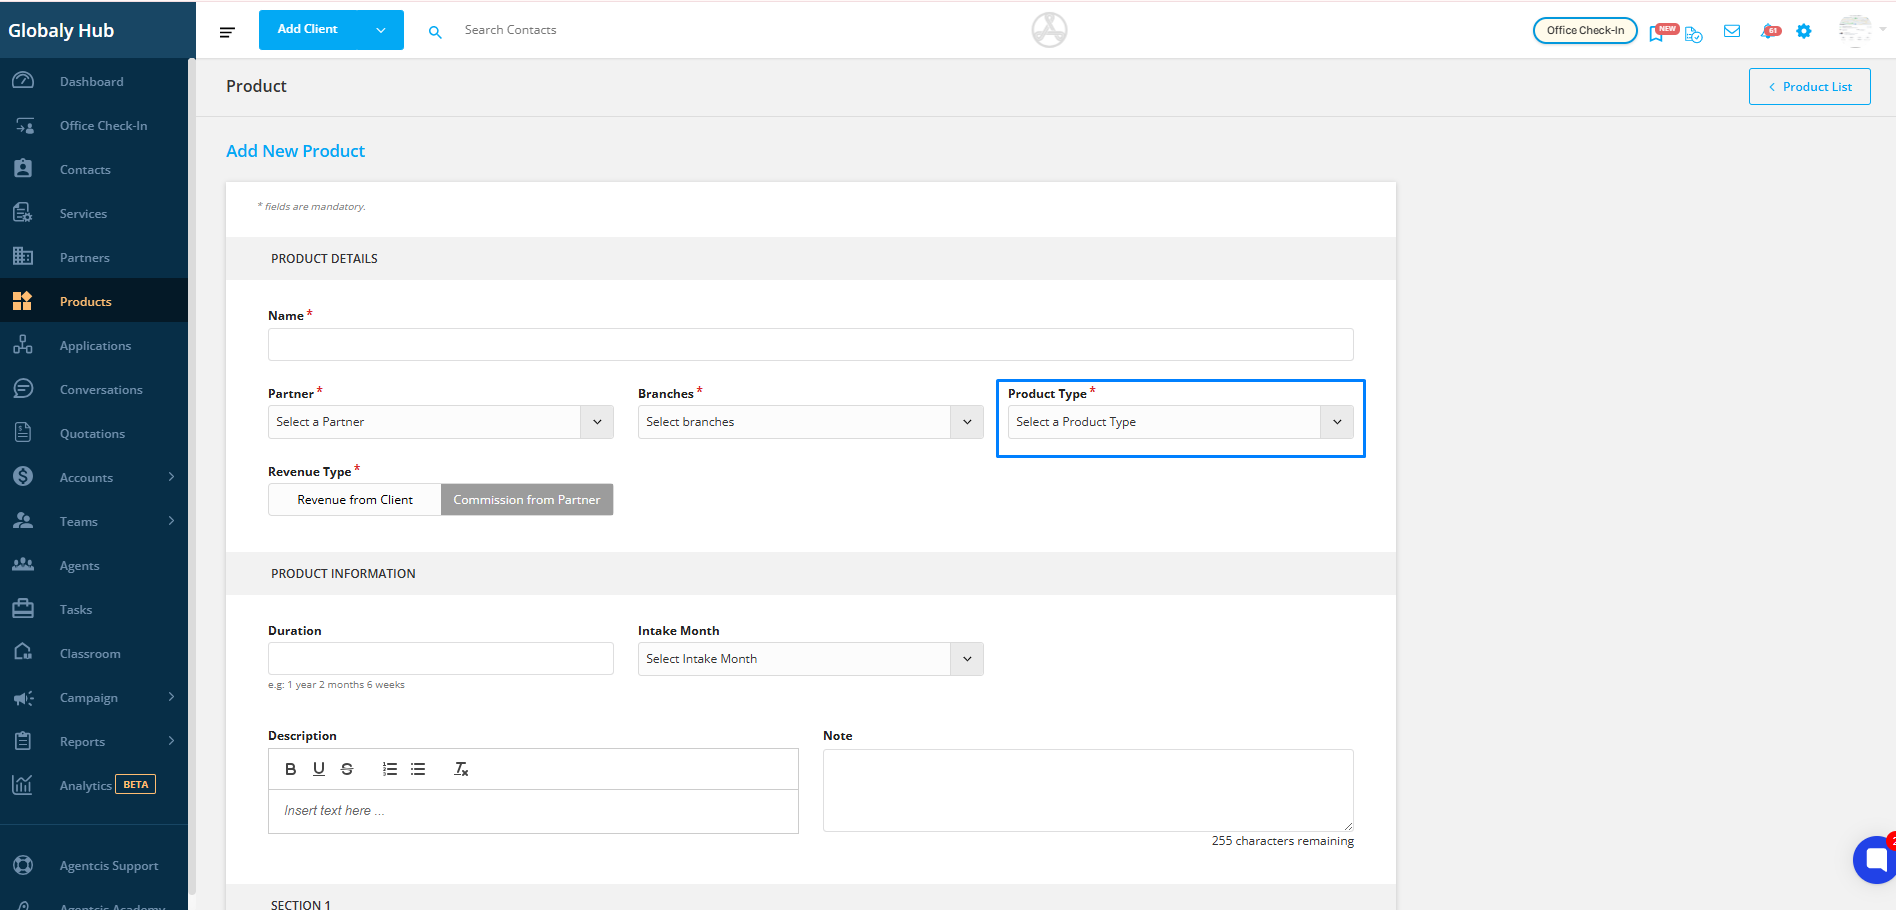
Note: You can customize and add new options for Product Type based on your organization’s needs.For step-by-step guidance, refer to this link: https://support.agentcis.com/en/articles/201-adding-partner-and-product-type
Step 6 – Define the Revenue Type
Specify how revenue is generated from the product:
From Client – when the client pays directly.
From Partner – when the revenue is in the form of a commission or incentive from the partner.
Example:
IELTS Coaching may be client-paid.
University Enrollment may be partner-commissioned.

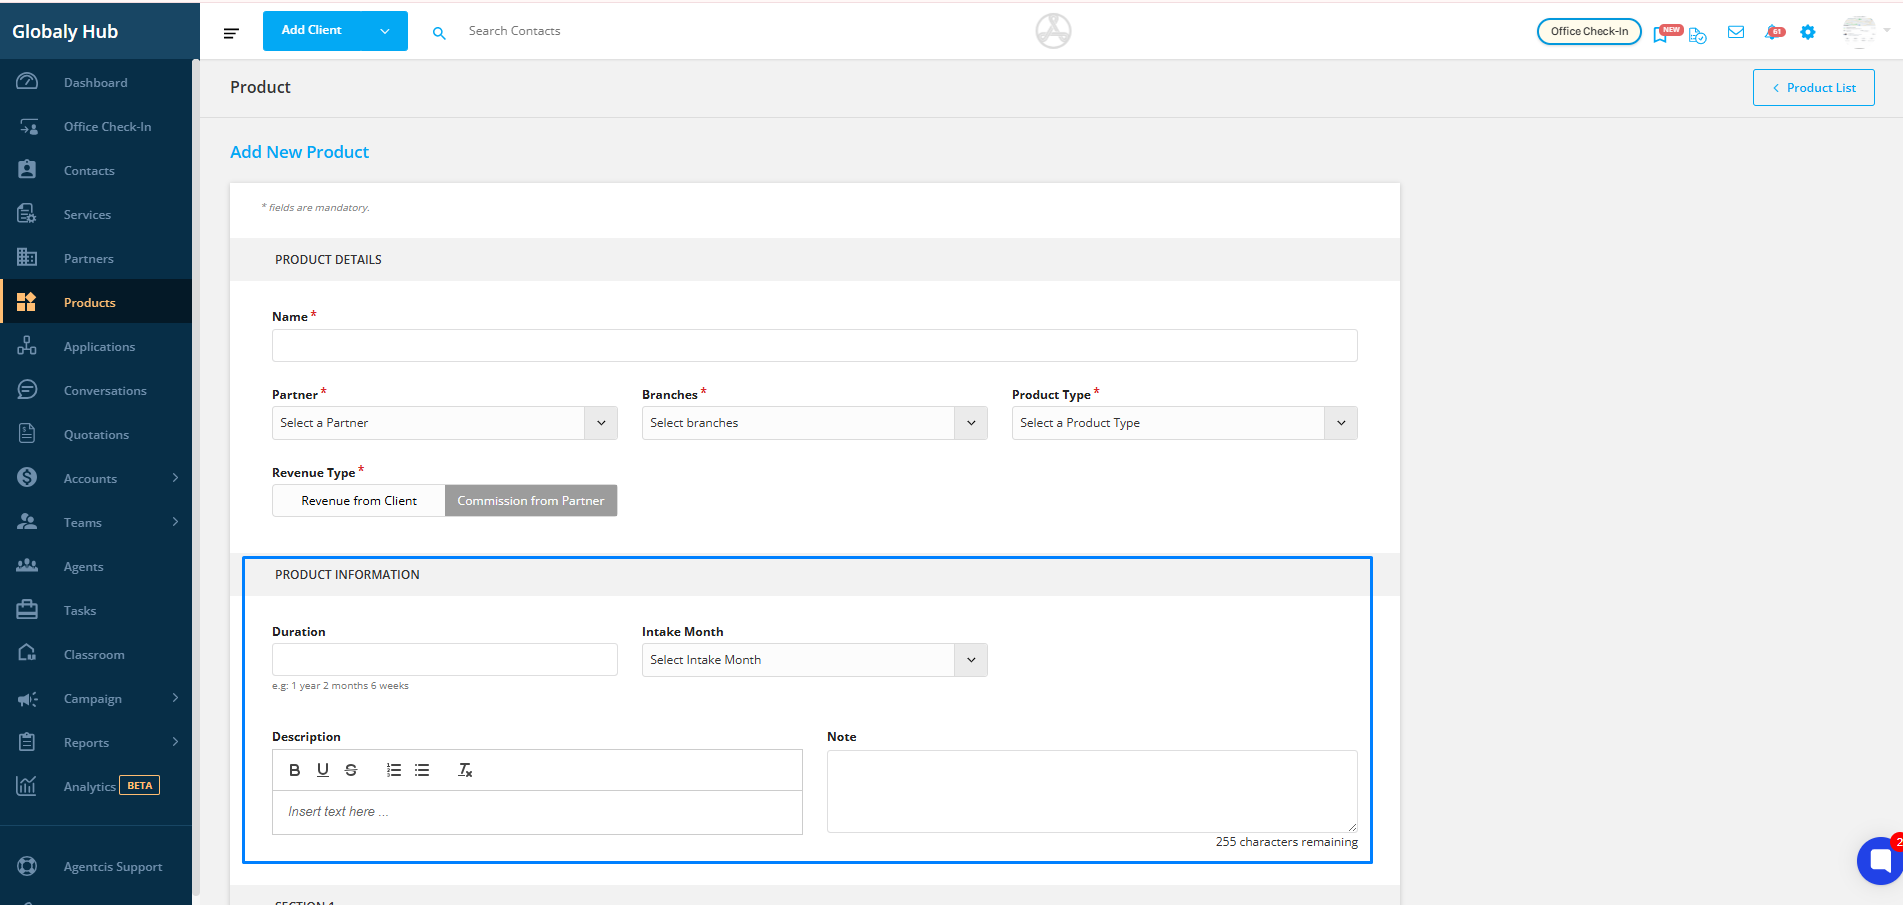
Fill in optional but useful details to make the product listing more informative:
Duration (e.g., 3 Years, 6 Weeks)
Intake Month (e.g., February 2025, Rolling Intake)
Product Description – a brief overview of the product
Notes – internal notes for team members (not visible to clients)
After entering all the necessary details, click the Save button to add the product to the system.

