A Net Commission Invoice is used when you collect the full payment from a student—like tuition fees. The agent then keeps their agreed commission and sends the rest to the partner institution (university or college).
It’s a simple way to handle payments: instead of the institution paying the agent separately for their commission, the agent just deducts it upfront and passes on the remaining amount. This makes things faster and easier for both sides.
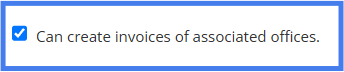
To create a net commission invoice, please make sure you have the permission to do so:
Then, follow the given steps:
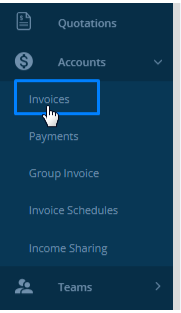
Step 1: Select Accounts from the Side navigation bar and then select Invoices.
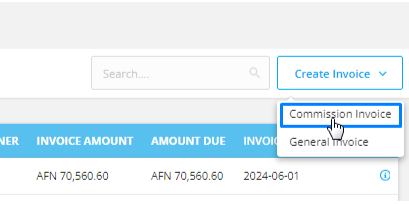
Step 2: Select Create Invoice on the top right corner.

Step 3: Select Commission Invoice from the dropdown.
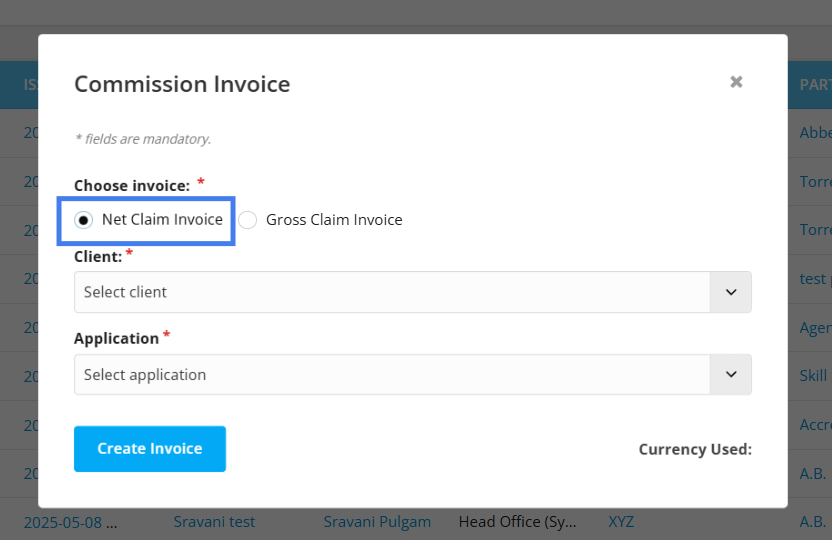
Step 4: In the pop up form, select Net Claim Invoice.
Don’t know about Net/Gross Claim Invoice?
Please go through this link:
Different categories of Invoices in Agentcis
"Agentcis offers various invoice types, including General and Commission invoices, each with subtypes for different transaction scenarios."
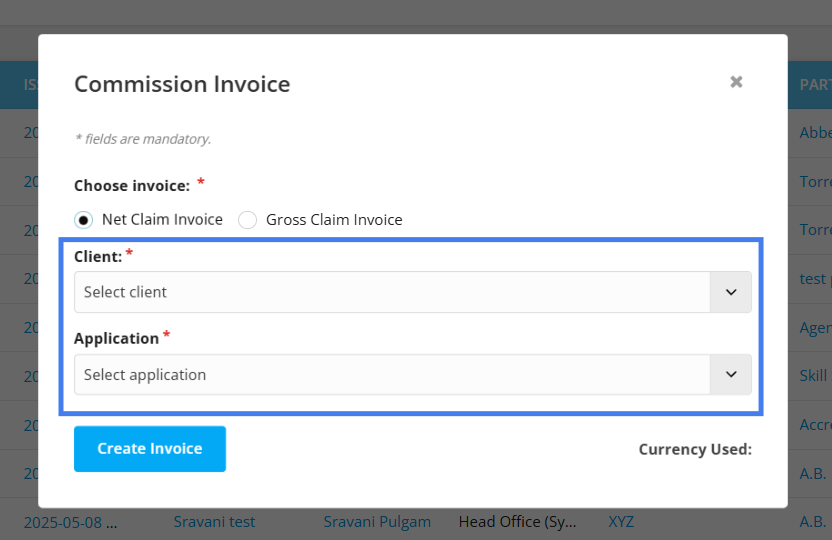
Step 5: Now, select the client and the application for which you want to create the invoice.
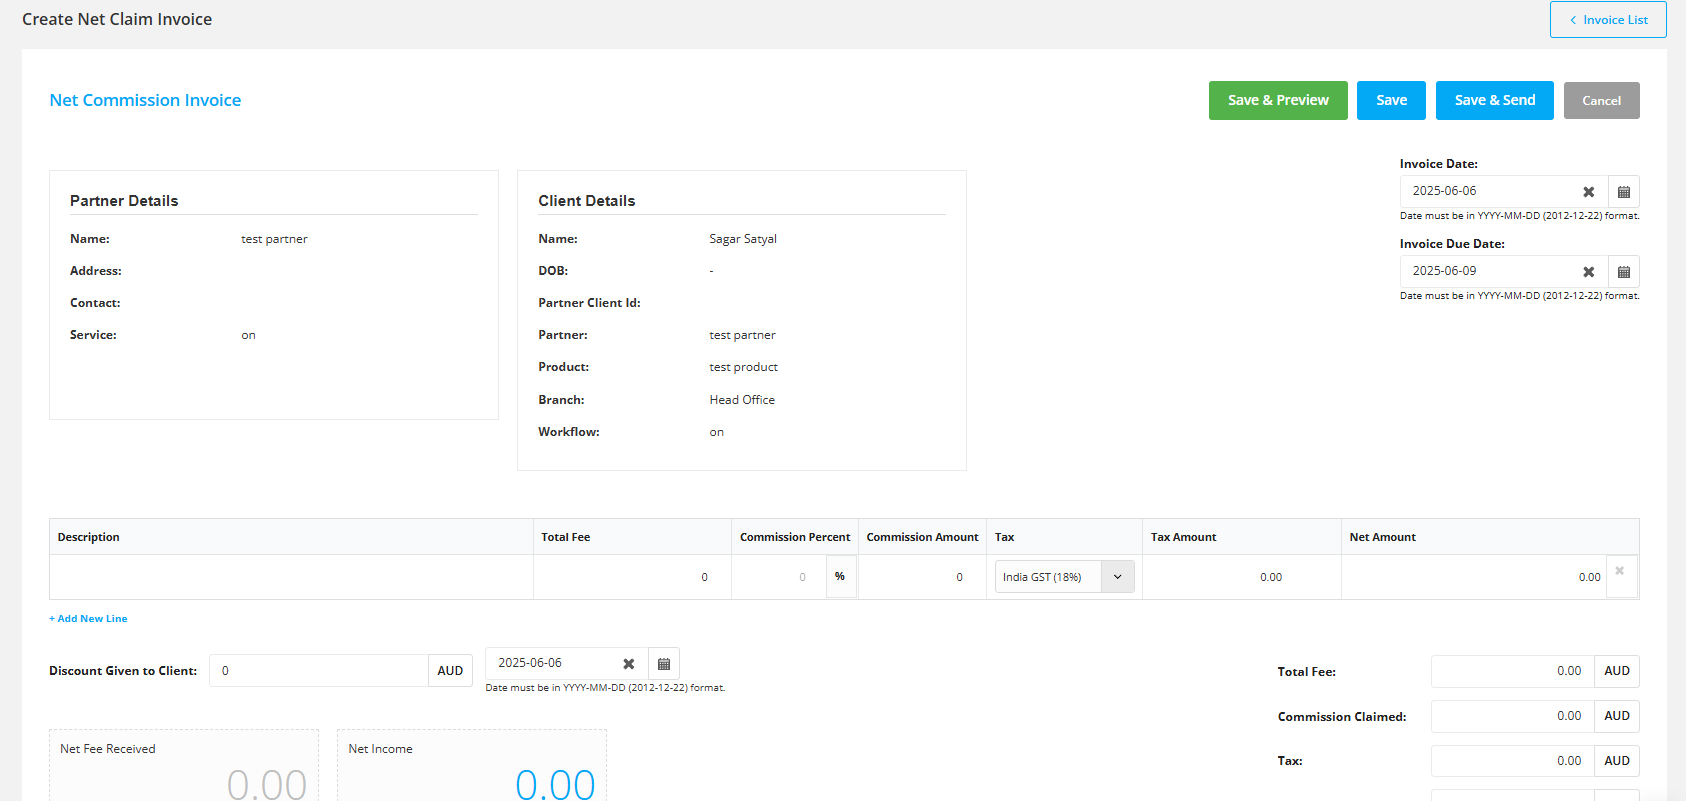
Step 6: After this you will land on a form to fill the information regarding your net commission.
For more info on this, please visit this article:
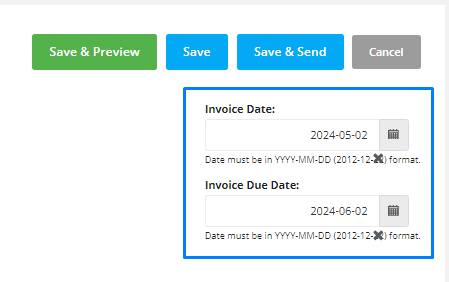
Step 7: Choose the invoice date, which is the date of the creation of the invoice and the invoice due date, which is the date till the invoice has to be paid.
Step 8: Fill the description for the commission (for e.g. Tuition fee, Term fee, Service fee etc.) and add the total fee.

Step 9: Then according to the commission percentage of the partner, the system will automatically calculate the commission amount.

Please note: The commission percentage can be set under the partner agreement section of the Partner’s profile and under the product fee of a certain product/service/course or you can add that manually as well.
For your reference:
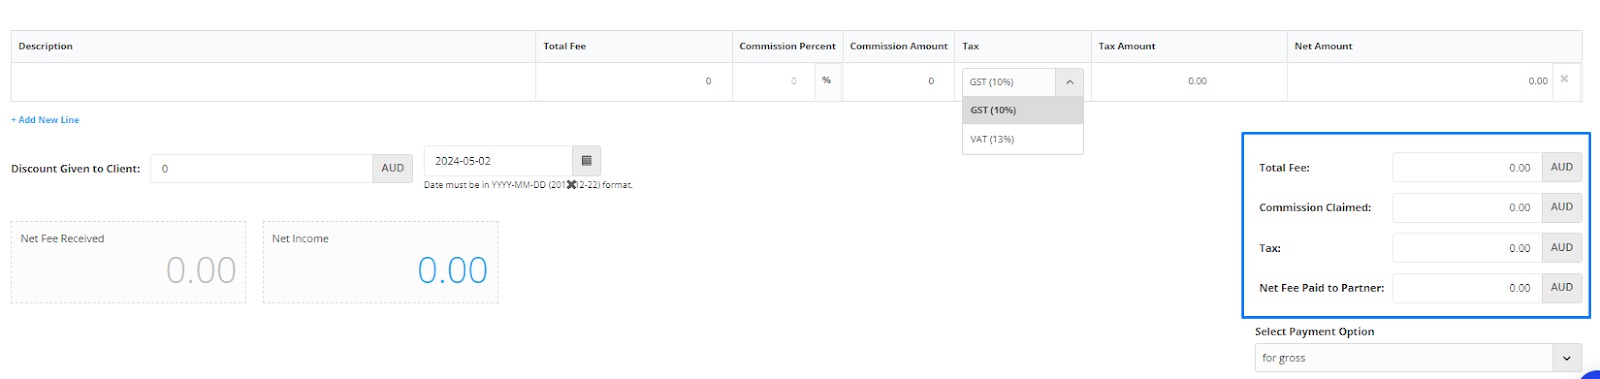
Step 10: Select the tax code to apply and the system will automatically calculate the tax amount as well as the net amount.

Please Note: The tax code can be set from the Account setting. To learn how to set the tax code, follow the following link:
Tax Settings
Agentcis enables creation of tax codes with automated calculations.
Step 11: If a discount is given to the client on the invoice, fill its information under the Discount Given to Client section and the date of the discount provided.
The system will calculate the net fee on the basis of commission percentage, tax and discount if they are added accordingly.

Step 12: You can view the summary of the invoice on the right side which is calculated by the system automatically.
Step 13: Below the summary of the invoice, you can select the payment option that will be included in the invoice.
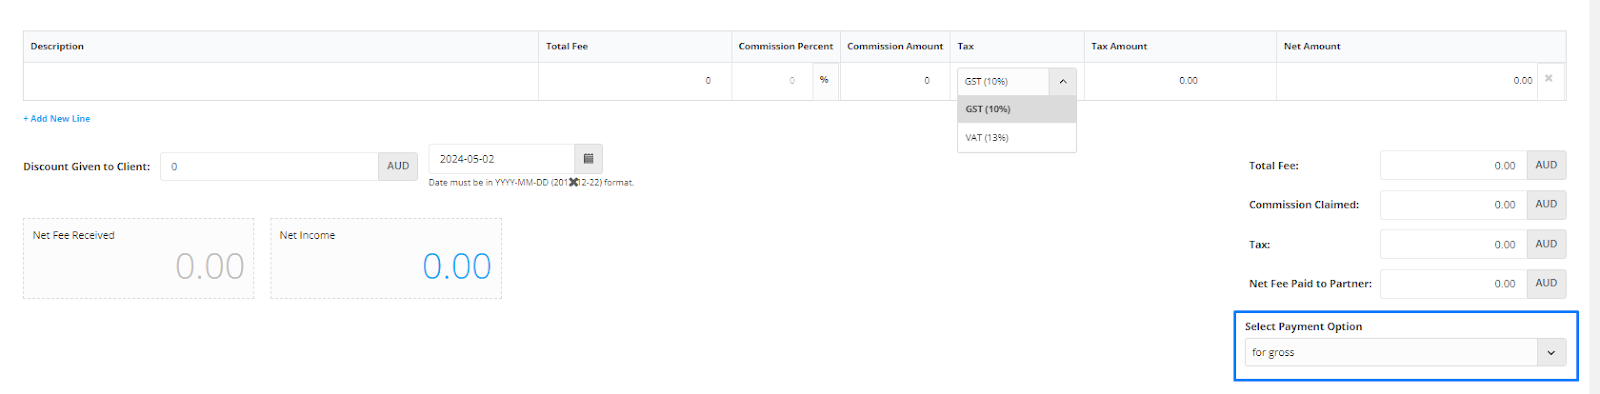
Note: This is the payment details that you have added in the account settings.
Managing Bank Details
Include bank details in invoices for convenient payment processing.
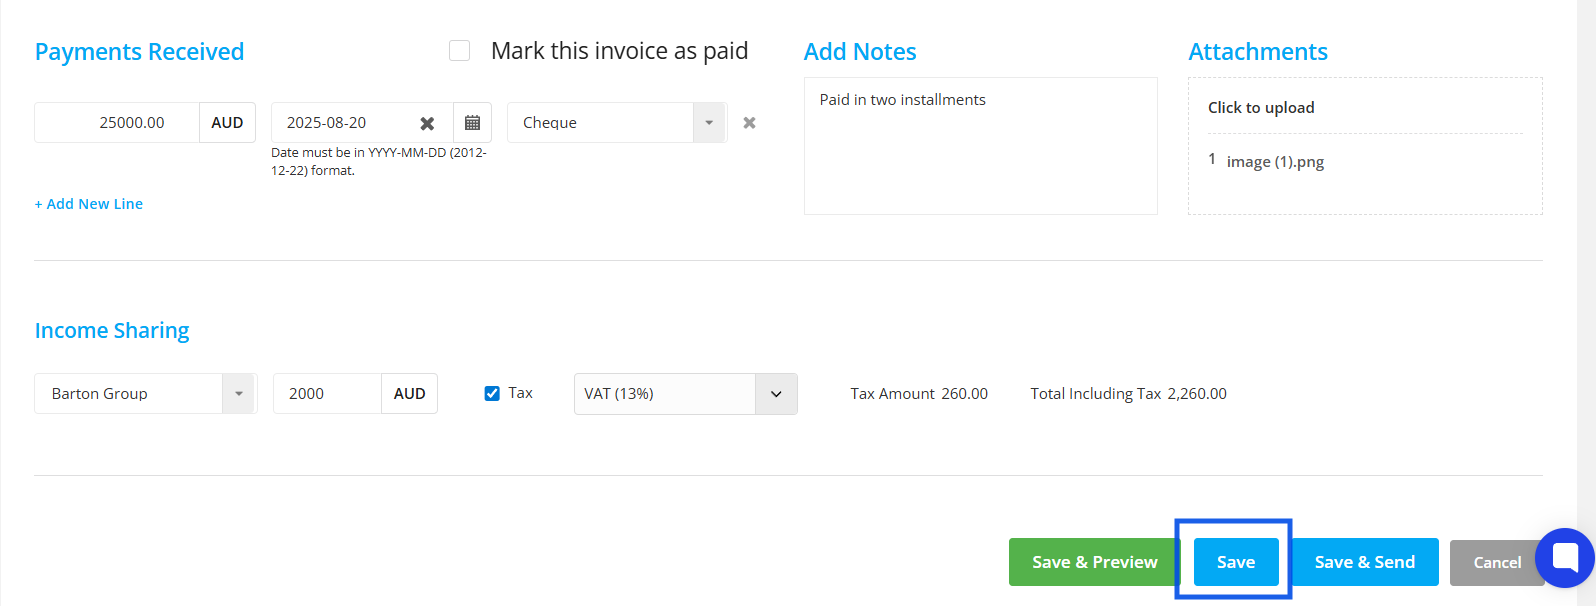
Step 14: In the “Payment Received” section, you can mark this invoice as paid or record a partial payment to indicate that only a part of the amount has been paid to the partner.
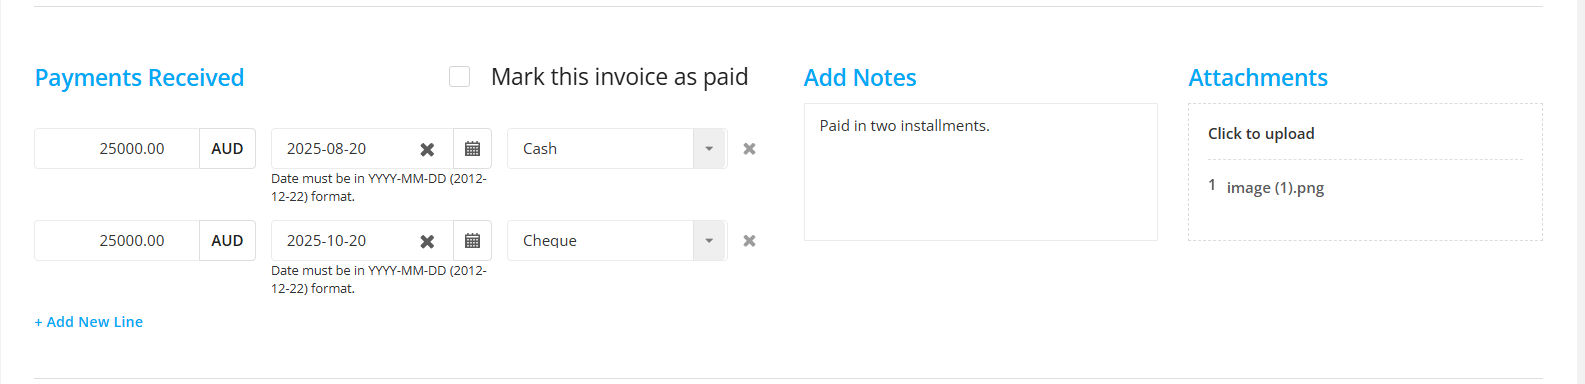
Other options here include:
Payment Mode: Cash, Cheque, Bank Transfers
Notes: Easily add notes related to this payment if any. For e.g: Client paid in advance, full payment after the offer letter is received.
Attachments: Add attachments supporting the payment such as receipts, vouchers, payment verifying documents.
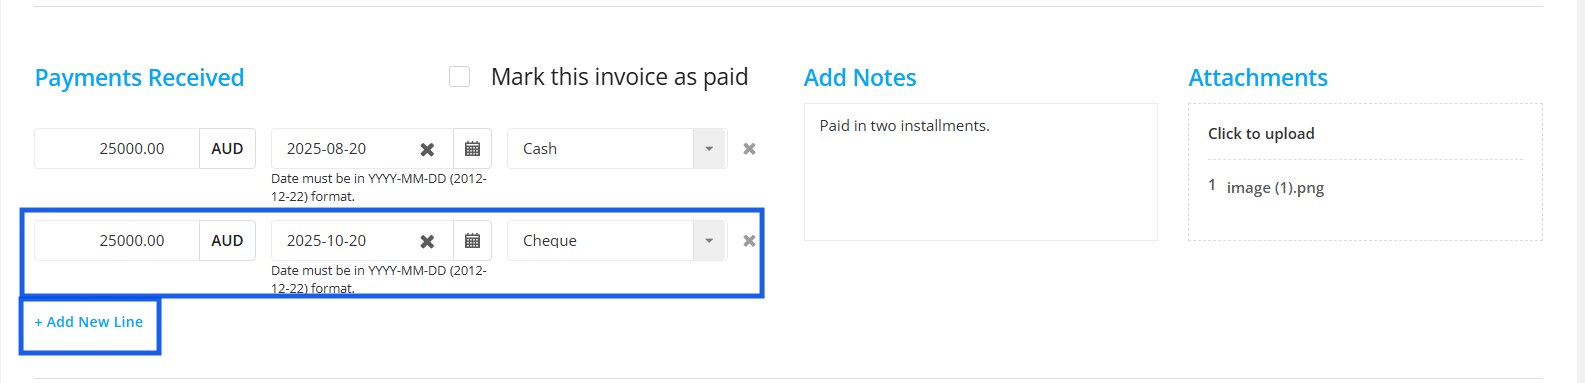
If the client makes partial payments or payments in installments, you can easily come to the same invoice from the edit option and record the partial payment.
By clicking on +Add New Line option, you can record multiple partial payments accordingly.
Step 15: At the bottom of the page is the Income sharing part. The income sharing part allows you to share the commission amount to a receiver, which is either another branch or subagent.

Here after you insert the receiver’s name from the list:
You can add the sharing amount.
Add tax if its applicable by clicking on the Tax Checkbox and selecting the tax type from the dropdown.
Tax Amount and Total including Tax will be displayed at the right side.

Step 16: Once you finish adding all the details, you can select save.