When creating a lead form, it’s important to decide which fields should be included and which should be left out. Not every lead form will require the same information, and unnecessary fields can make the process more confusing for the user.
If you have multiple lead forms for capturing a wider range of clients, you should ensure that each one only displays the fields relevant to its purpose.
Below is the step-by-step process to enable or disable fields in a lead form.
Make sure you have the correct privileges to make changes to lead forms.

Step 1: Go to Settings situated at far right side of the top bar.

Step 1: Go to Lead Forms.
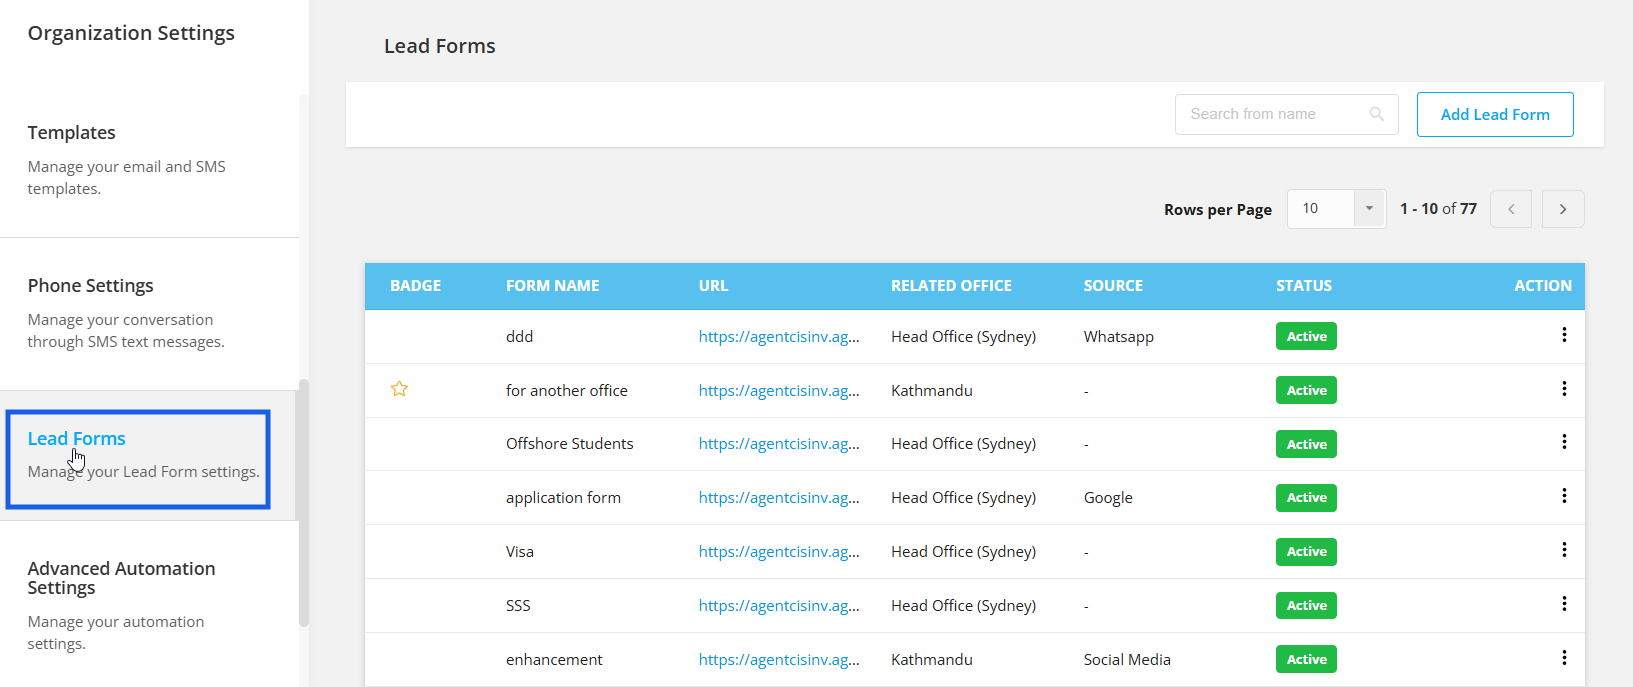
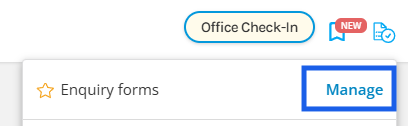
Or, you can simply click on the Enquiry Forms icon at the top bar and then click on Manage,

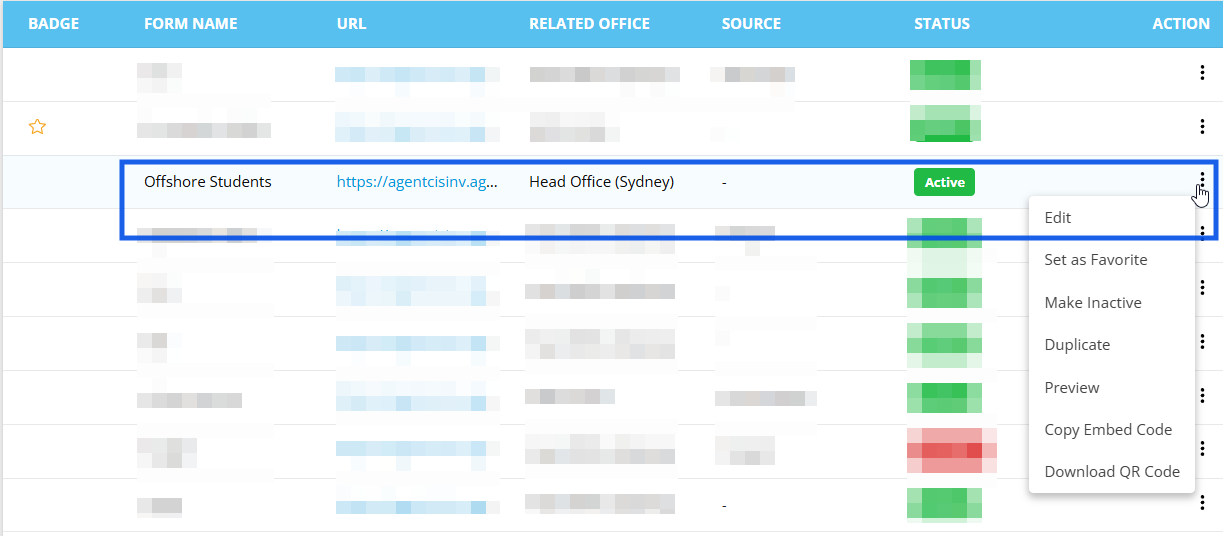
Step 2: From the Action icon (three dot icon), click on edit.
Under Choose Form Fields Section, System Fields and Custom Fields, the fields are listed with a particular section name, the section generally includes form fields of a similar nature.
E.g. For To acquire the information of student’s addresses, all the fields of the address such as Street, City, State, Postal Code Country etc. are included under the same section name, “ADDRESS DETAILS”. This is to prevent any information mismatch.
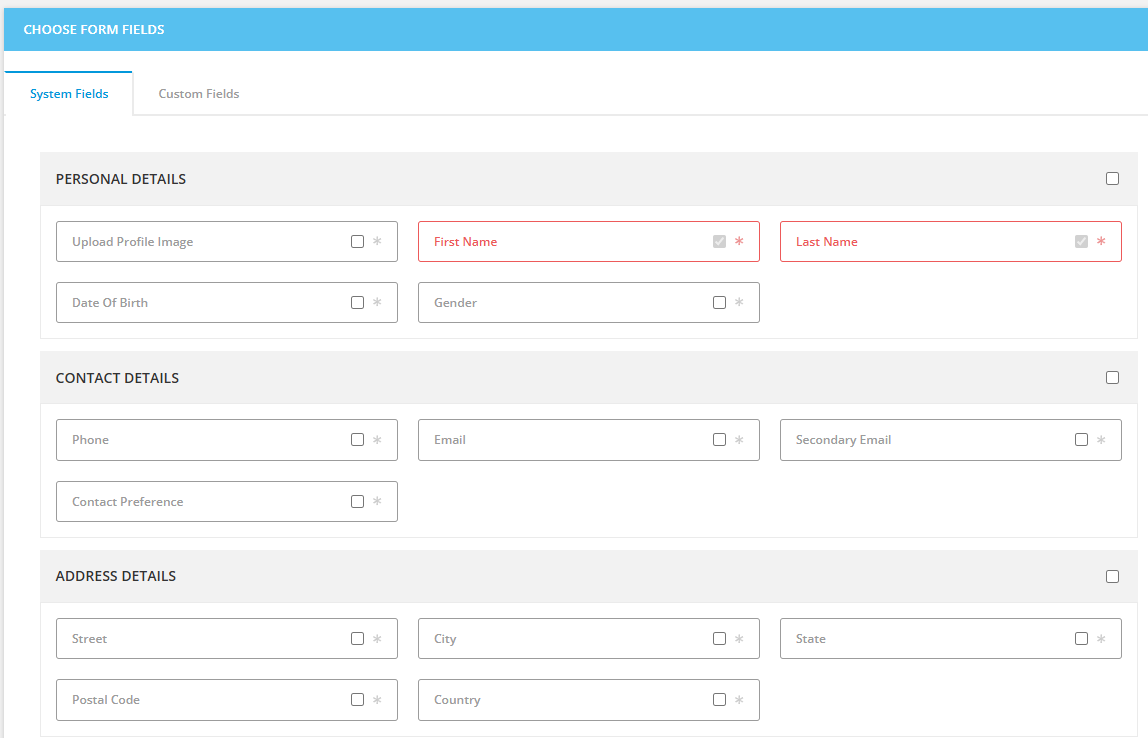
Step 3: If the requirement is to only put the City and Country fields in the lead form, marking on the checkbox would select the field and unmarking the field would deselect the field such that the deselected field will not appear in the lead form.
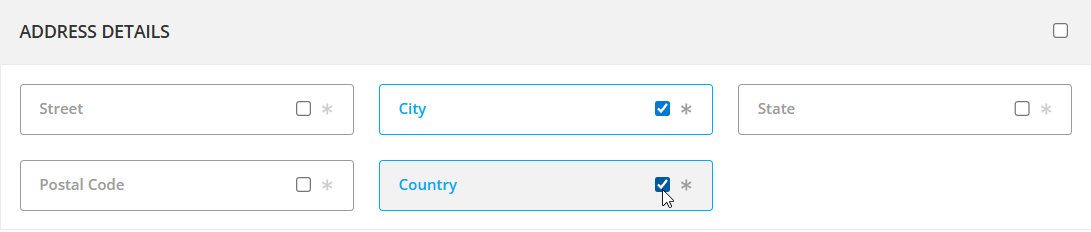
And if the requirement is to include all the fields of this section in the lead form, you can simply click on the check box far right from the Section Name. This will select all the fields of that section.

Note: The process is same for both system fields and custom fields.
Creating Custom Field
This article will guide you on how you can create custom fileds in Agentcis.
How to create a lead form with custom fields?
You can create custom lead forms as per your requirement in Agentcis.
After the necessary changes are made for the fields appearance in the form, scroll to the bottom of the page and hit on Save.
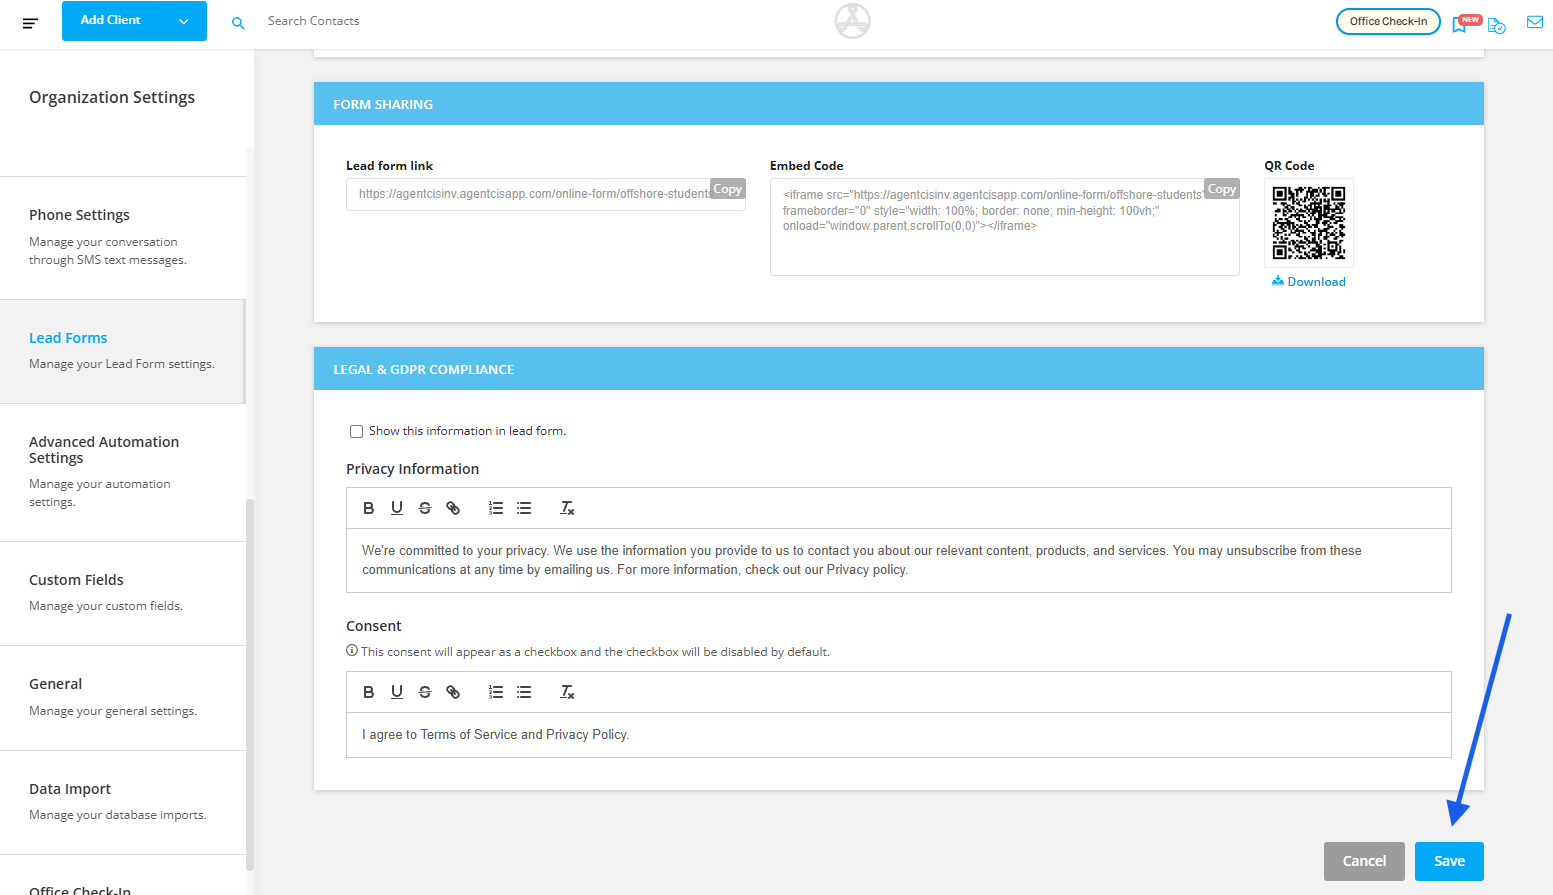
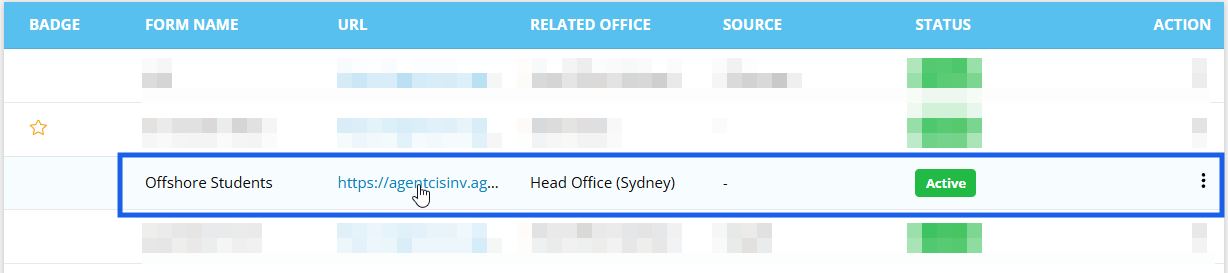
You can simply click on the Form URL to verify if the changes has been made or not.
Here is the preview of the lead forms based on the selected fields during its creation.

