Inviting users to your Agentcis system is an important part of team setup and access management. Whether you're onboarding a new team member, adding a consultant, or bringing in a temporary staff member, it’s essential to follow the right process to ensure secure and efficient access.
Why Is Inviting Users Important?
Grants secure access to the right team members
Helps manage roles and responsibilities across offices
Ensures accountability and visibility into user activity
Allows you to track and manage access through user status (Active, Invited, or Inactive)
Before You Invite a User
Before sending out an invitation, make sure of the following:
User Limit Check:
Confirm that your current subscription allows you to add more users. If your limit has been reached, you have two options:
Upgrade your subscription to increase your user limit: https://support.agentcis.com/en/articles/165-adding-subscription
Deactivate an existing user who no longer needs access: https://support.agentcis.com/en/articles/169-inactivating-users
Permission Check:
Ensure your user role includes permission to invite other users. If not, contact your system administrator.

Steps to Invite a New User
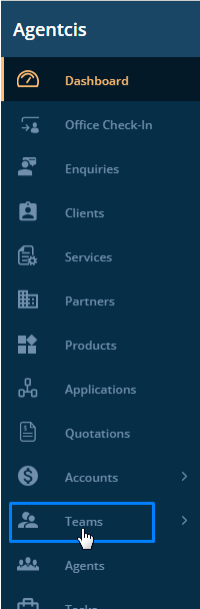
Step 1 – Go to "Teams"
From the left-hand side navigation bar, select "Teams" to access team management options.
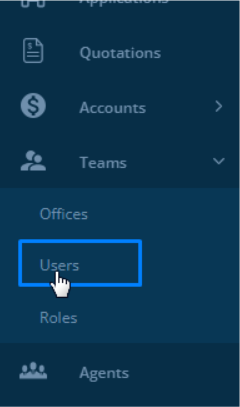
Step 2 – Click on "Users"
In the Teams module, click on "Users" to see the current list of users in the system.
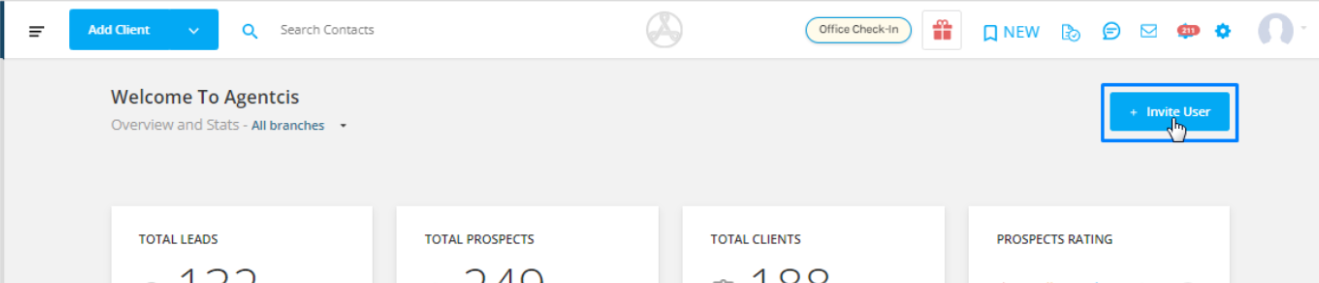
Step 3 – Click on "Invite User"
Click the “Invite User” button in the top right corner.

Alternative Option:
You can also directly select “Invite User” from the dashboard for quick access.
Step 4 – Fill in User Details
A pop-up form will appear. Enter the new user’s information. Fields marked with an asterisk (*) are mandatory.
Required Fields Include:
Full Name
Email Address
Office (Primary location they belong to)
Role (e.g., Admin, Counselor, Accountant)
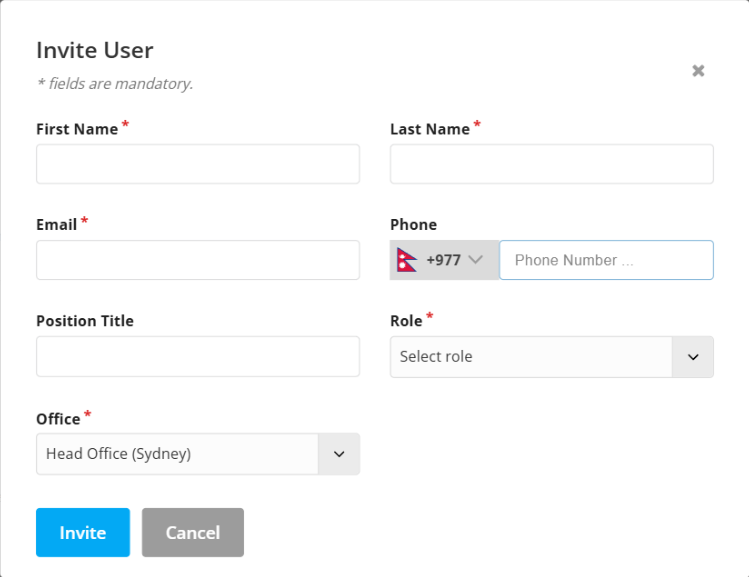
Step 5 – Send the Invitation
Once all required details are filled in, click "Invite".
The system will send an email invitation to the user. They must click the link in the email to accept the invitation and complete the login process.
User Statuses Explained
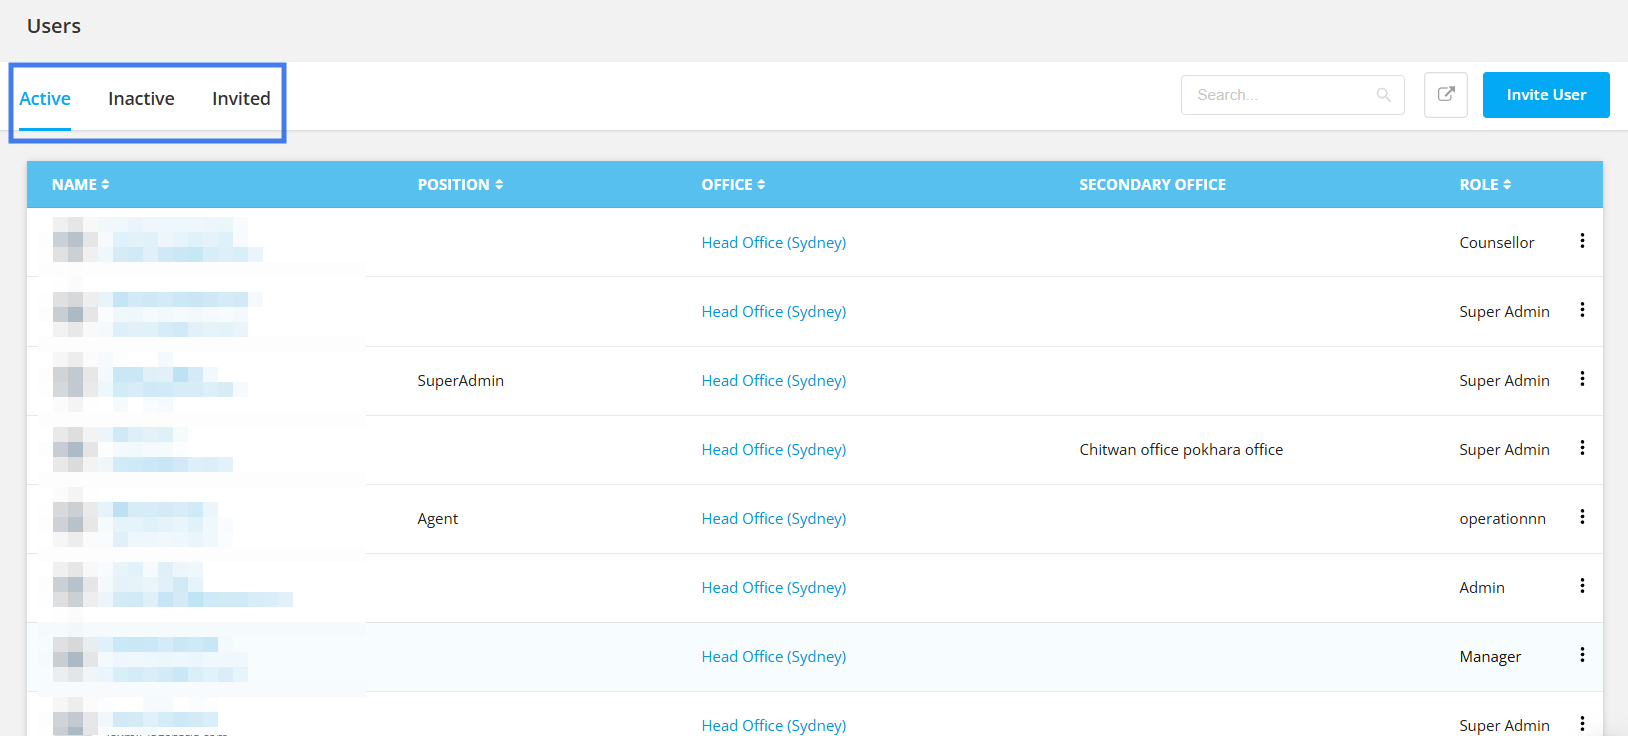
After sending the invite, you can track the user’s status in the Users section:
Invited List:
Shows users who have been invited but haven’t accepted yet.
Active List:
Displays users who have accepted the invite and successfully logged in.
Inactive List:
Contains users who have been deactivated and no longer have access to the system.

